Who you gonna call? Ghost blogging!
Many people are either getting into blogging or looking to port their current Wordpress site to something a little lighter in resources but still has all the goodness of an easy editor, SEO and theme control. This is where ghost really shines and we’ll show you how to set it up!


Many people are either getting into blogging or looking to port their current site to something a little lighter in resources but still want all the goodness of an simple editor for posts, SEO (search engine optimisation) and theme control. This is where ghost really shines! I remember many years ago backing this as a kick starter as I wanted an alternative from a PHP heavy blog platform and the promise of an open source nodeJS option seemed like a good idea, and
<spoiler alert>
it was a good idea.
The really nice thing about ghost is it can do all the extras that Wordpress or Drupal can when you add plugins. Instead of implementing them in the blog and installing extra code, most of the integrations happen by connecting it to external services rather than slowing down the core product. There’s an extensive list of integrations on the ghost website but I’d say one of the most useful is zapier, which allows you to automate actions based on events that happen on your blog, such as new member sign ups or a scheduled post going live. This would let you post to social media to promote your blog for example. Speaking of promoting blogs, please remember to subscribe and share this post with others who’ll find it interesting!
Now the great news is it’s lightweight so it runs fast on modest hardware like the raspberry pi, it’s also super simple to setup, and using this guide together with the traefik/SSL guide, you can host your own blog quickly in a few steps, be that for testing or for a small startup blog that you expose to the internet. This blog even started out that way but has since moved to the hosted service offering from the ghost team, which has much bigger servers and it also goes to supporting the development of the open source offering. The migration from self hosted to a SaaS (software as a service) product was super simple.
Setup
For this setup we are going to use Docker compose as normal and spin up two containers, the ghost application itself and a mysql database server, which stores your posts and settings for the site. First you’ll need to make sure you have all the requirements installed so follow the guides below, before carrying on.
Requirements
Create the directories
We are going to create some directories on the Raspberry Pi that will save the persistent data, mainly the database information, but if you want to tweak the theme, install a custom theme or build custom plugins this will come in handy. Open up your terminal and connect to your Raspberry Pi by SSH then run the following command:
sudo mkdir -p /opt/containers/ghost/{db,content}You may be prompted for your password here by the sudo command; if so, enter it and everything will work fine.
Create the compose and environment files
Now we need to create the compose file which will require you to run the following command then paste the yaml below into the file. If you don’t want to use vi/vim you can use your favourite editor such as nano.
sudo vi /opt/containers/ghost/compose.ymlservices:
ghost:
image: ghost:latest
restart: always
networks:
- traefik_proxy
- ghost
environment:
# see https://ghost.org/docs/config/#configuration-options
database__client: mysql
database__connection__host: db
database__connection__user: root
database__connection__password: ${MYSQL_ROOT_PASSWORD}
database__connection__database: ghost
# this url value is just an example, and is likely wrong for your environment!
url: https://${DOMAIN}
# contrary to the default mentioned in the linked documentation, this image defaults to NODE_ENV=production (so development mode needs to be explicitly specified if desired)
#NODE_ENV: development
labels:
- traefik.enable=true
- traefik.http.routers.ghost.entrypoints=web
- traefik.http.routers.ghost.rule=Host(`${DOMAIN}`)
- traefik.http.middlewares.web-https-redirect.redirectscheme.scheme=https
- traefik.http.routers.ghost.middlewares=web-https-redirect
- traefik.http.routers.ghost-secure.entrypoints=websecure
- traefik.http.routers.ghost-secure.rule=Host(`${DOMAIN}`)
- traefik.http.routers.ghost-secure.tls=true
- traefik.http.routers.ghost-secure.tls.certresolver=myresolver
- traefik.http.routers.ghost-secure.service=ghost
- traefik.http.services.ghost.loadbalancer.server.port=${PORT}
- traefik.docker.network=traefik_proxy
volumes:
- ./content:/var/lib/ghost/content
db:
image: mysql:latest
restart: always
networks:
- ghost
environment:
MYSQL_ROOT_PASSWORD: ${MYSQL_ROOT_PASSWORD}
volumes:
- ./db:/var/lib/mysql
networks:
ghost:
external: false
traefik_proxy:
external: trueOnce you’ve pasted the contents above into the file you need to save and exit the file (also known as write and quit)
Now we need to create the environment file which will be called .env
sudo vi /opt/containers/ghost/.envPaste the following text into this file and make sure you edit the values <YOUR_PASSWORD> and <YOUR_DOMAIN>. Once done be sure to save and exit the file. My domain for reference is ghost.internal.pisource.org but this should match the domain you set up in the traefik SSL guide.
MYSQL_ROOT_PASSWORD: <YOUR_PASSWORD>
DOMAIN: <YOUR_DOMAIN>
PORT: 2368
Running the software
That was all the setup you needed to do, so now we are ready to use docker compose to start the blog platform and get the database up and running. Still in your terminal, run the following command:
cd /opt/containers/ghost
docker compose up -d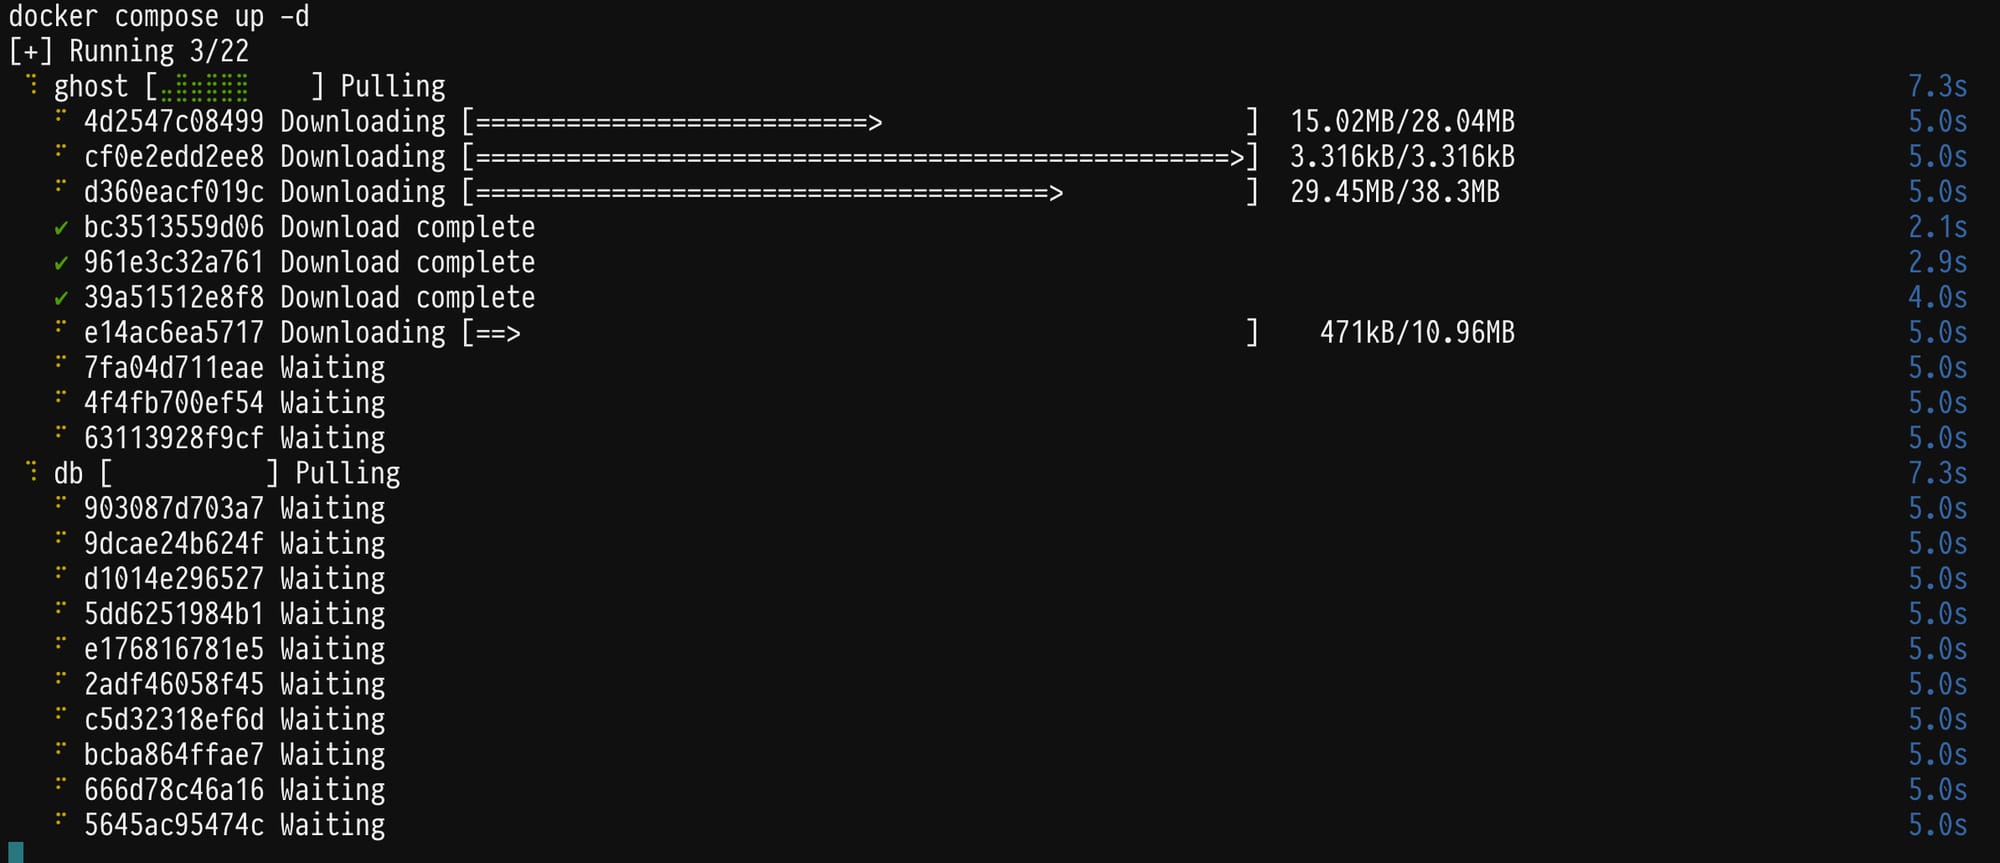
That’s it. The services will start and after the initial boot the database will be populated and you’re ready to setup your blog. However, you will still have to point your DNS at your traefik reverse proxy before moving on. Depending on how you do this will differ in instructions, it may be on pihole or via a local hosts file etc, etc.
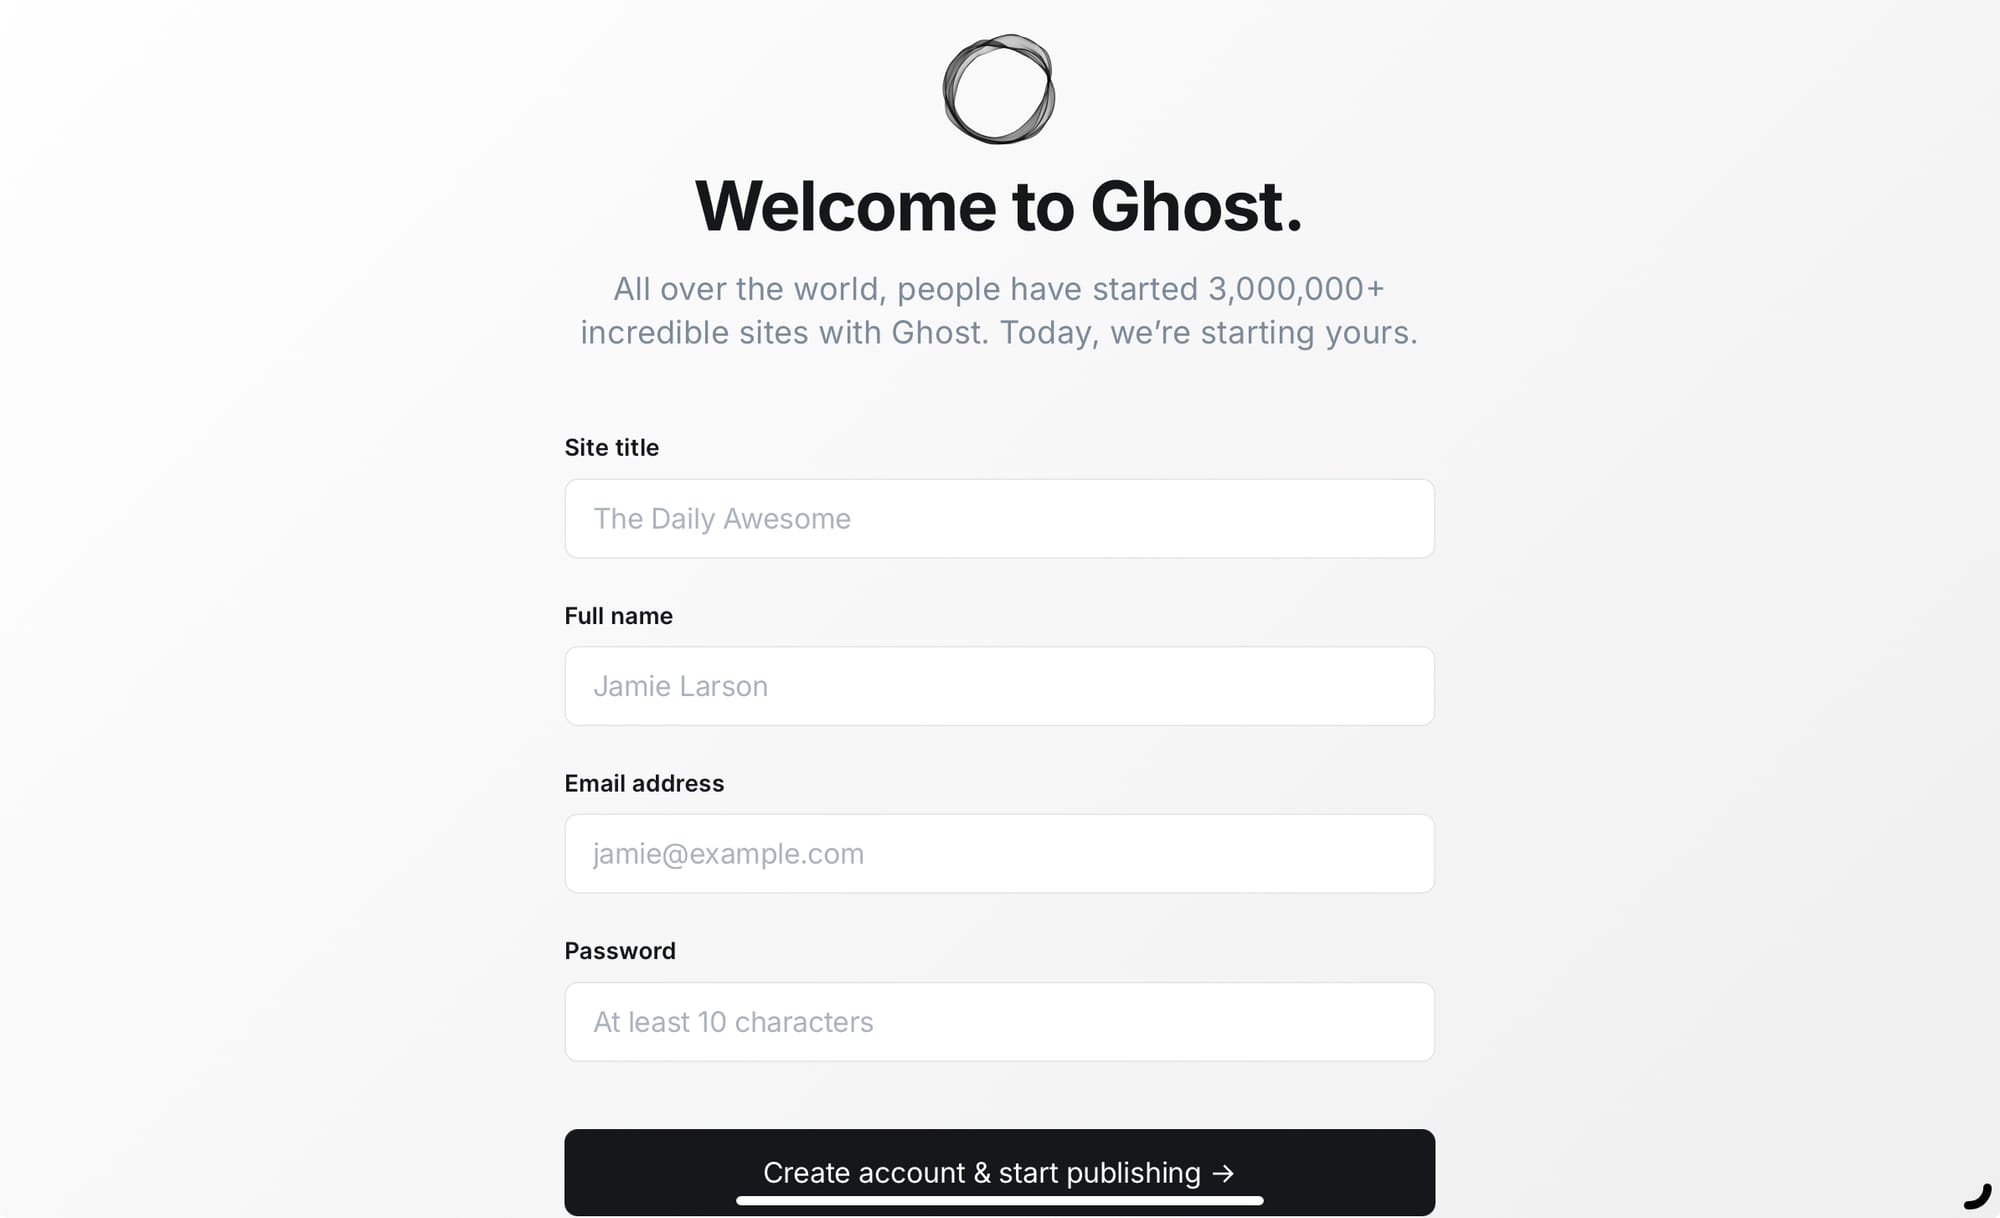
Once you have this pointed to the right place you can open your web browser and head to https://ghost.internal.pisource.org/ghost <<<< swap that out for your domain of course!
Here you’ll now be prompted to setup your blog with a name, title, admin account, password and email. Take a look at some of the screen shots here to see what you get in the admin console.
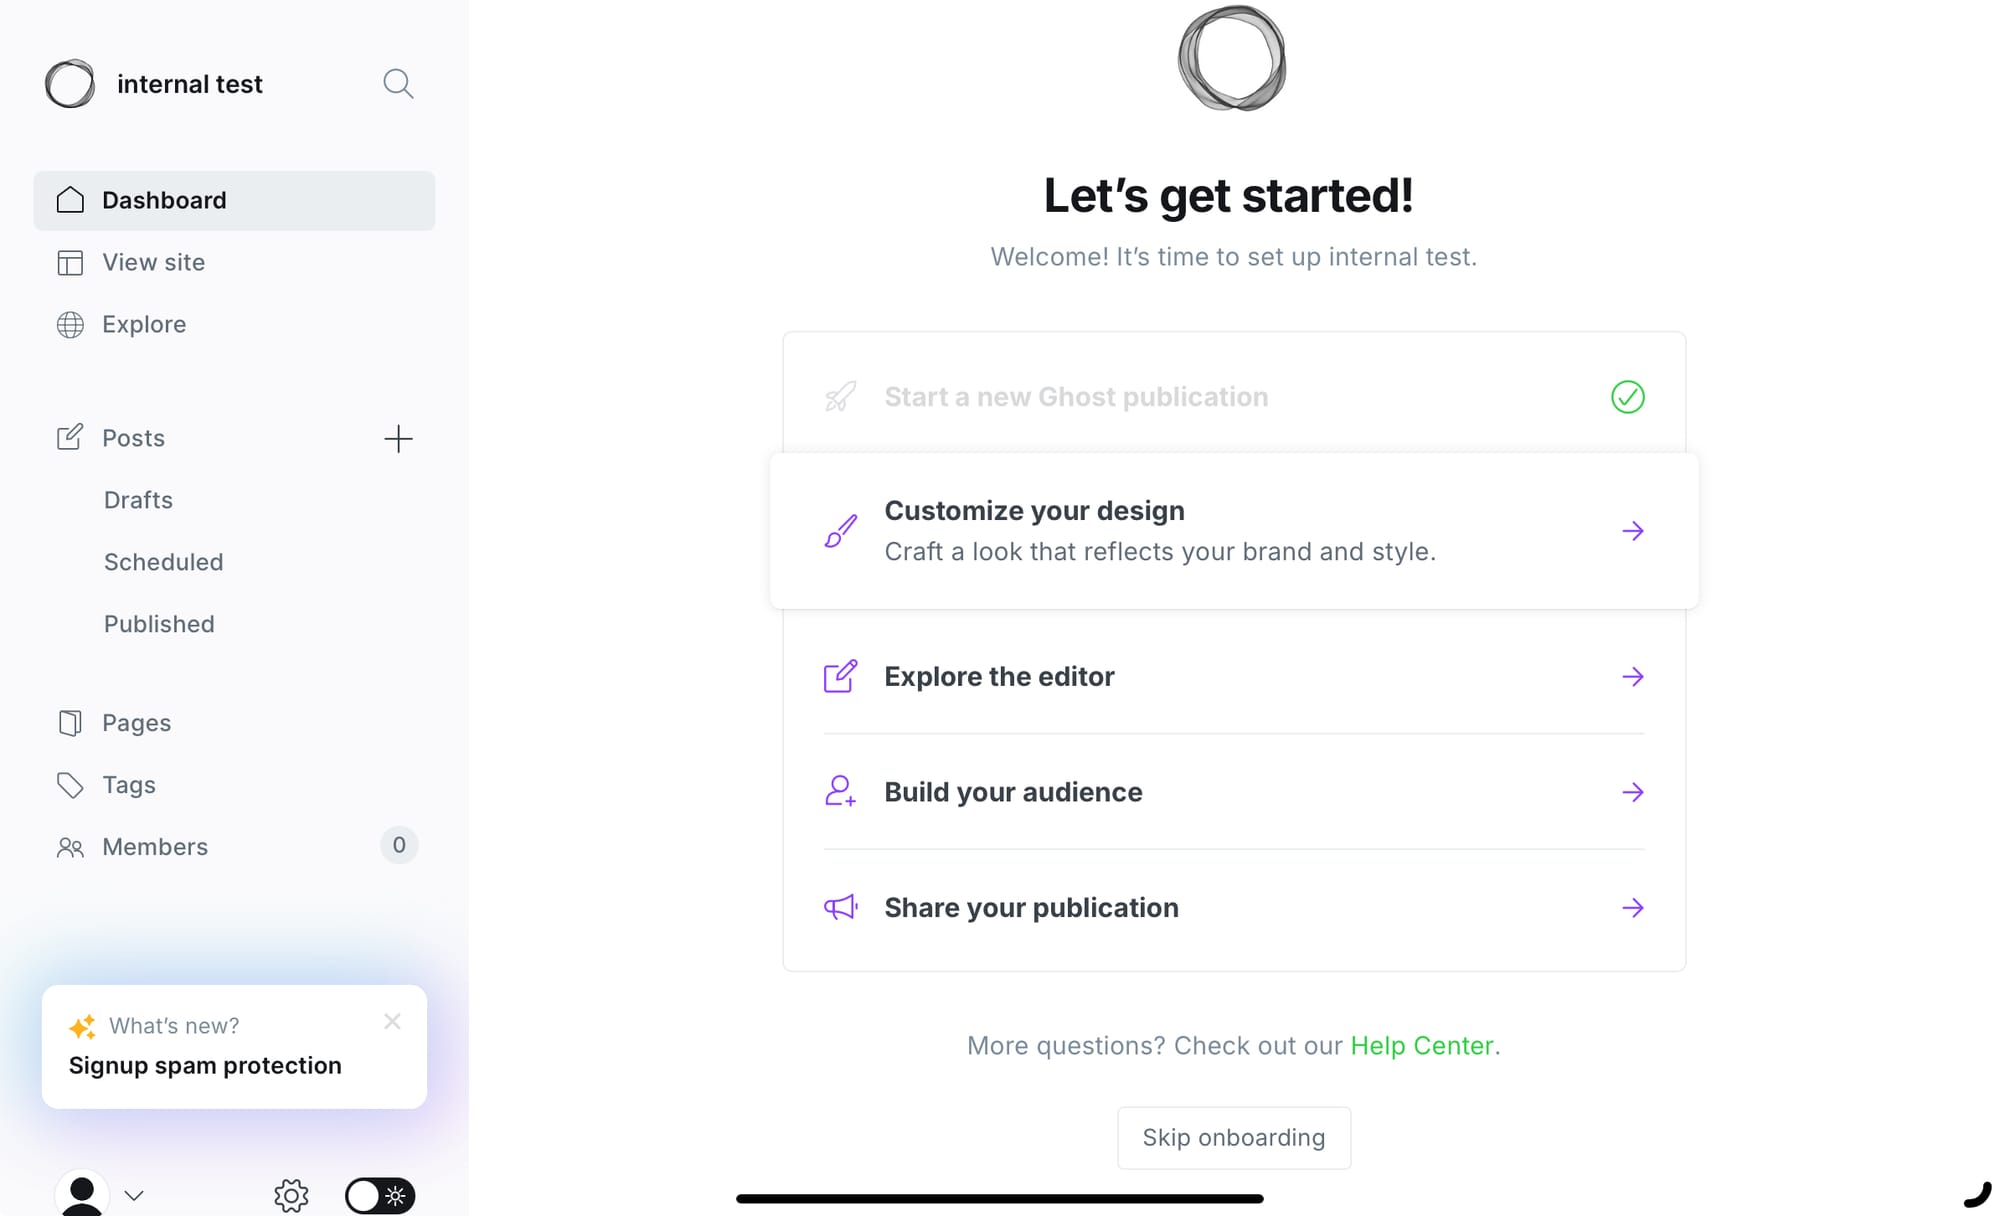
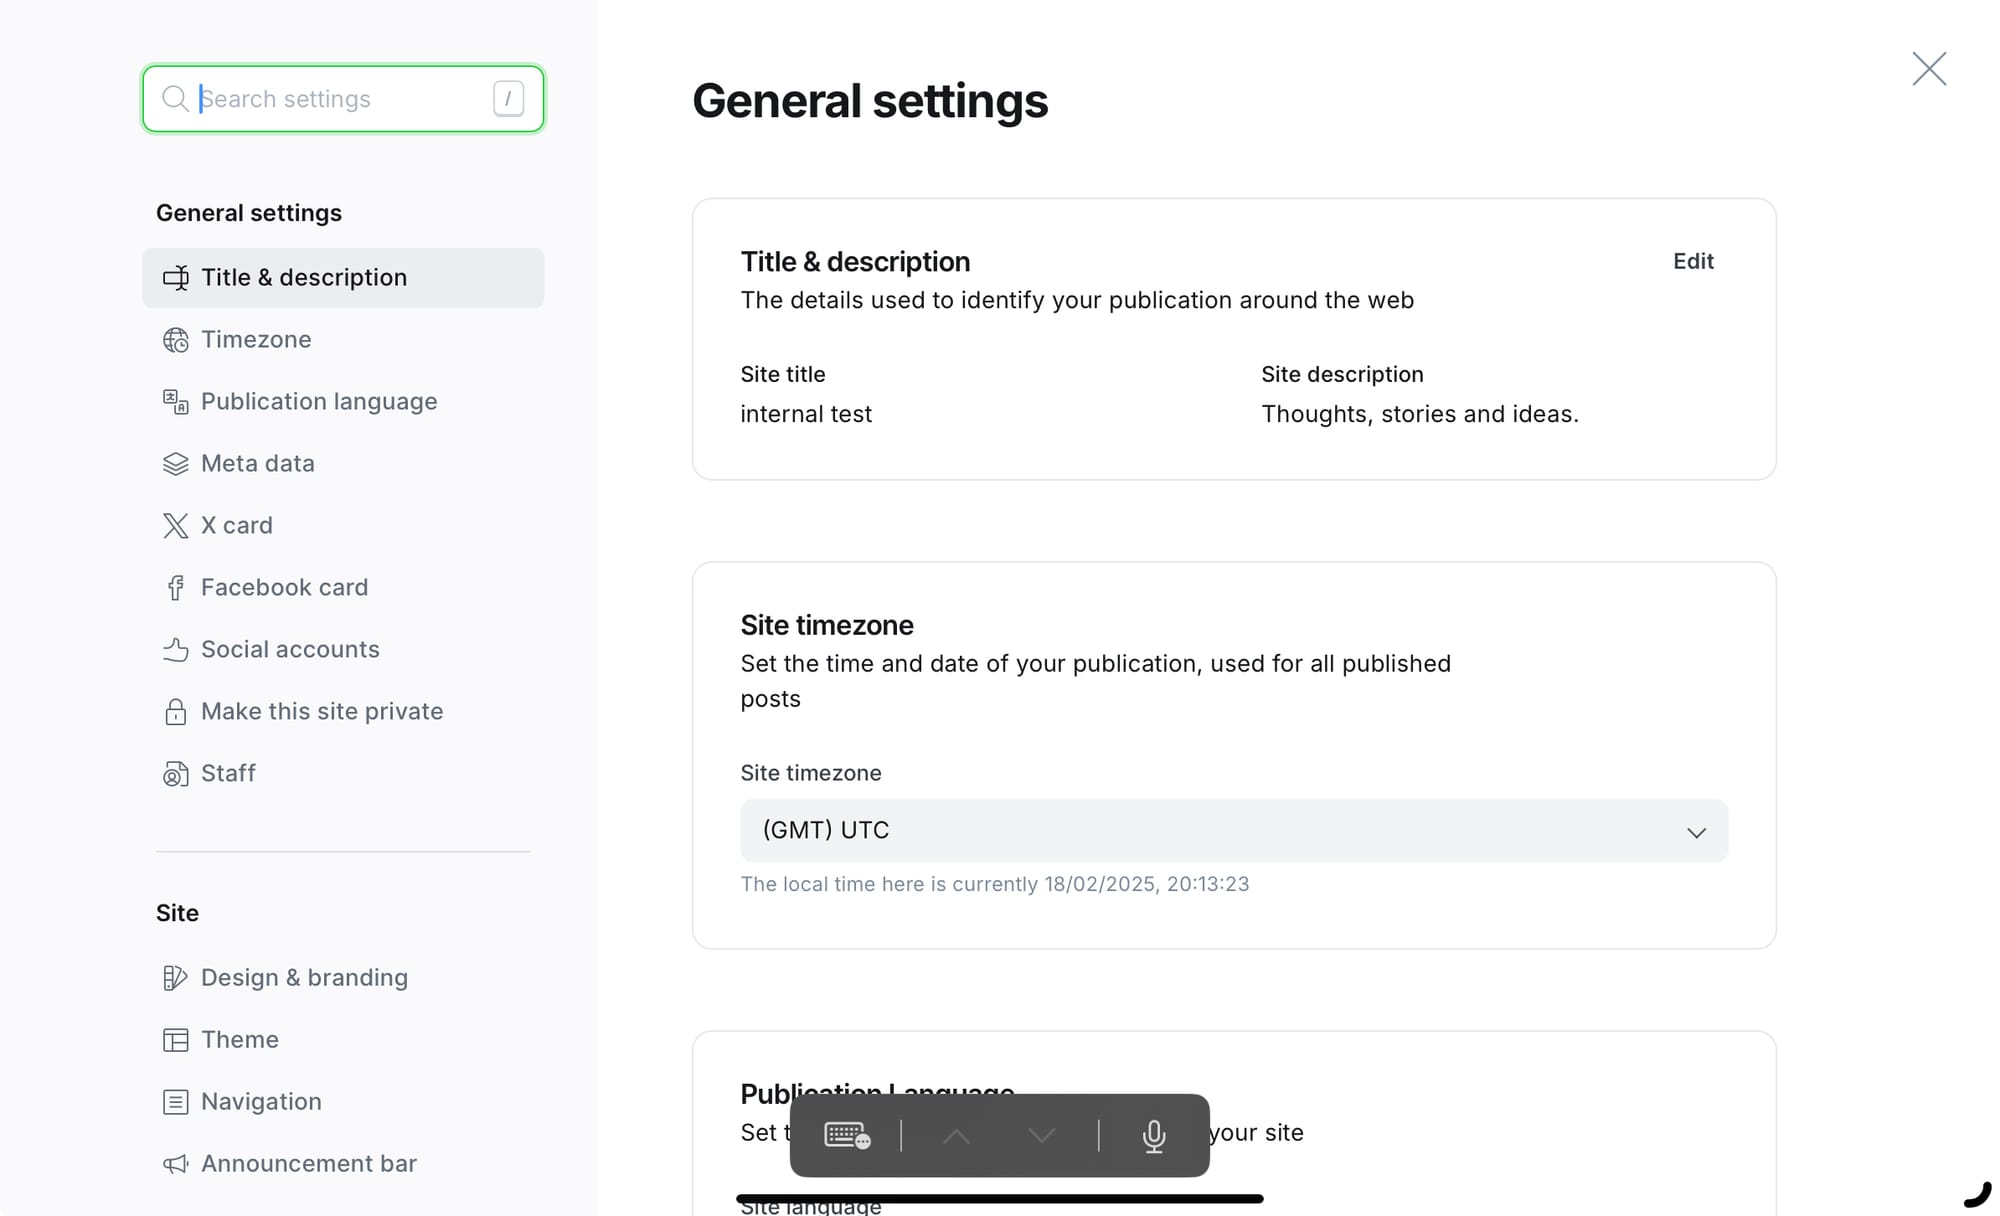
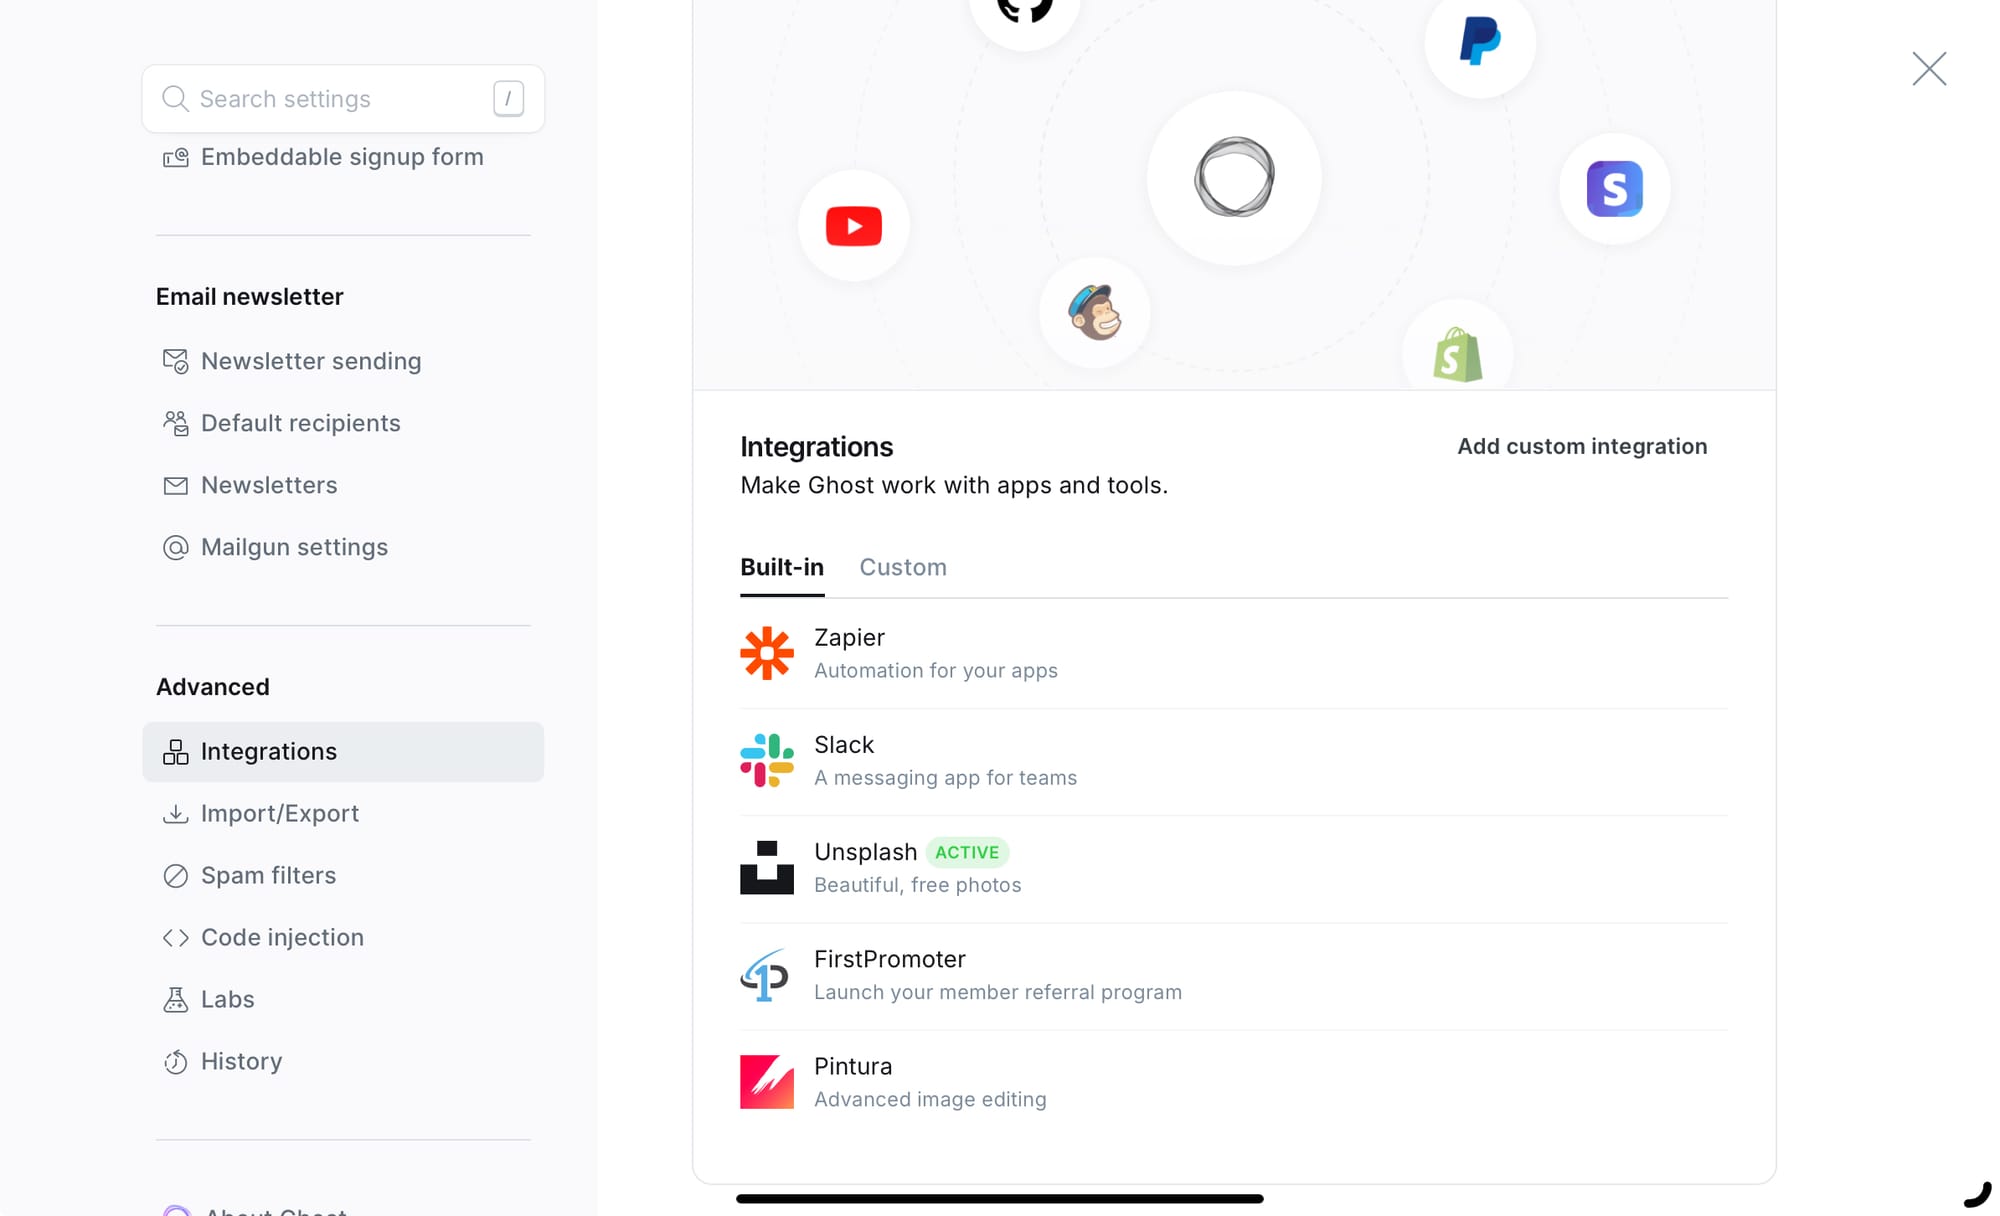
Various admin screens
You’ll find lots and lots of setting here so take your time to go through them all, from Facebook and X card that help with search engines to member management and dashboards. This is also the interface you’ll use to write posts in and schedule them to be published; the interface for that is super simple and distraction free.
Now one thing you’ll need to do if you want people to subscribe to your blog is set up an SMTP host. This can point to any service you choose but if you use something like protonmail (recommended) or google mail you’ll need to generate application password to make this work. This service will send individual emails to new subscribers when they sign up to validate their email address and welcome them to your publication.
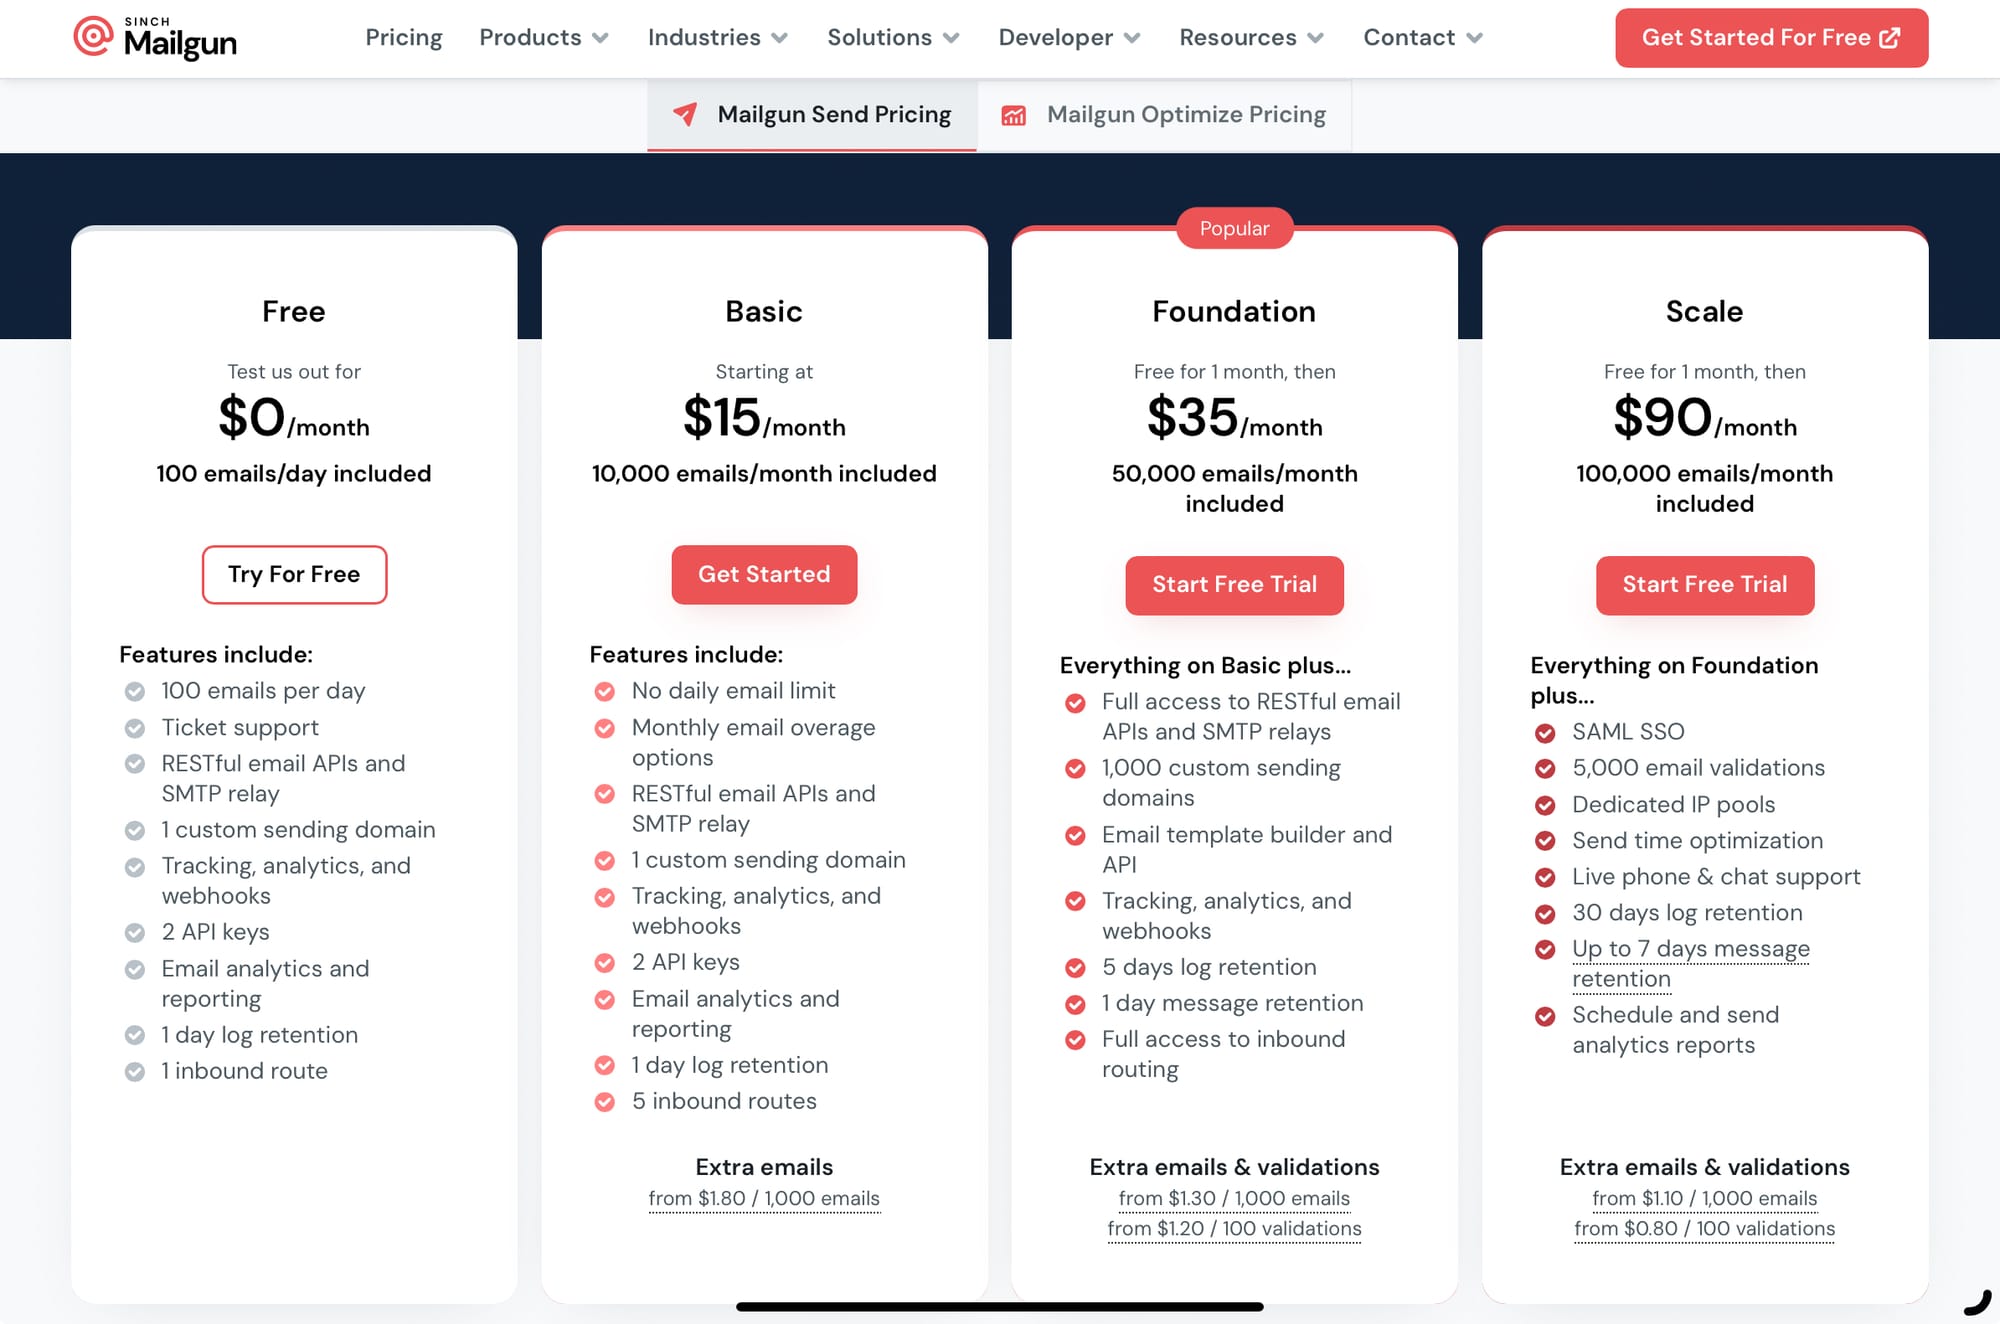
However, the mailing list feature of ghost requires you to use a bulk email service, because if you don’t your mail server and your blog will end up looking like a SPAM source and you’ll get it blocked almost immediately if you try to send lots of emails that all look the same. At the moment ghost only supports mailgun and it can be a bit off-putting as it looks like you’ll have to subscribe to a monthly fee, but you can send 100 emails a day for free, which should be fine whilst starting out!
If you want to see what your blog looks like when you publish some posts, just head to your browser and go to https://ghost.internal.pisource.org <<< remember to swap for your domain!
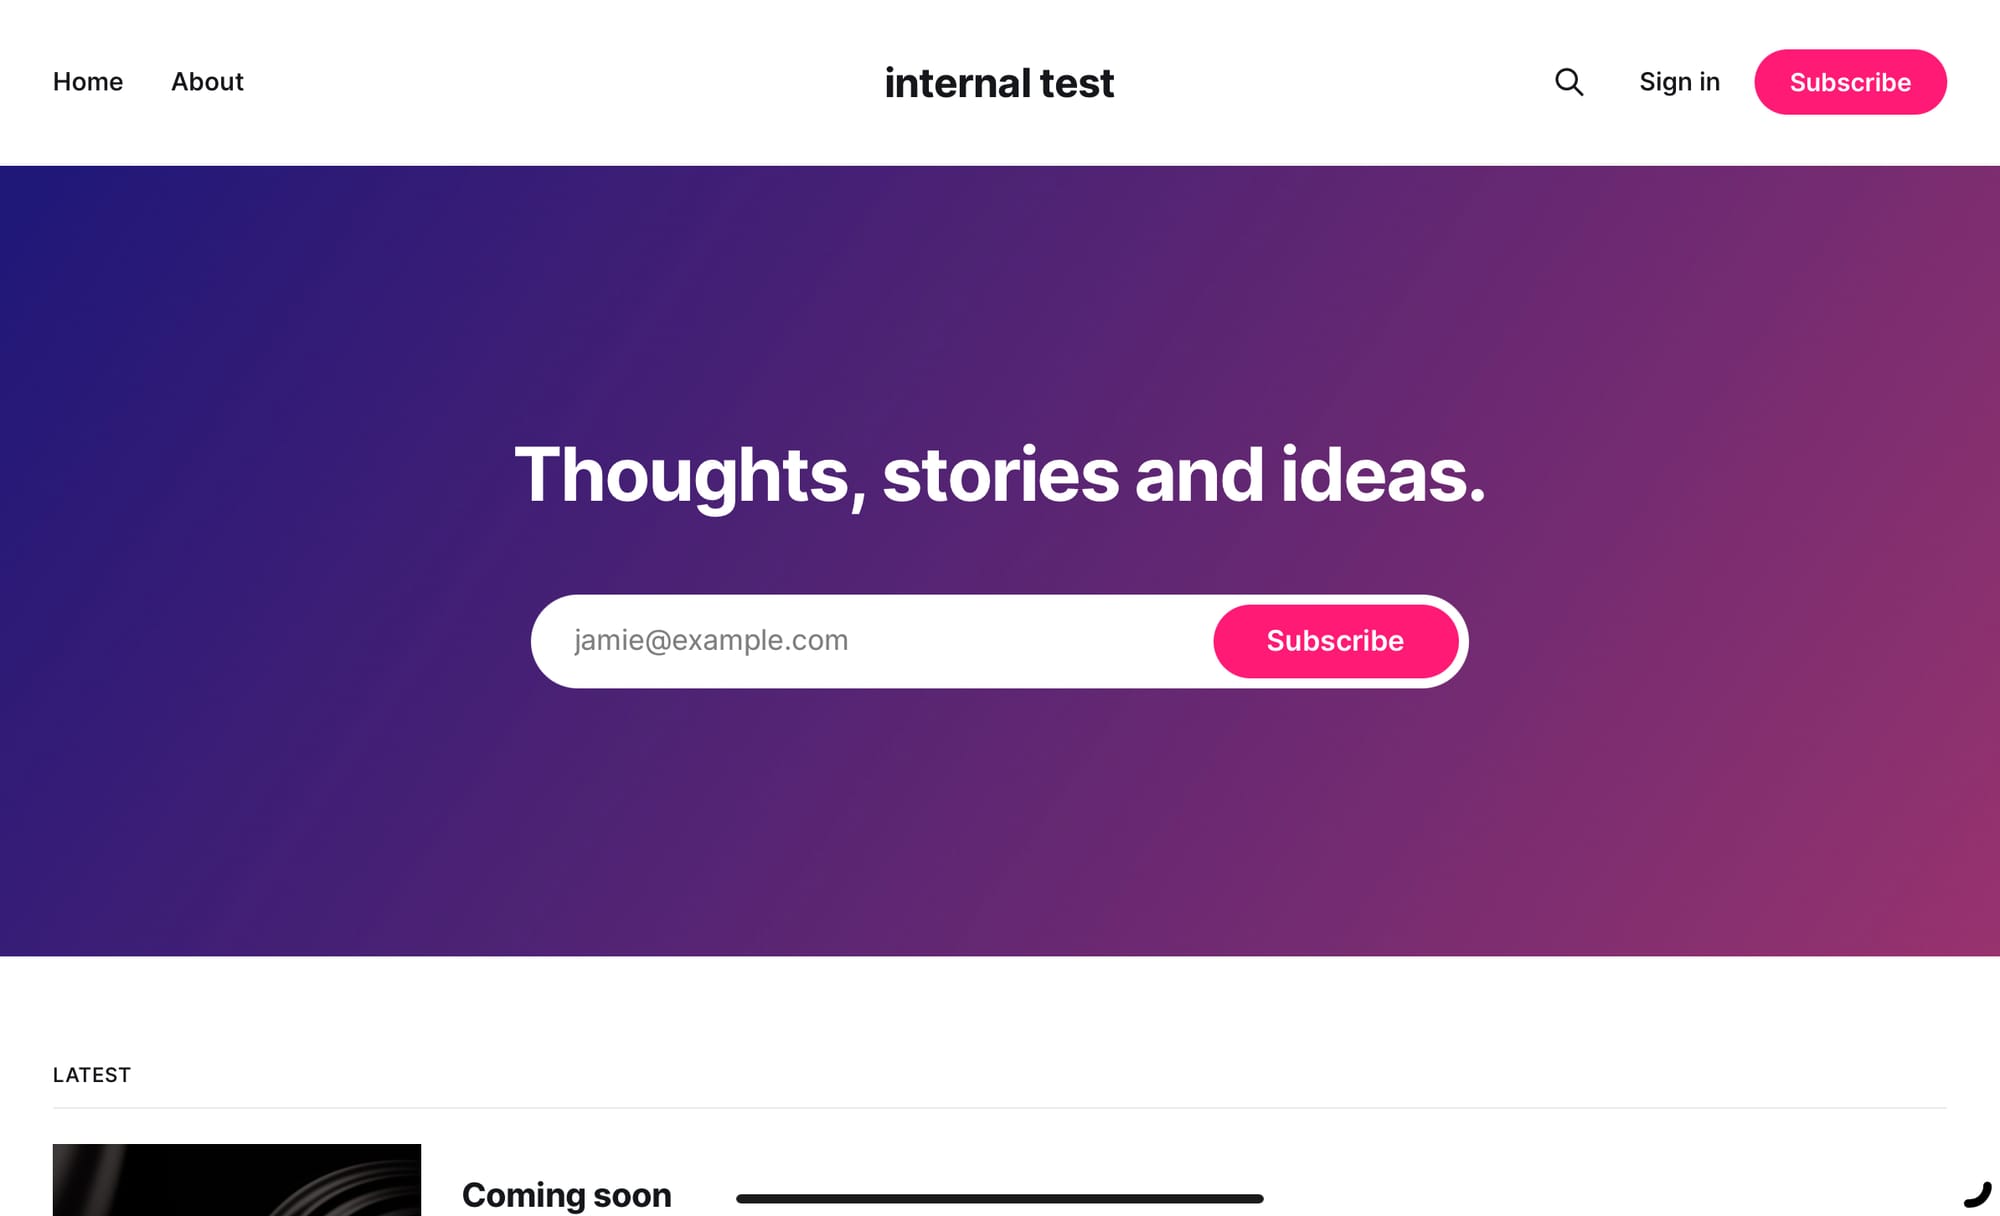
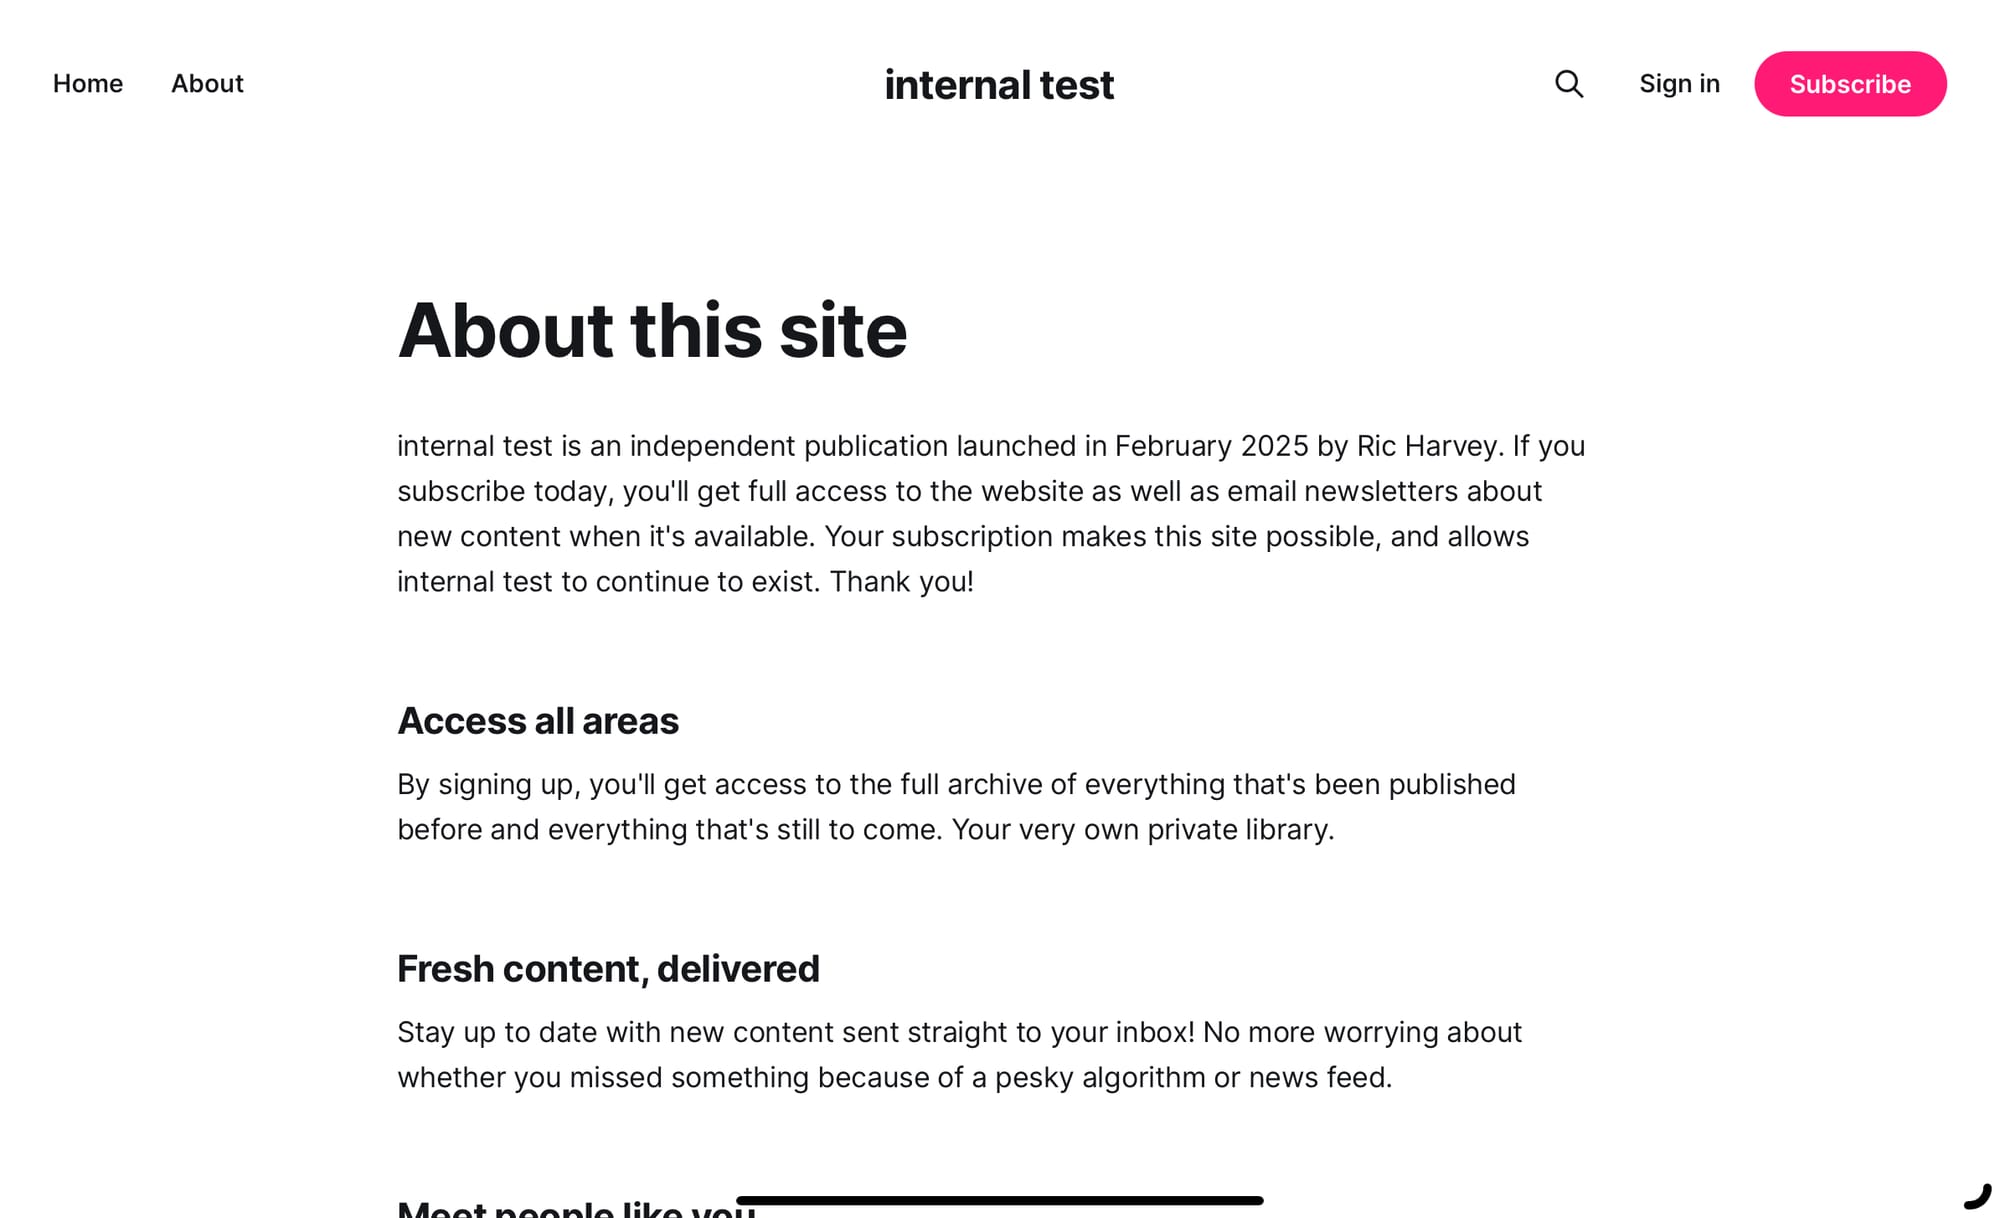
Your blog up and running
Conclusion
I‘m a big fan of ghost and now choose it over bigger alternatives such as Wordpress or Drupal. It’s much simpler and much faster whilst being gentle on CPU and RAM. It has all the features you need for blogging, plus the news letter management features are great and provide handy graphs so you can see how many people open you mail and read it. All the features and reporting will help you focus your content on what your audience wants. The editor for writing posts is distraction free and supports inserting all the normal media types you’d expect, such as images, videos, audio and gifs and you can even edit in markdown. Give it a go as it’s perfect for running on a Pi and getting your blog started.
Ease of setup
Pro’s
- Lightweight and fast
- Easy to migrate when you blog grows
- Lots of free themes
Con’s
- Limited bulk mail options
- Installing plugins is often not documented well
- I wish it allowed you to include more social networks by default
PiSource Score
| Easy of Setup | Features | Ease of Use | Extendability | Total |
|---|---|---|---|---|
| 10 | 9 | 9 | 8 | 36/40 |