Upgrade from micro SD to SSD on Pi 5
The best upgrade you can give your Raspberry Pi 5 is a storage upgrade to SSD. Here’s a handy guide to getting it setup.
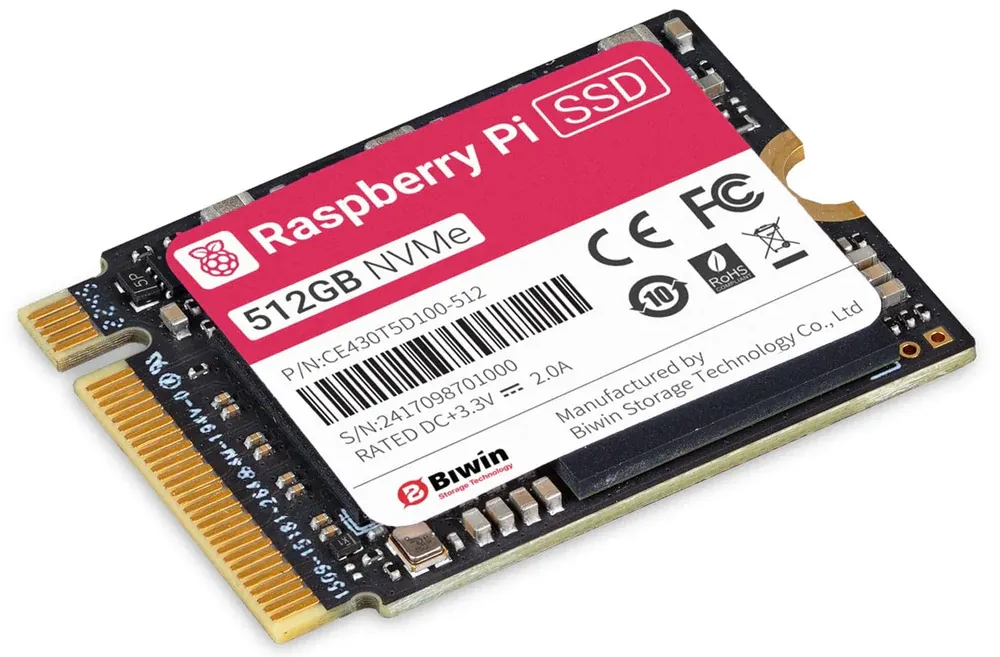
The best upgrade you can give your Pi 5 is a storage upgrade to an nvme SSD drive. The speed boost is staggering whether you’re running as a server or a desktop, and you’ll definitely notice the difference in the desktop OS. If you want to know just how fast, check out Jeff Geerling's findings in his blog post. Let’s take a look at what you need to upgrade and copy your system to the new disk.
Requirements
- Raspberry Pi 5
- Raspberry Pi OS or OS Lite installed
- A Pi 5 m.2 nvme HAT
- A m.2 nvme SSD disk
- It’s worth noting that Raspberry Pi make their own HAT and SSD!
Setup
For my upgrade I used the Waveshare POE+ m.2 HAT as I have a few Raspberry Pi mounted in a server rack. However, the principles of this work exactly the same no matter which HAT (or even a m.2 base) you’re using.
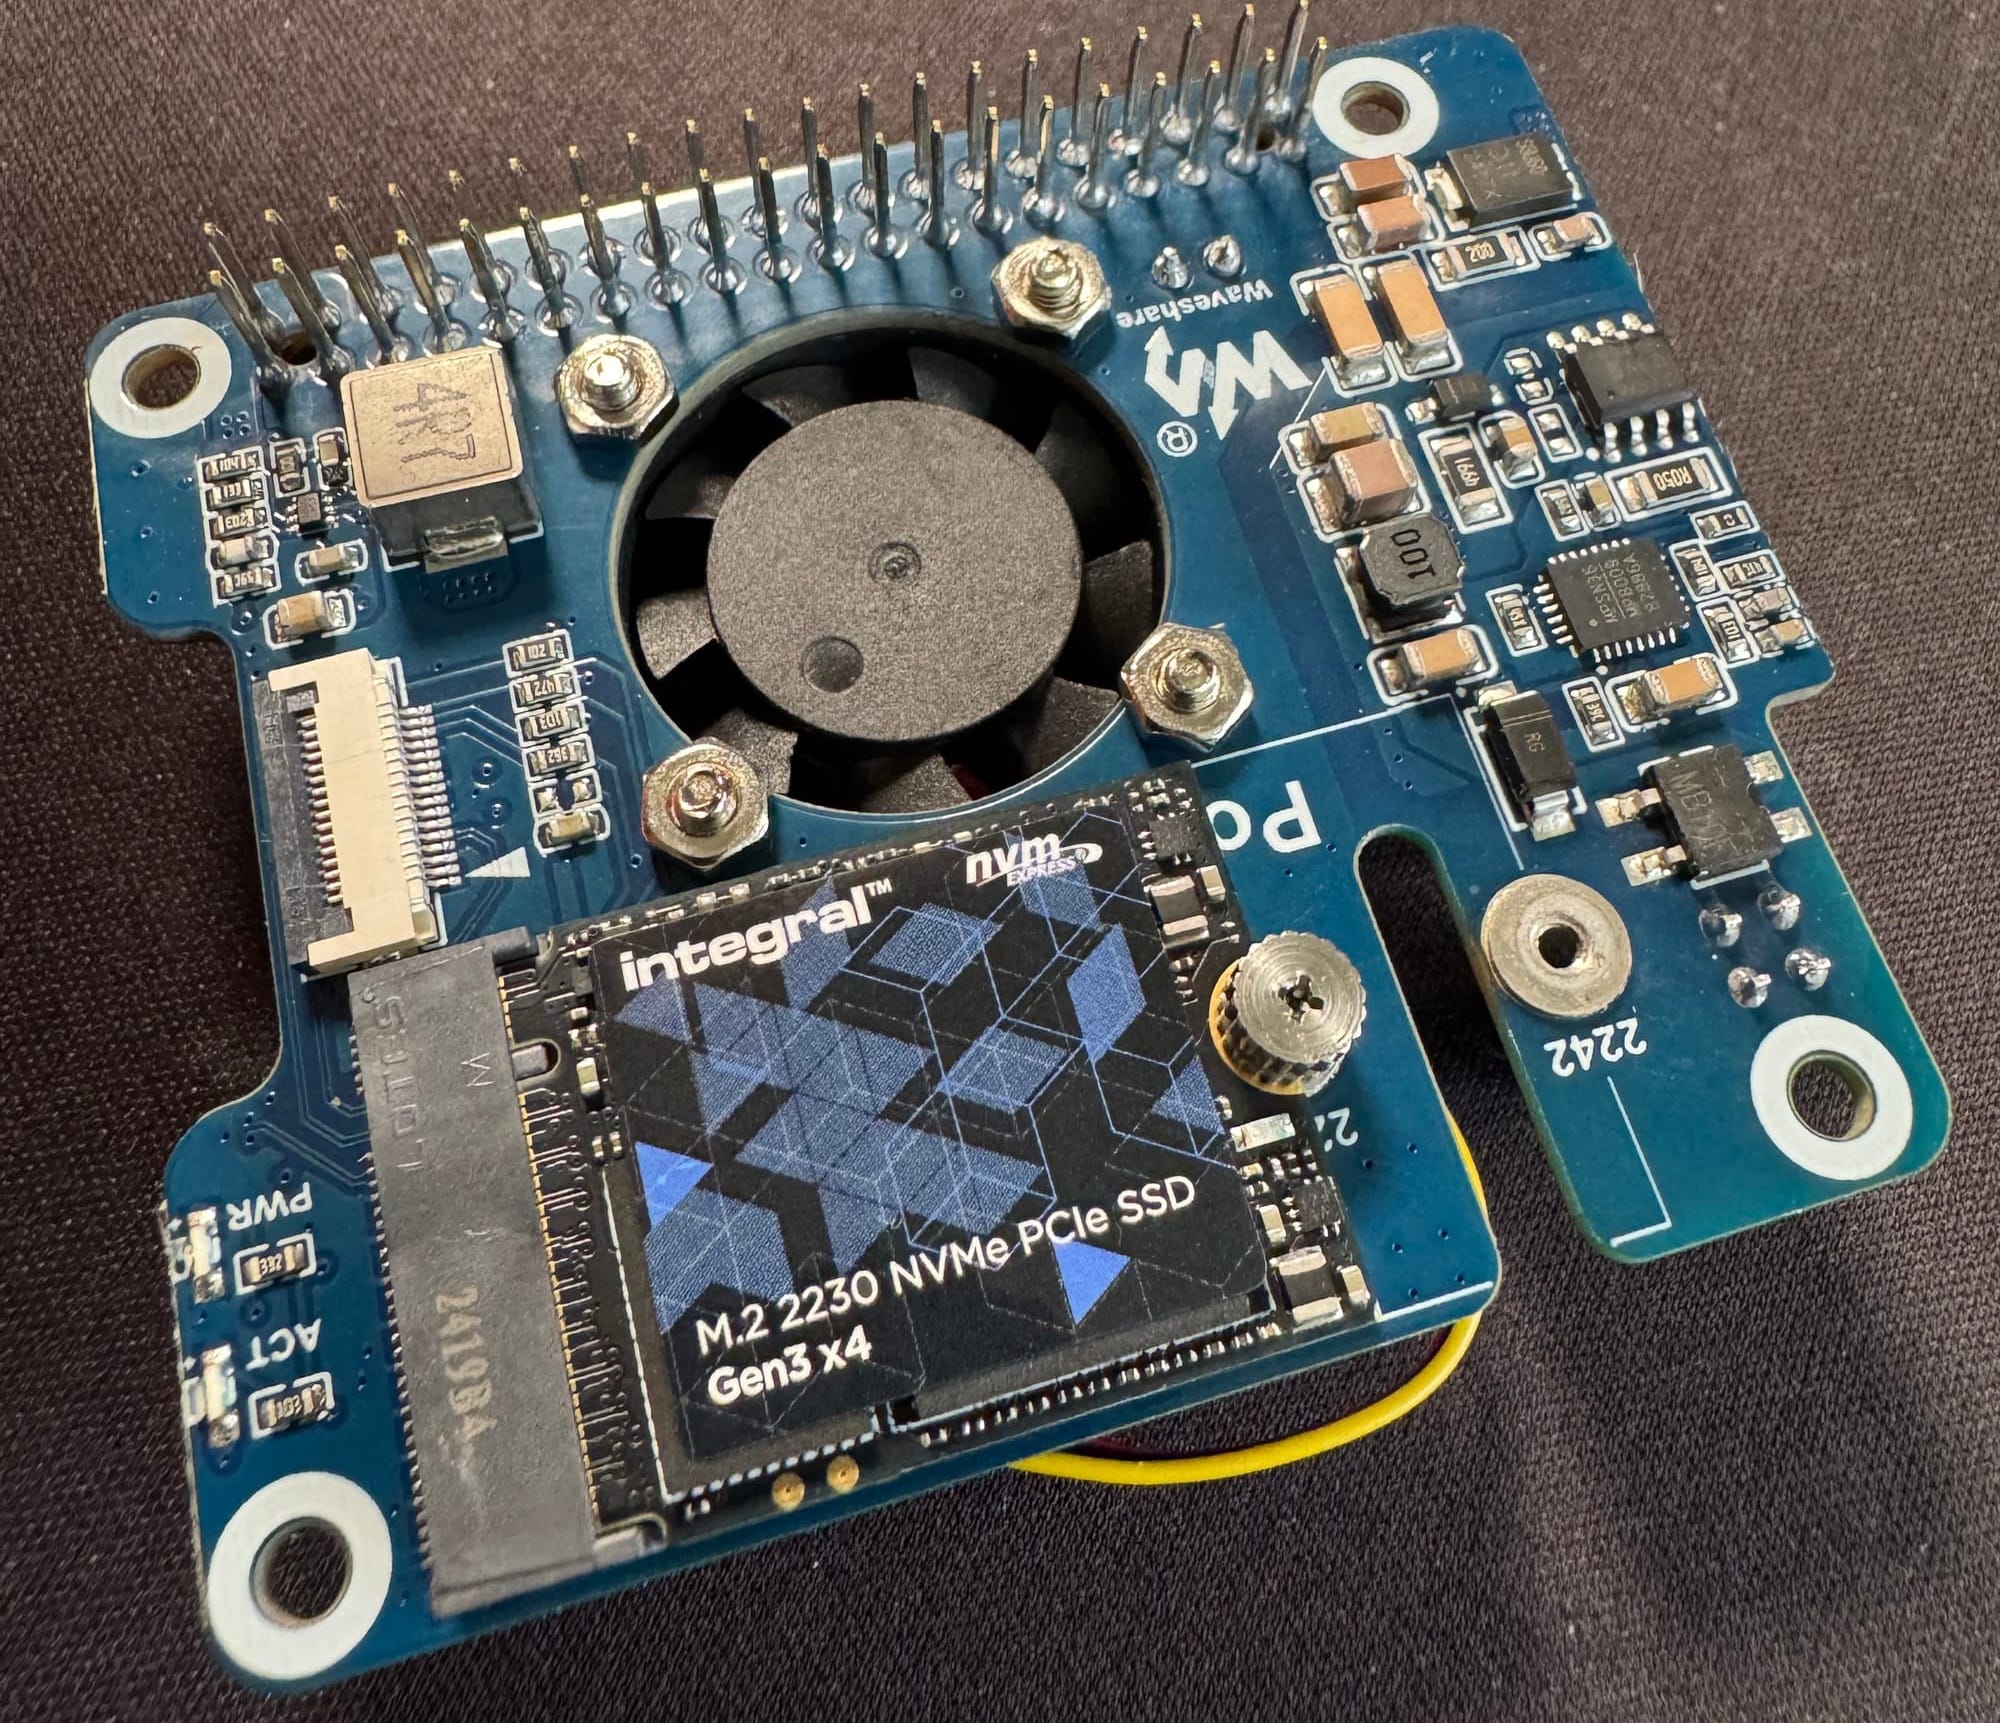
Whichever HAT you have, there will be a small (and fiddly) connector cable like a ribbon to join the board to the Pi; your board should come with instructions on how to fit it. Be VERY careful with the connectors though as they are easy to break. The Waveshare board above had a handy white triangle on it to help you align the cable correctly. Make sure you push it right in and lock it down.
Before we do anything with the SSD you’ll need to upgrade the eeprom firmware to the latest version. You can do this by running the following command:
sudo rpi-eeprom-update -aUpgrade to the latest version and reboot the Pi with everything connected.
Checking the Disks
Now you’ve rebooted with everything connected, let's make sure the Pi can see the new disk. Run the following command:
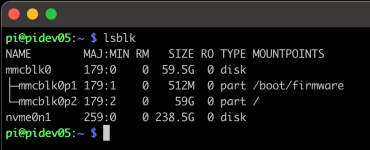
lsblkYou should see the following output, mmcblk0 is your microSD card which is currently your root device, and you can also see nvme0n1 which is your new SSD!
If you want you can run the following command which will show you the SSD Controller.
lspci
Enabling PCIe gen 3
Now in order to get the maximum performance out of your nvme drive, we'll need to tell the Linux kernel to use PCIe gen 3 speeds. This is relatively simple and we just need to add a couple of lines to the boot config the Pi uses.
Edit the file /boot/firmware/config.txt with your favourite editor and add these two lines to the end of the file:
dtparam=pciex1
dtparam=pciex1_gen=3
Now reboot your system and you'll have an upgraded speed for PCIe.
Cloning your system
Now you've rebooted your system let's get to cloning the microSD card over to the nvme drive. For this we are going to use a tool called rpi-clone which is now maintained by Jeff Geerling. This is going to be responsible for copying all your data from microSD to nvme, resizing the partitions on the nvme and making the disk bootable. Go ahead and connect to your Pi in your normal way, i.e. SSH, or just login if you are using it as a desktop. Now we'll run this script that pulls down the application and moves it to /usr/local/sbin and makes it executable.
curl https://raw.githubusercontent.com/geerlingguy/rpi-clone/master/install | sudo bash

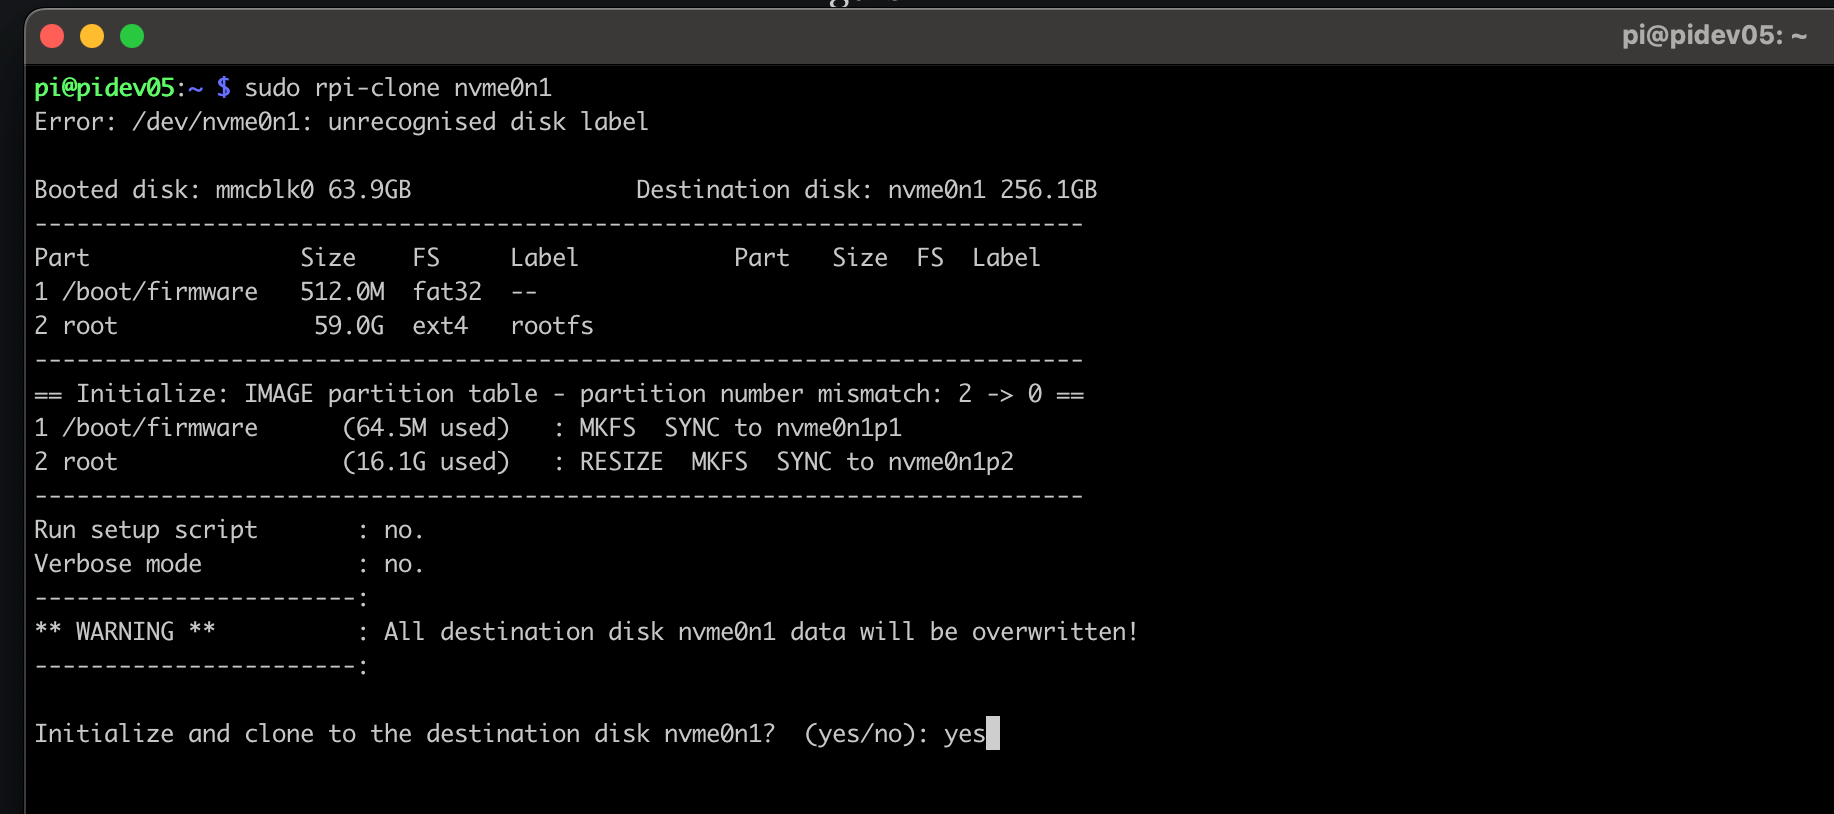
Next, as we are using an nvme m.2 SSD, we'll run the following command which will prompt you for confirmation and then begin copying the files. You can select all the defaults during confirmation. If your drive is named differently when running lsblk, you’ll need to substitute that at the end of the line.
sudo rpi-clone nvme0n1
Setting the boot order
Now that all your data is copied across, you’re almost done! We just have to change the boot order of the Pi so it doesn’t try and boot from the microSD first. Open up your terminal again and run the following command to configure this:
raspi-configNow work through the menu and choose the rolling options in order:
- 6 - Advanced Options Configure advanced settings
- A4 - Boot Order Choose SD, network, USB or NVMe device boot priority
- B2 - NVMe/USB Boot Boot from NVMe before trying USB and then SD Card
- Select finish and exit
Reboot
It’s now time to reboot and you can even take the opportunity to remove the microSD. You should notice when you power back up that it’s fast, really fast! If you run lsblk, you’ll see that nvme0n1 now contains the root partition.
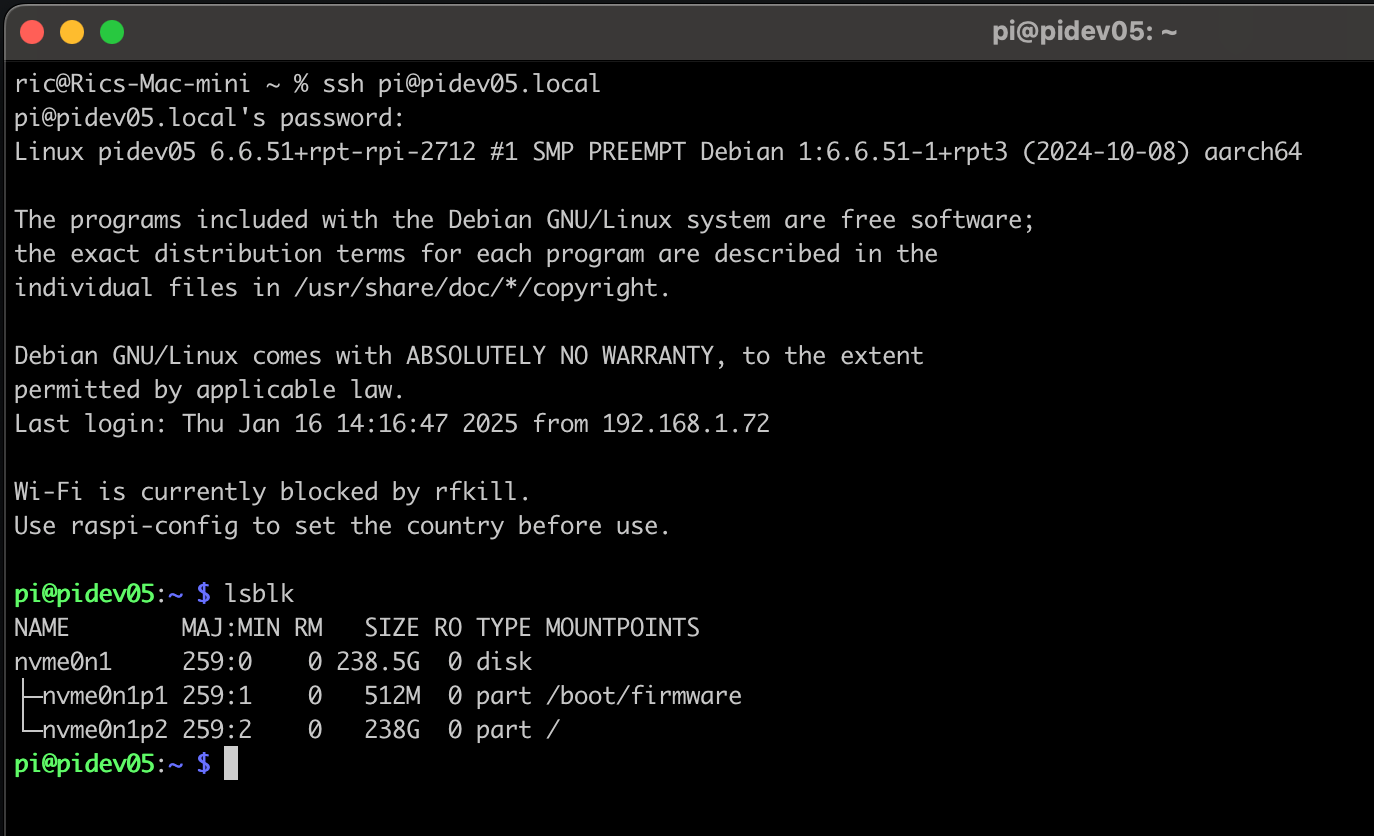
Now you can enjoy your Raspberry Pi 5 at full speed, and if you’re running a desktop, you’ll really notice the load times of apps like chromium get a big boost.
If you haven’t already SUBSCRIBED to PiSource, please do as it will help fund more articles and equipment for testing.


