Running your own code repository from your Pi
Run your own code version control server and take control of your projects whilst having all the great features at your fingertips. Forgejo is an amazing open source platform and this article will show you how to set it up.


I’m sure many of you will be familiar with GitHub as a place for storing your code and sharing with others, and some of you may be using the issue management system or even the built-in CI/CD of GitHub actions. For a long time this has been the main/default place to put open source projects. However, there’s a turning tide against the Microsoft owned code repository as its AI training policy has left many feeling uneasy that they are training Microsoft’s algorithm. Lots of people turned to GitLab which is kind of open source, but really it’s open core as for some of the features you need to buy a licence, even if you are hosting it yourself. It also has issue management, CI/CD runners, security scanning tools, etc. But what if you want something with all these features that won’t cost you anything in terms of licence fees?
Well, the answer is Forgejo. It’s a fork of another project called Gitea, which was fully open source until it was acquired. It is now a dual/business use licence which makes a lot of people feel uneasy. Forgejo took the last open source licensed version and then started coding it themselves and maintained the open source GPL v3 licence. It has issue management, pull request handling, CI/CD runners that are compatible with GitHub actions and all the good stuff you’ve come to expect in your git storage solution. As someone who was a self-confessed GitLab fan, I find I’ve switched allegiance.
Getting up and running
Let’s take a look at getting this running. We’ll cover running the main software and database but we’ll not touch the runners for the CI/CD in this post.
Requirements
- Raspberry Pi (4 or 5 recommended)
- Extra storage (SSD upgrade)
- Setup the Pi as a server
- Install Traefik as a reverse proxy
Adding SSH support to traefik
If you have everything up and running from the requirements list, we can begin. Now, in this example I’m going to change the port SSH runs on! Why, you may ask? It should be 22, well yes it should be but our Pi server is already running SSH on that port so we can’t bind to that port for the container running Git and SSH as well because it’s in use. Don’t worry too much though, because I’ll show you how to let your SSH and Git client use that port for your Forgejo host automatically.
To make this happen we need to still route the new SSH port (it’s going to be port 222) through traefik. Log into your Pi server and then let’s edit the traefik config.
ssh pi@youthost.local
cd /opt/containers/traefik
sudo vi /opt/containers/traefik/data/traefik.yml
Now edit the entryPoints section in this file and make it look like below:
entryPoints:
  web:
    address: ":80"
  websecure:
    address: ":443"
  ssh:
    address: ":222"
Once this is edited you need to restart traefik so lets bounce it.
cd /opt/containers/traefik
docker compose down
docker compose up -d
Setting up the directories you need
Now let’s set up the working directories on the host so that we can save the persistent data (your code and the database).
mkdir -p /opt/containers/forgejo/{data,postgres}
cd /opt/containers/forgejo
touch compose.yml
touch .env
Creating the compose.yml and .env files
Staying in the /opt/containers/forgejo directory run the following command:
vi compose.ymlCopy the file from below and make sure you change <YOUR_DOMAIN> to match your local domain name you set up when you first installed traefik. For reference, mine is code.internal.pisource.org
services:
  server:
    image: codeberg.org/forgejo/forgejo:10
    container_name: forgejo
    env_file:
      - .env
    environment:
      - USER_UID=1000
      - USER_GID=1000
      - FORGEJO__database__DB_TYPE=postgres
      - FORGEJO__database__HOST=db:5432
      - FORGEJO__database__NAME=forgejo
      - FORGEJO__database__USER=forgejo
      - FORGEJO__database__PASSWD=${DB_PASSWORD}
    restart: always
    networks:
      - forgejo
      - traefik_proxy
    volumes:
      - /opt/containers/forgejo/data:/data
      - /etc/timezone:/etc/timezone:ro
      - /etc/localtime:/etc/localtime:ro
    labels:
      - traefik.enable=true
      - traefik.http.routers.forgejo.entrypoints=web
      - traefik.http.routers.forgejo.rule=Host(`code.<YOUR_DOMAIN>`)
      - traefik.http.middlewares.forgejo-https-redirect.redirectscheme.scheme=https
      - traefik.http.routers.forgejo.middlewares=forgejo-https-redirect
      - traefik.http.routers.forgejo-secure.entrypoints=websecure
      - traefik.http.routers.forgejo-secure.rule=Host(`code.<YOUR_DOMAIN>`)
      - traefik.http.routers.forgejo-secure.tls=true
      - traefik.http.routers.forgejo-secure.tls.certresolver=myresolver
      - traefik.http.routers.forgejo-secure.service=forgejo
      - traefik.http.services.forgejo.loadbalancer.server.port=3000
      - traefik.tcp.routers.forgejo-ssh.entrypoints=ssh
      - traefik.tcp.routers.forgejo-ssh.rule=HostSNI(`*`)
      - traefik.tcp.routers.forgejo-ssh.tls=false
      - traefik.tcp.services.forgejo-ssh.loadbalancer.server.port=22
      - traefik.tcp.routers.forgejo-ssh.service=forgejo-ssh
      - traefik.docker.network=traefik_proxy
    depends_on:
      - db
  db:
    image: postgres:14
    restart: always
    env_file:
      - .env
    environment:
      - POSTGRES_USER=forgejo
      - POSTGRES_PASSWORD=${DB_PASSWORD}
      - POSTGRES_DB=forgejo
    networks:
      - forgejo
    volumes:
      - /opt/containers/forgejo/postgres:/var/lib/postgresql/data
networks:
  forgejo:
    external: false
  traefik_proxy:
    external: true
Once you’ve saved the file above you need to create the .env file and change <YOUR_DB_PASSWORD> to a suitable password.
vi .envDB_PASSWORD=<YOUR_DB_PASSWORD>
MERMAID_MAX_SOURCE_CHARACTERS=5000Now that’s saved we are ready to fire up the service.
Start Forgejo
Staying in the same directory run the command below:
docker compose up -dDocker will now pull the containers, which will be the Forgejo app and postgres database, and then set them running. If you tail the logs you’ll see the initial set up of the database. Once it’s running we are ready to set up your admin user!
Set up your DNS
If you’ve followed the instructions for setting up traefik and SSL on your home lab, you’ll have a way to manage your internal DNS such as cloudflare or PiHole. In this system you’ll need to set up a new CNAME
code.<YOUR_DOMAIN>And point it to you traefik DNS entry. For example mine is like this:
code.internal.pisource.org CNAME traefik.internal.pisource.orgLogging in
When you first browse to your site you’re going to be faced with a wizard to help you set up things like the database which should be populated with the defaults.
Go ahead and open your web browser and enter the address:
https://code.<YOUR_DOMAIN>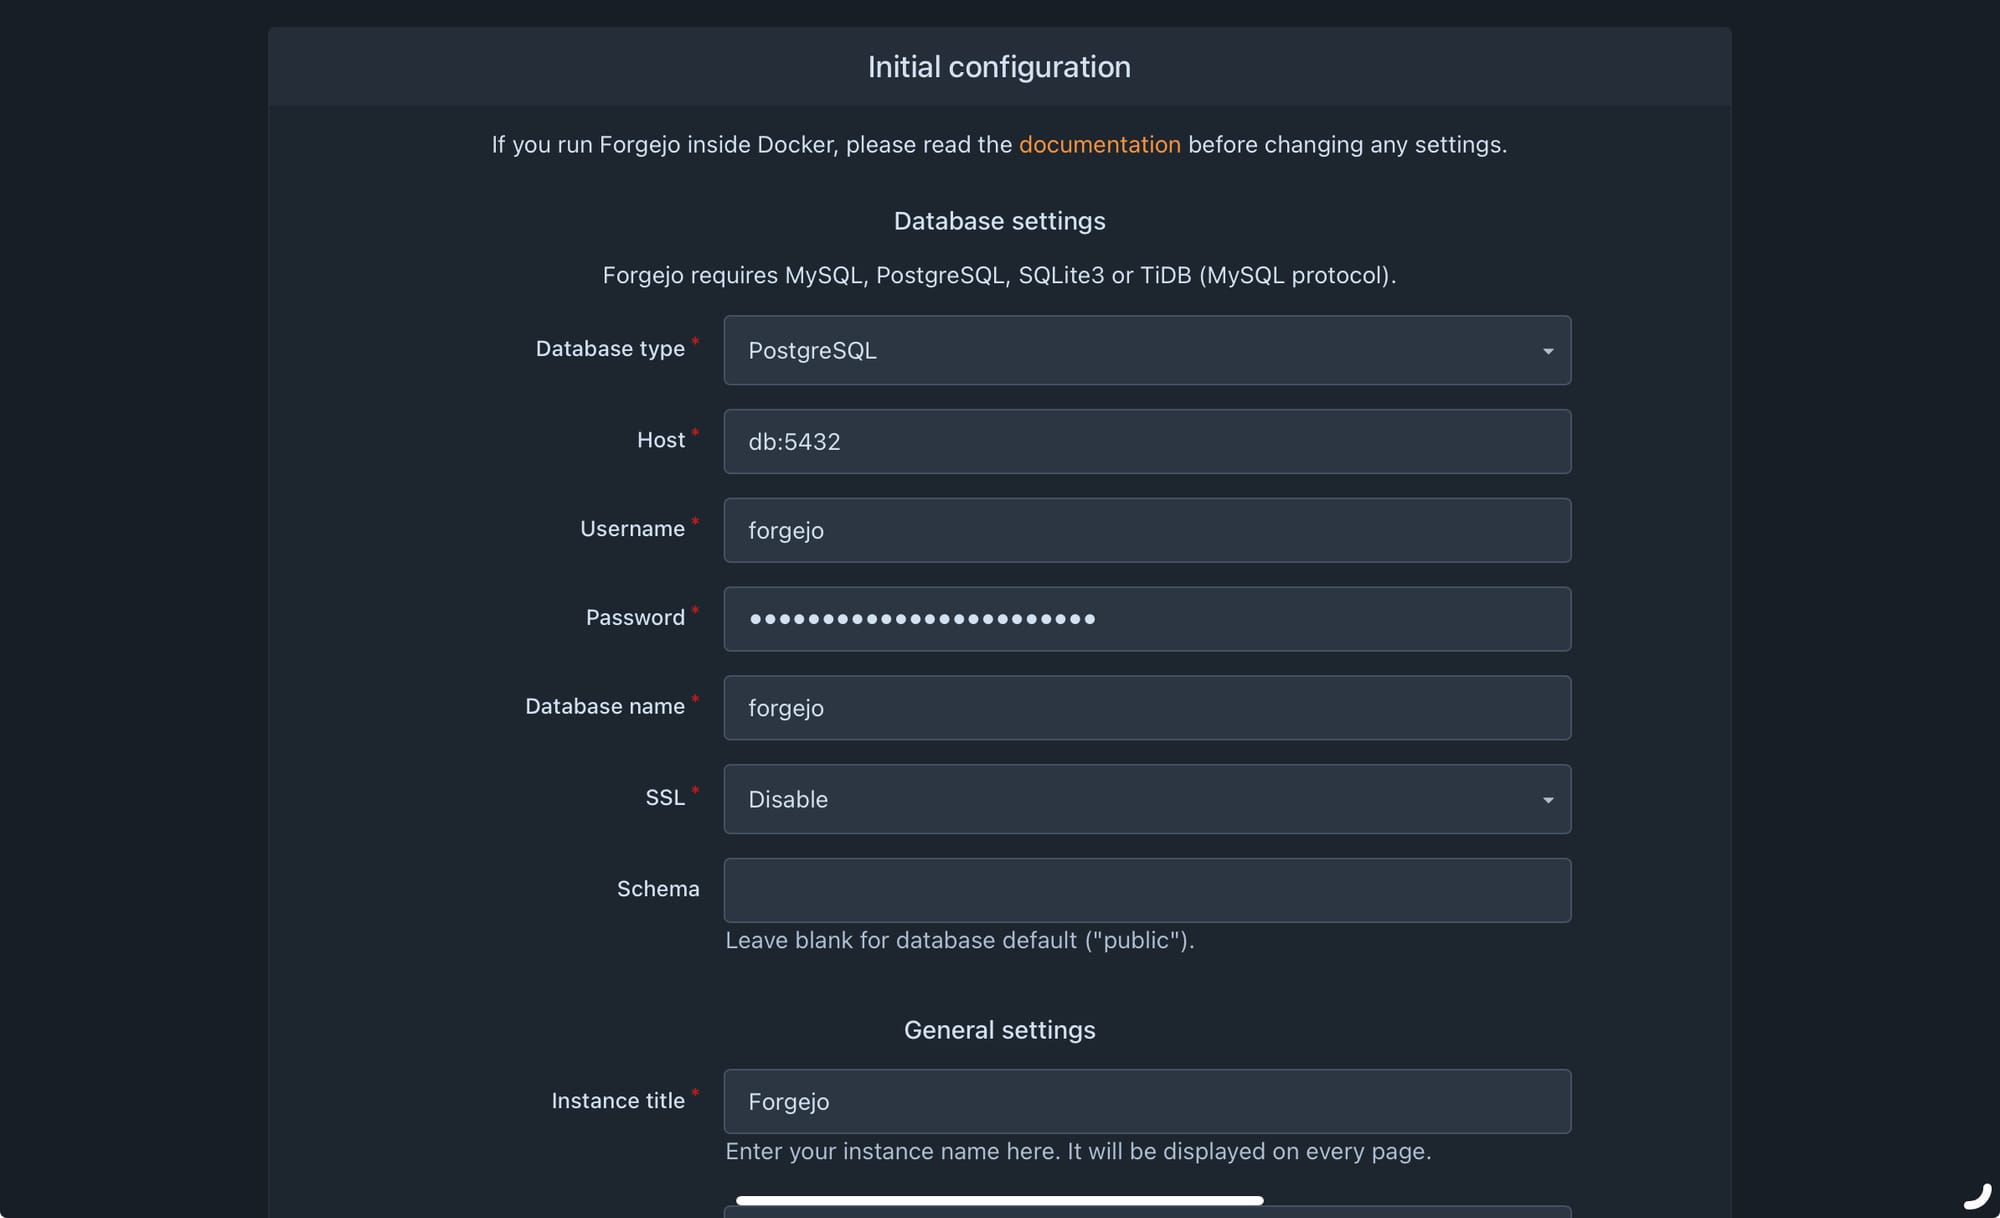
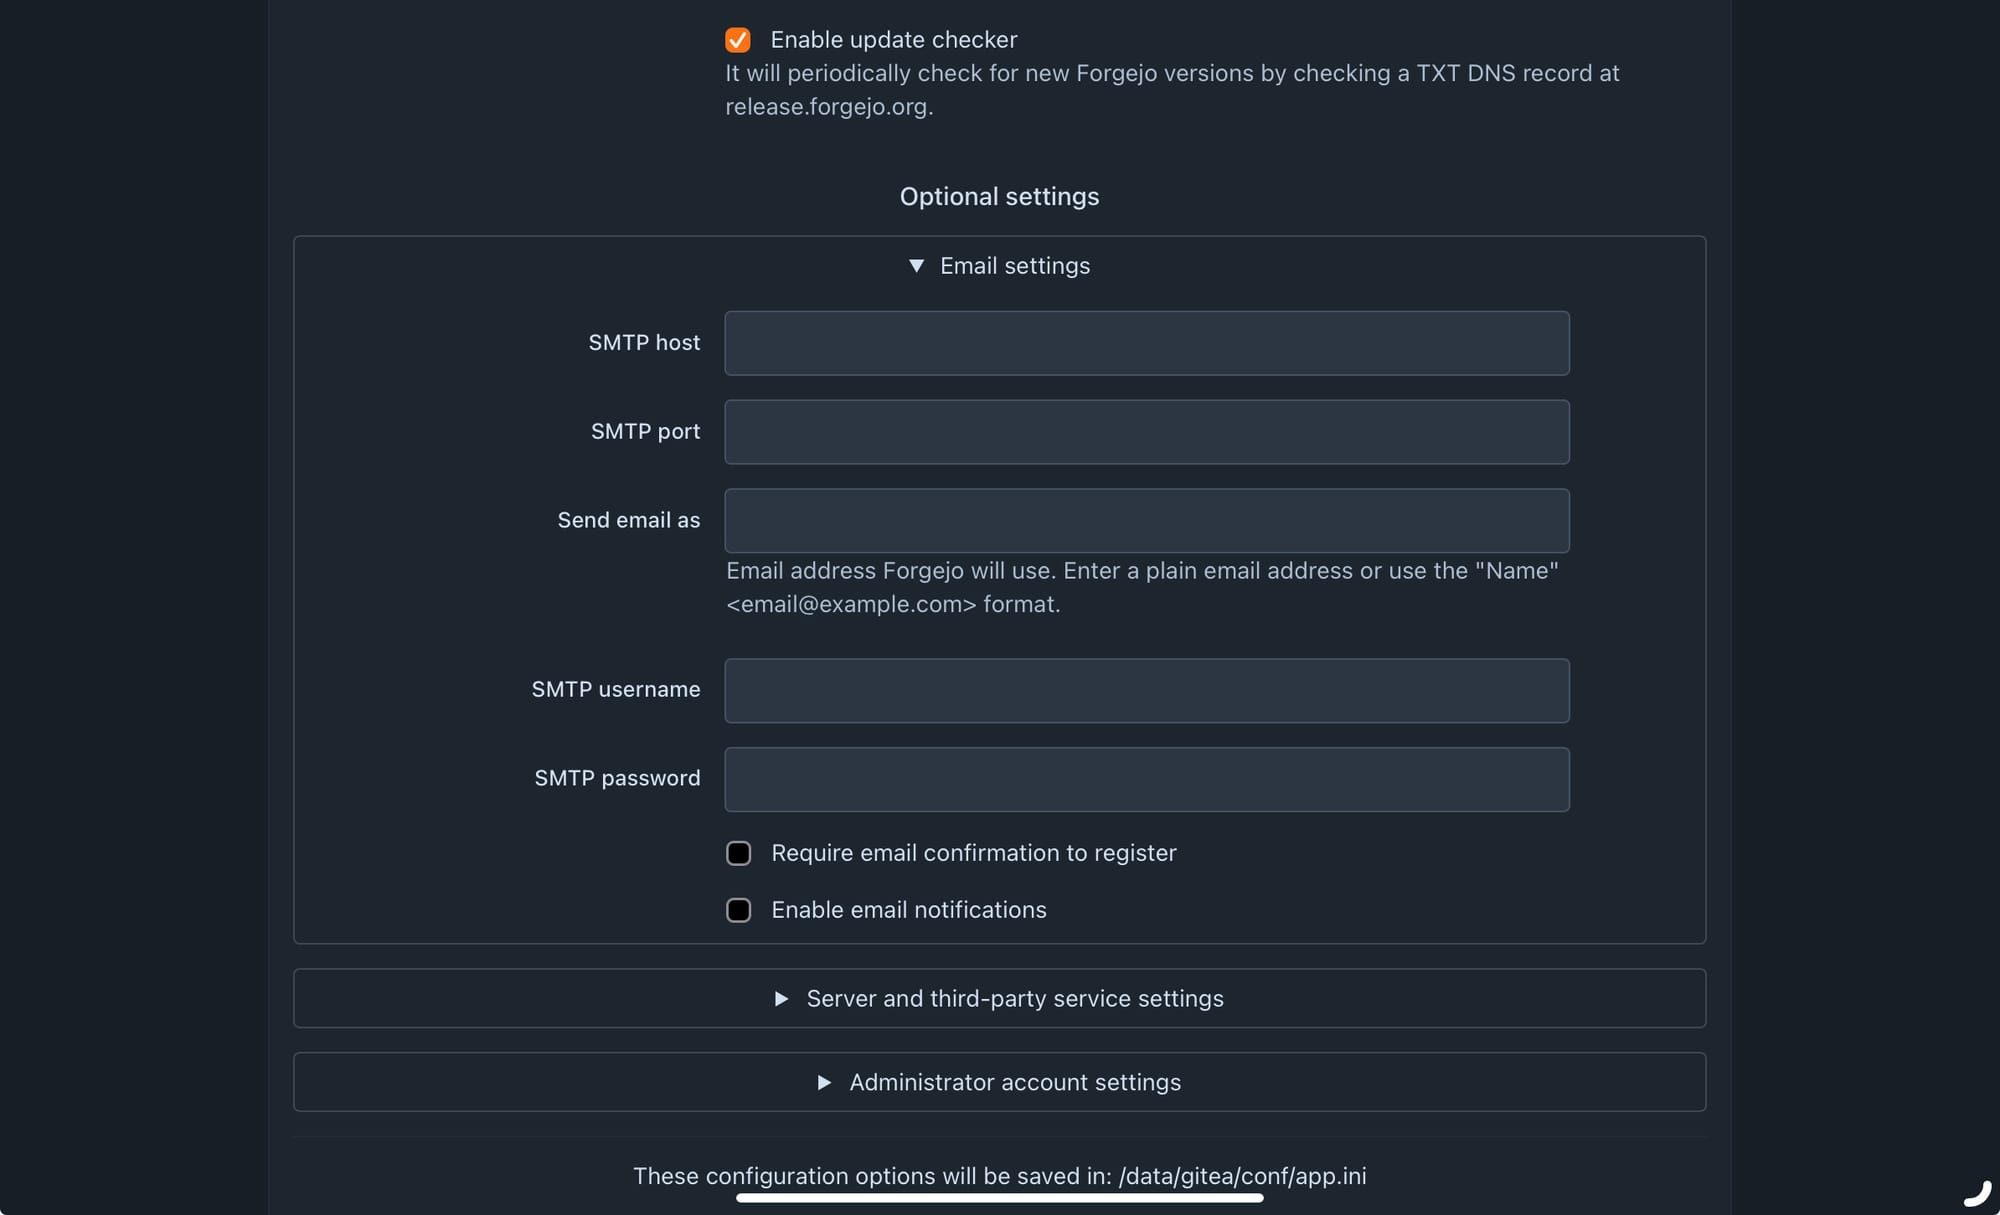
If you want to change settings this is the place to have a look, however these are all easy to change later. Keep scrolling down and have a look at the settings and if you want you can even set up an email relay at this point, so your server can send email notifications.
The last thing you need to configure is the admin account! This is pretty self explanatory but go ahead and click on “Administrator account settings”
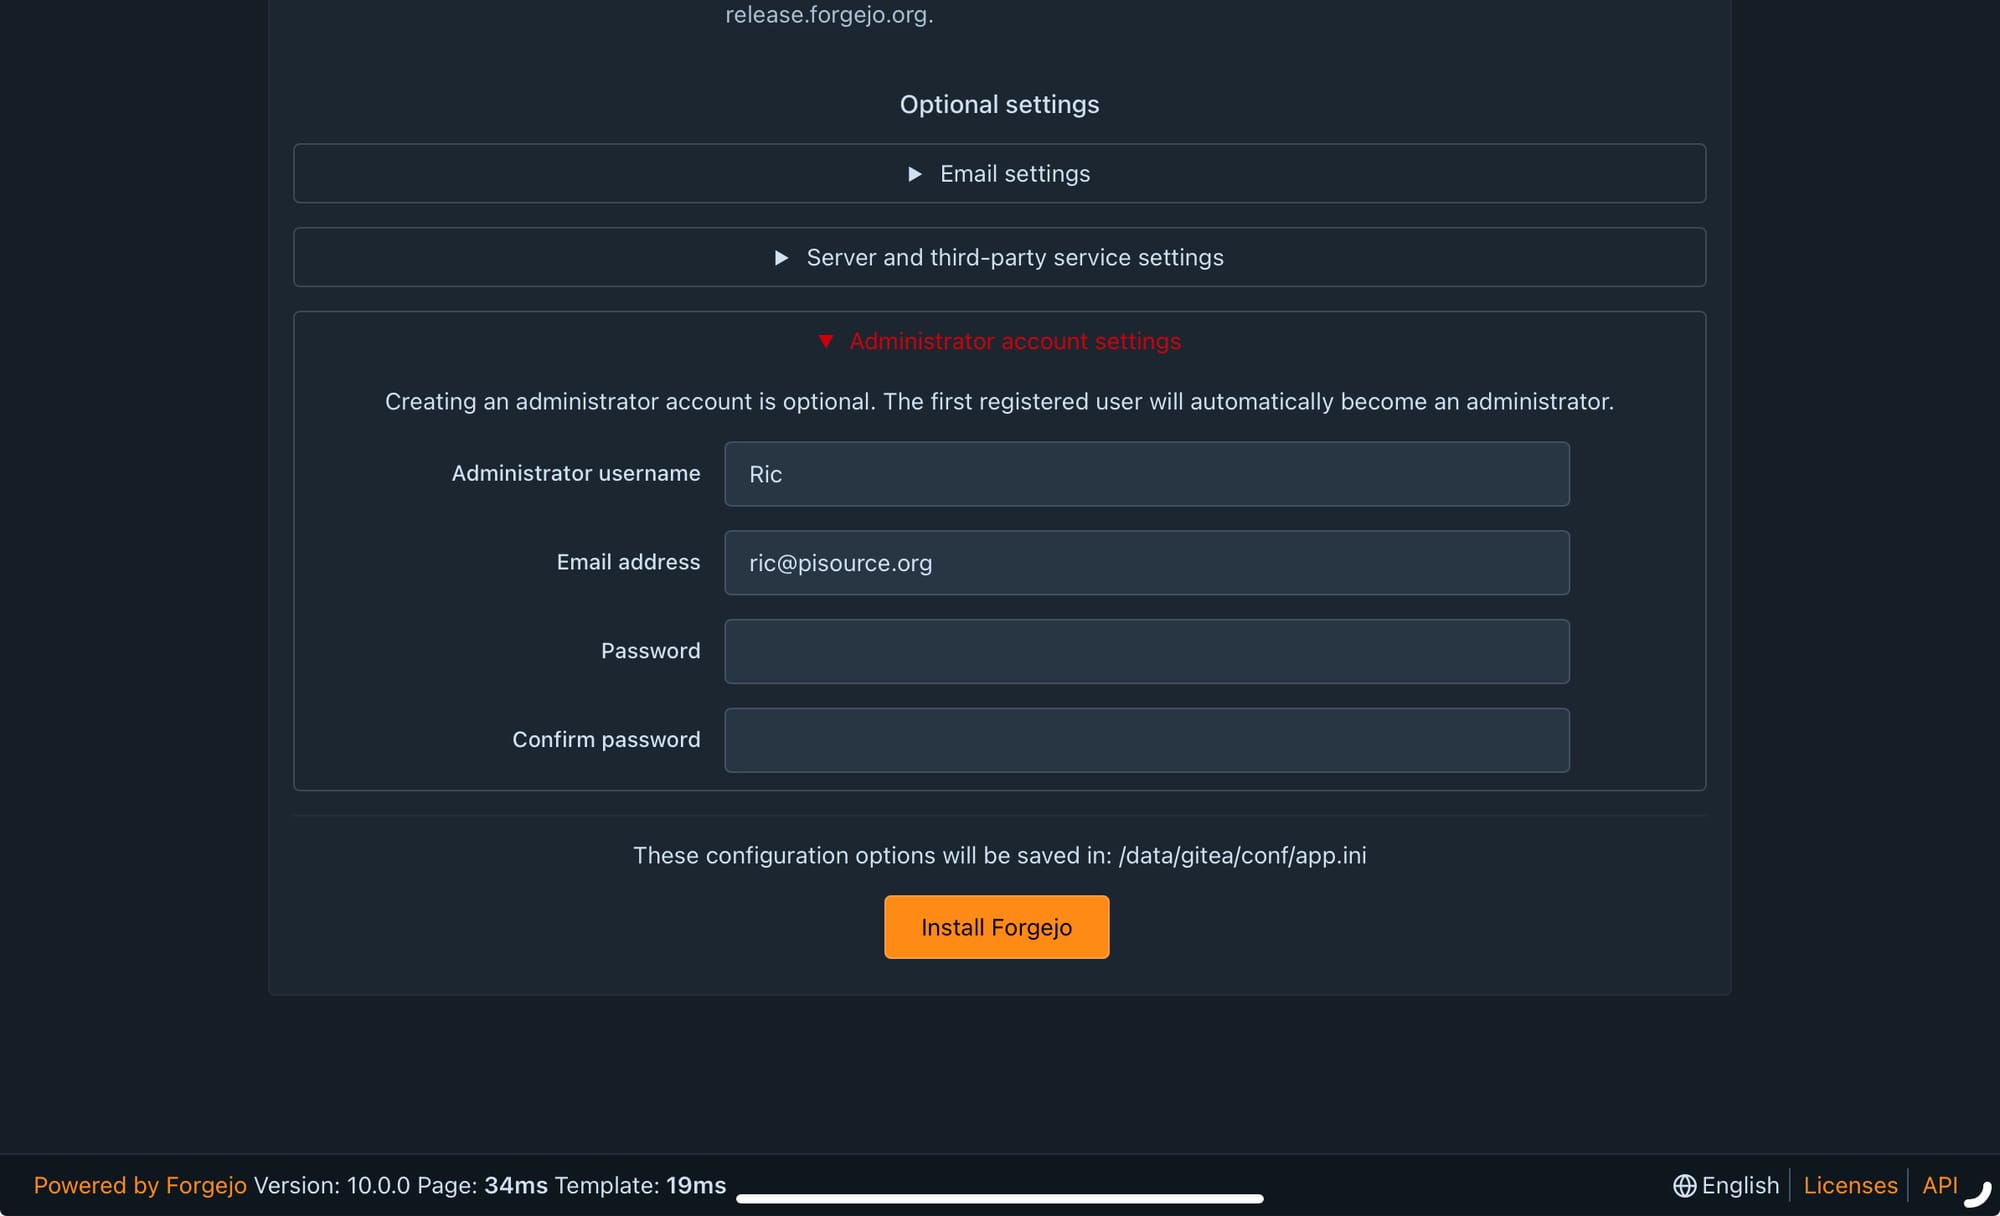
Now if you click Install Forgejo the rest of the setup will happen automatically.
If you want to take a look at more settings check out the documentation here: https://forgejo.org/docs/latest/admin/
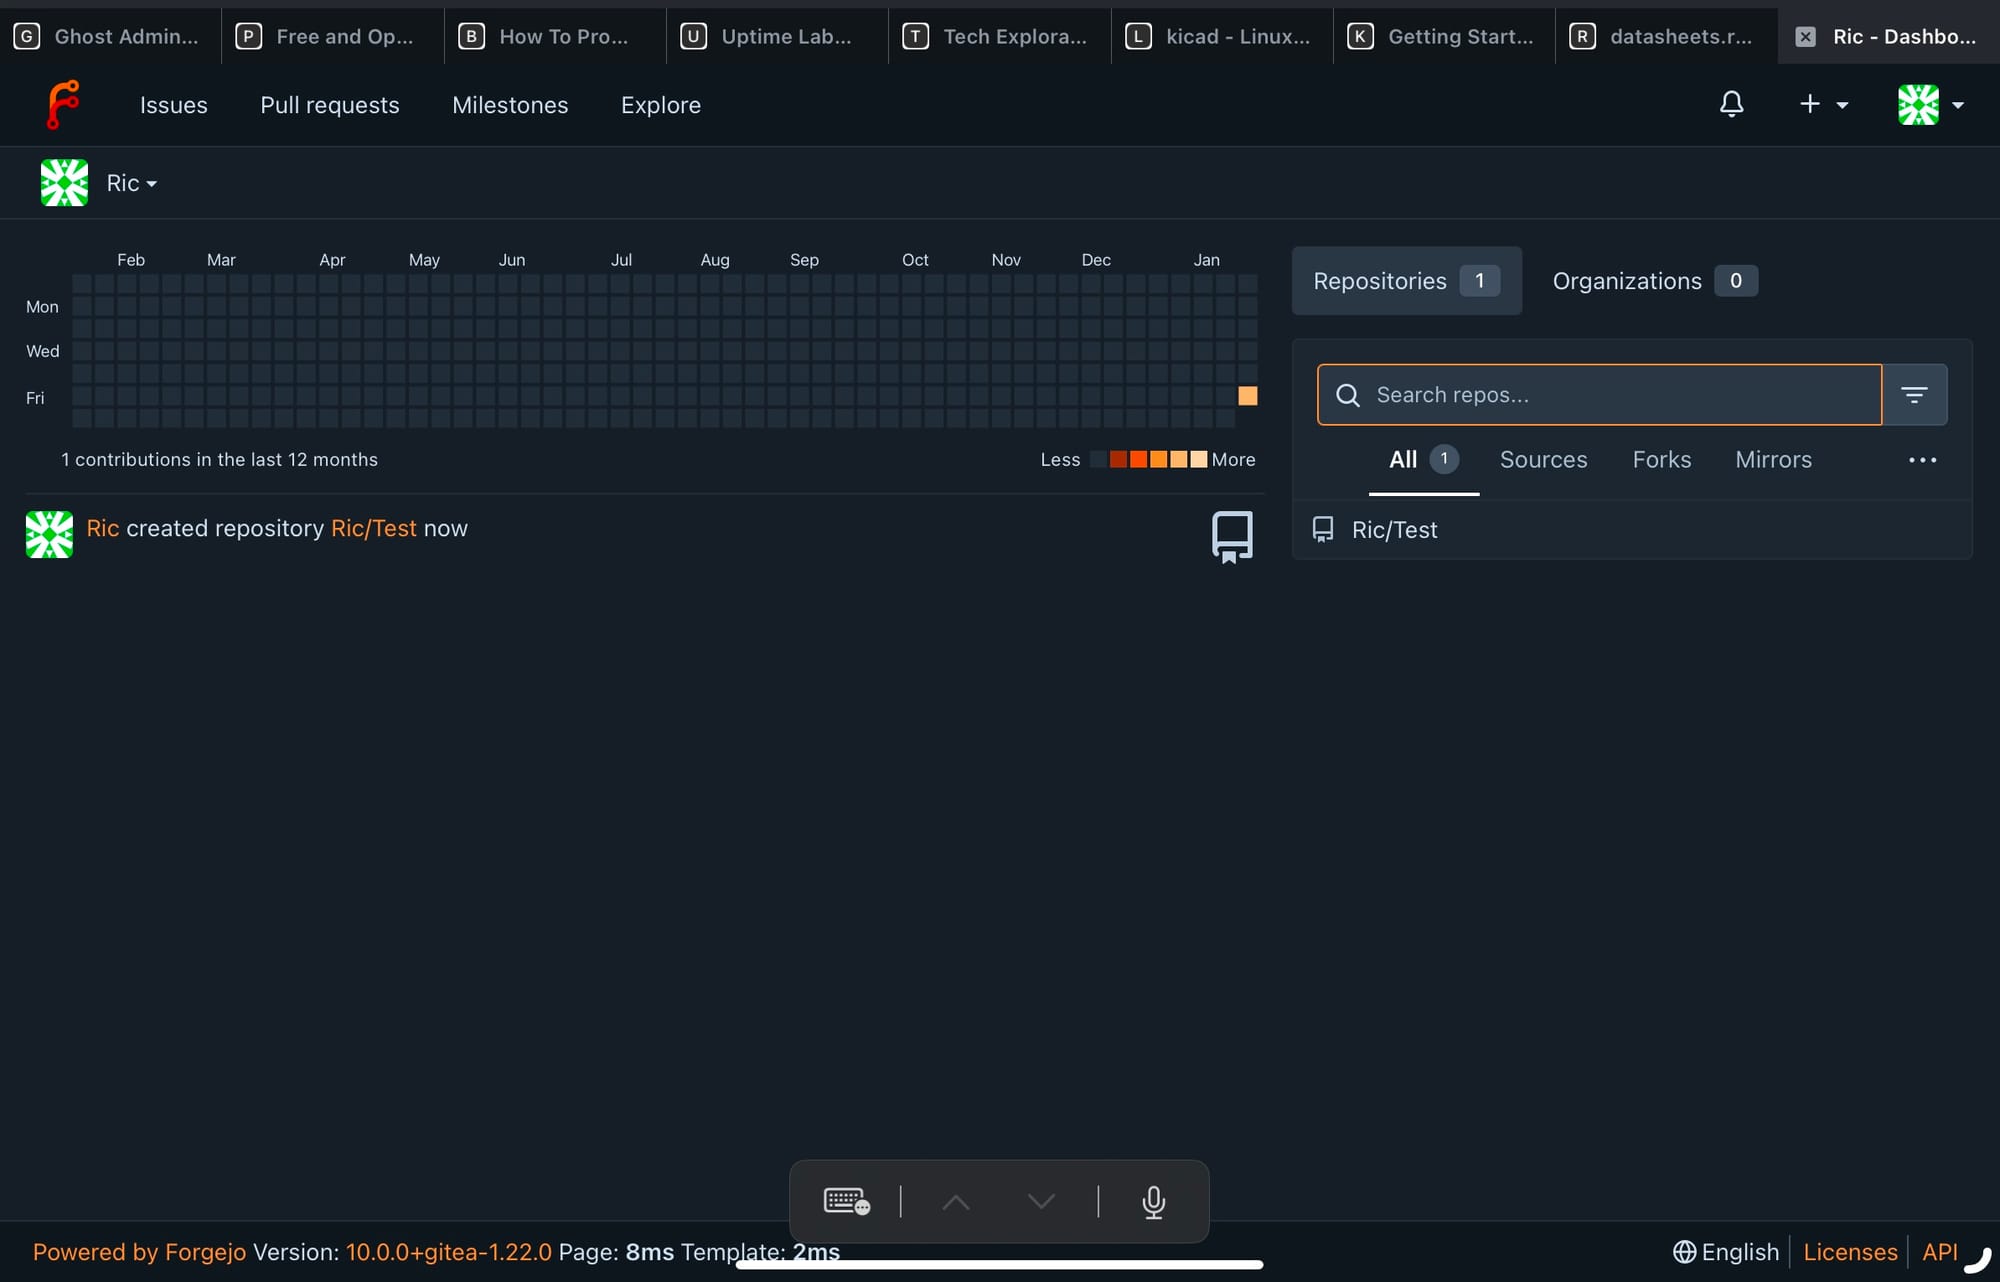
Now for the fun bit folks, not to spoil it but it just works! Straight away you’ll be in the interface, go ahead and click around, maybe create a repository. Once you do you’ll start seeing things like your contribution graph pop up on the interface.
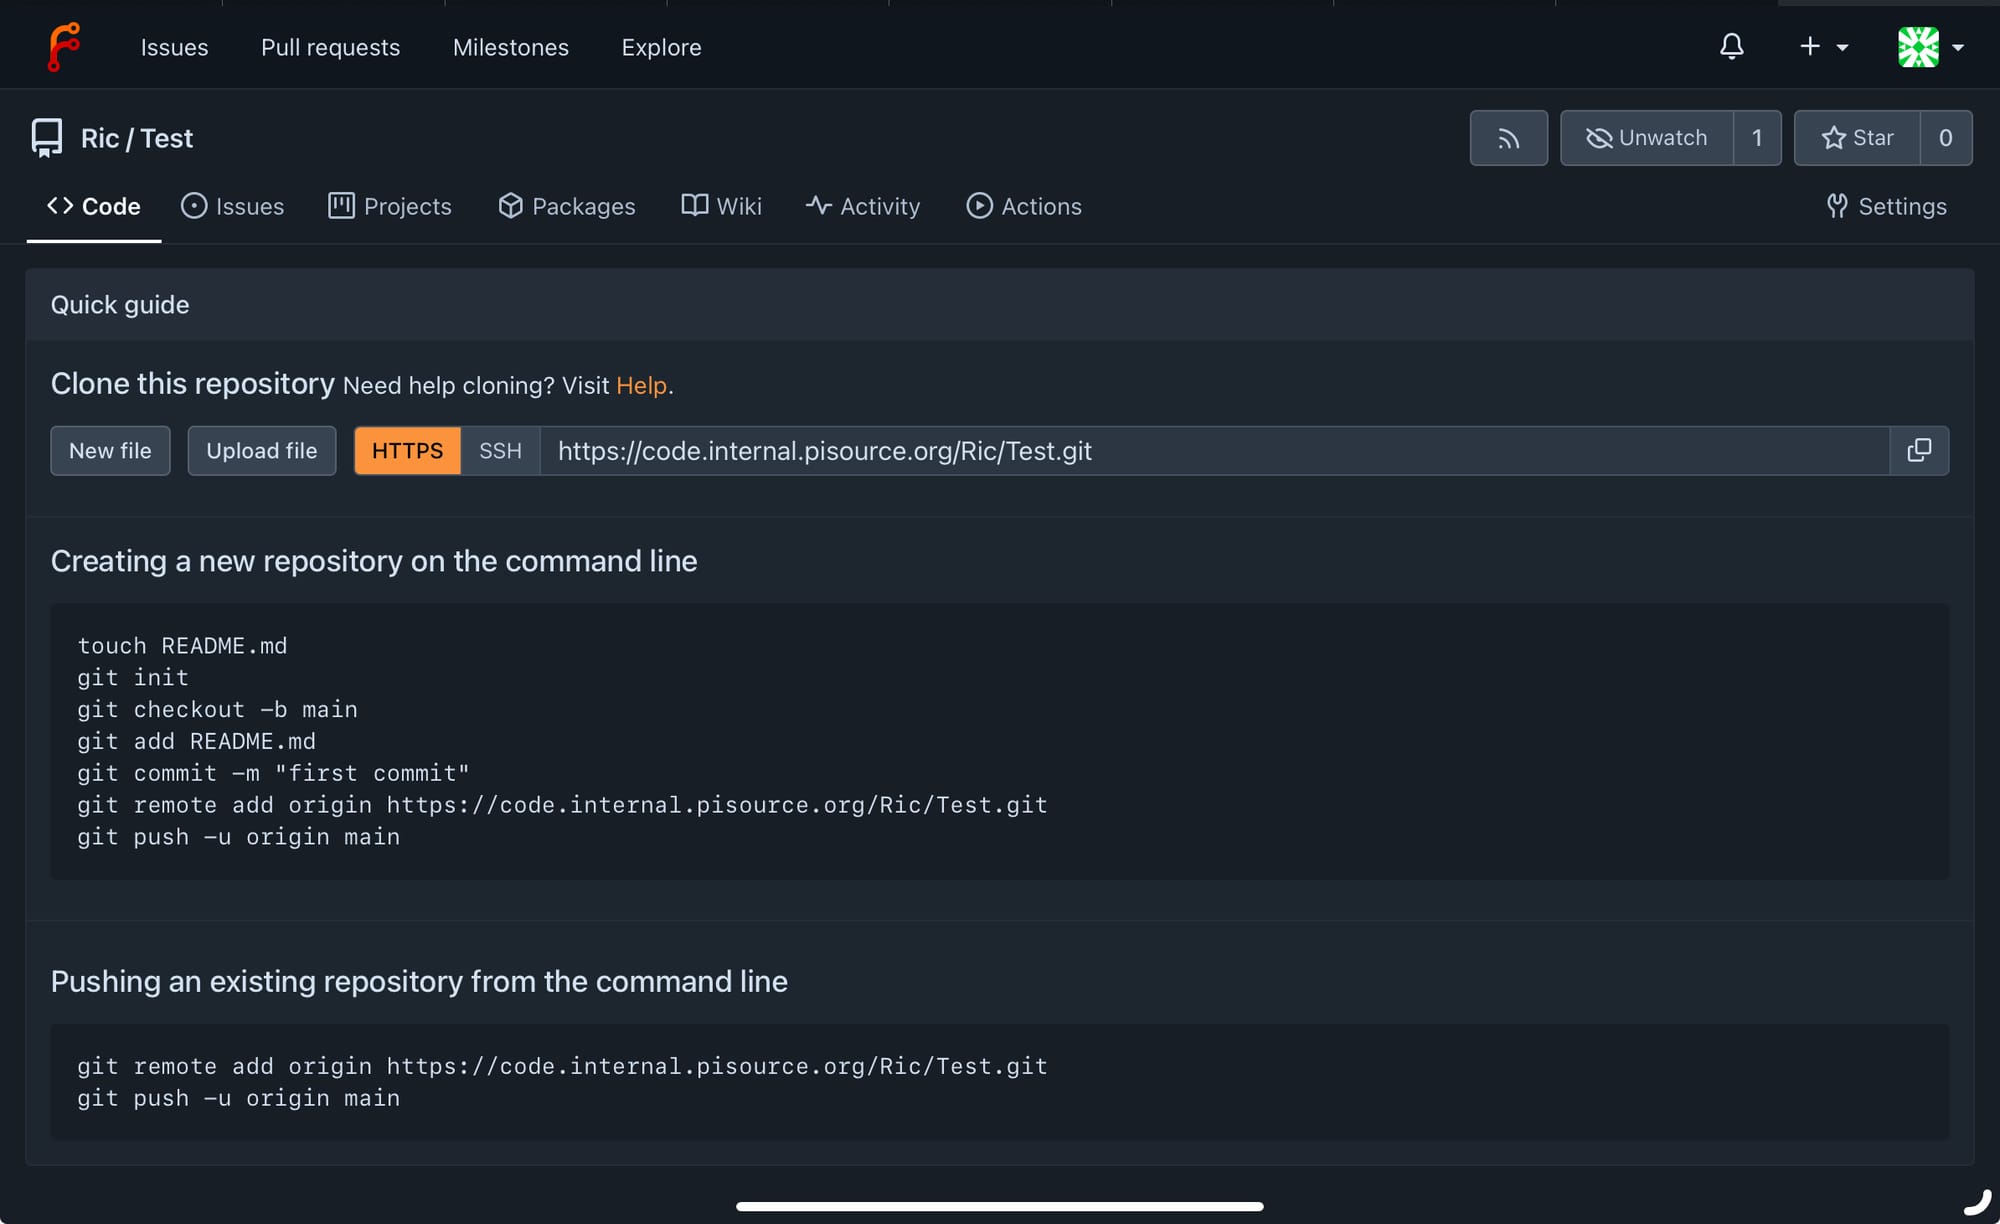
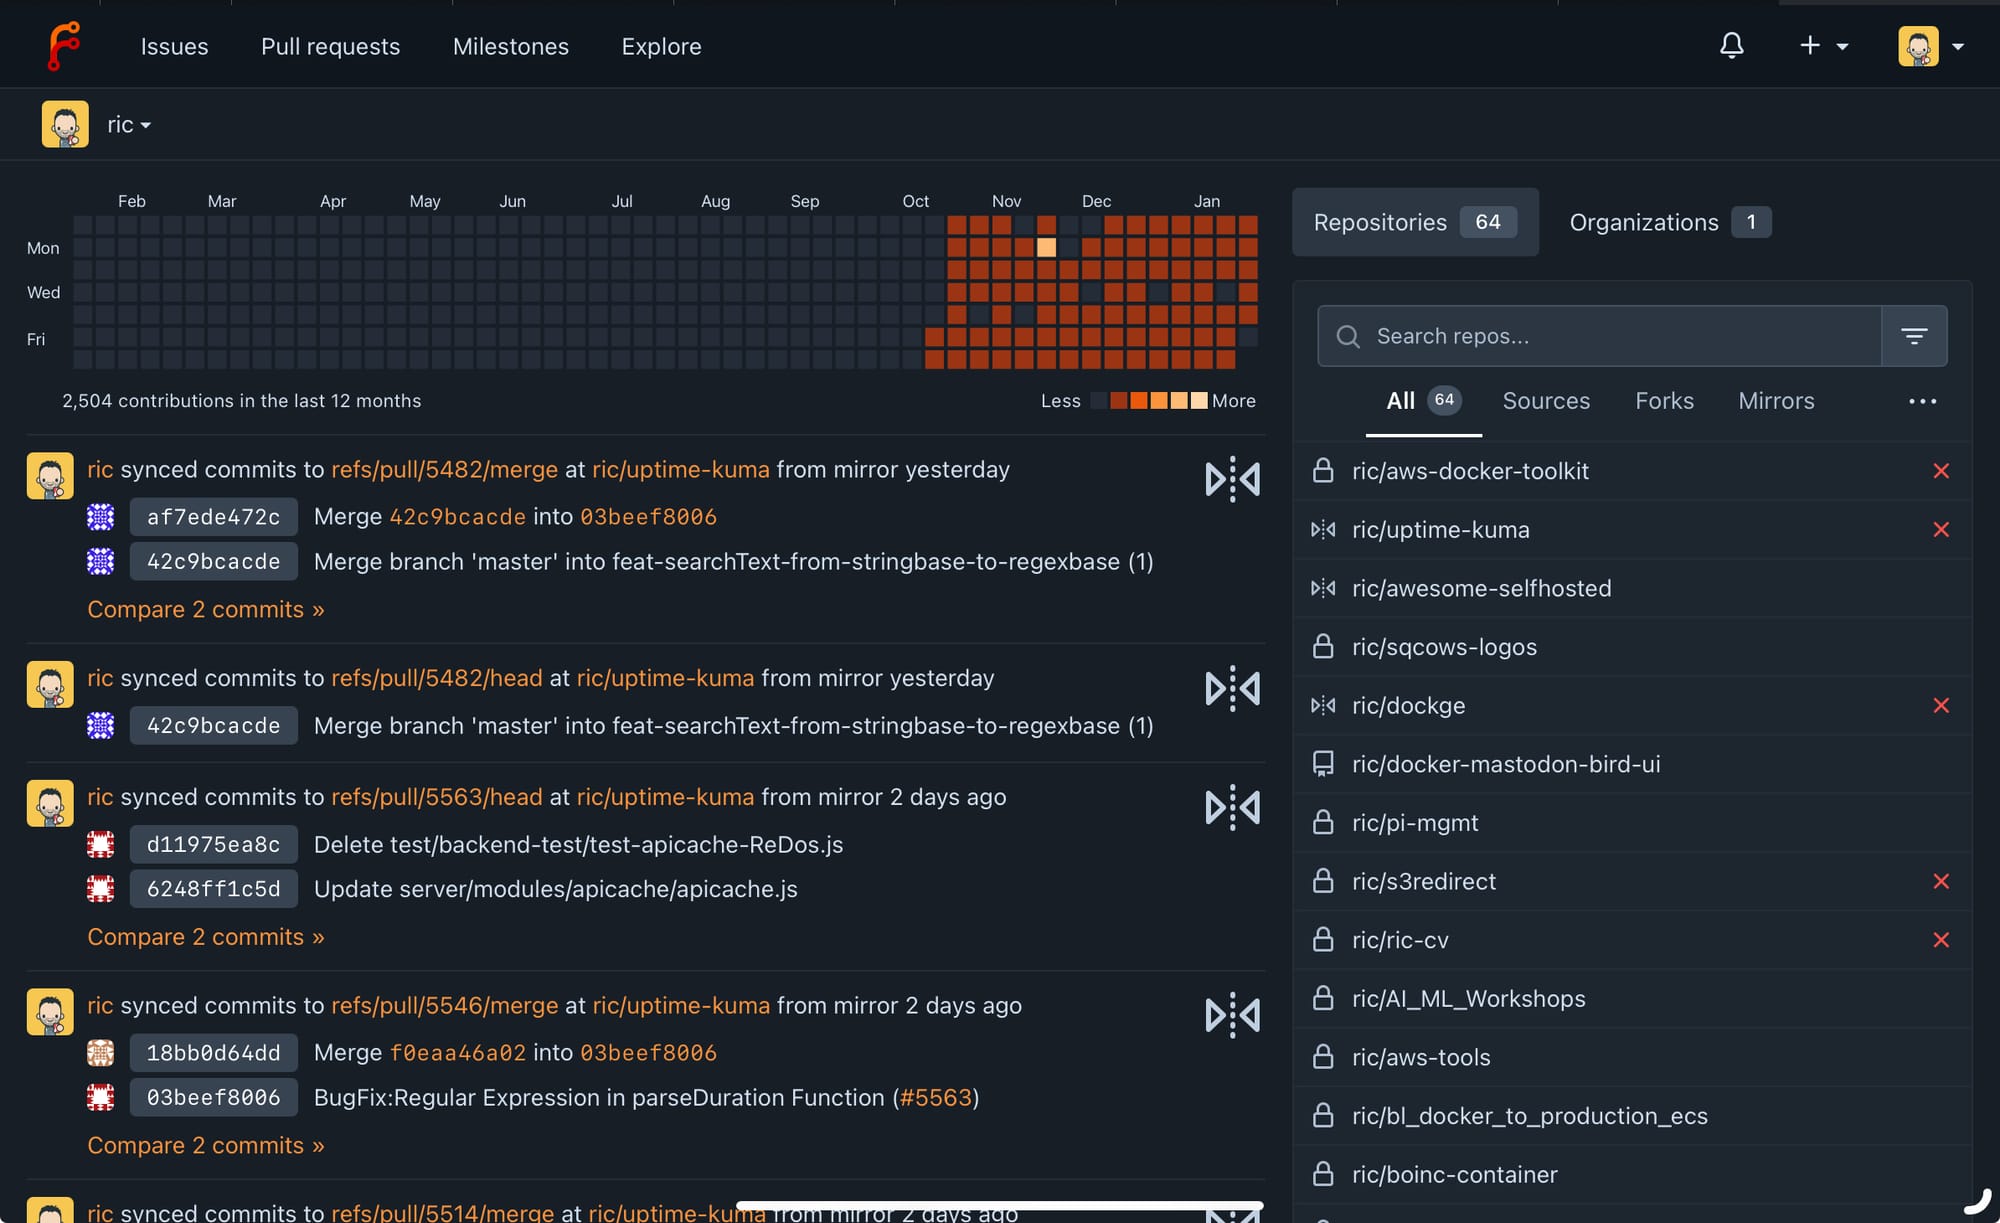
You’re now free to set up all your repositories and add your SSH keys for authentication and PGP keys for signing commits. You can also do some really cool things like mirror repositories from other instances of Forgejo or even GitHub and GitLab! You can open and handle pull/merge requests, have issues on repositories, create groups and everything you’d expect in a code forge.
Setting SSH to use port 222
Now you’ll probably want to use SSH to clone and push/pull form repositories. However as you will remember we set up traefik to receive SSH traffic on port 222 to avoid a conflict with the OS on the Raspberry Pi. The good news is there’s an easy work around to make SSH use this port for this host by default. This will save you having to specify the port every time. Let’s edit the following file and add this configuration: .ssh/config
Host code.<YOUR_DOMAIN>
	Hostname code.<YOUR_DOMAIN>
	Port 222
Now when you run a command such as the one below, you’ll automatically use port 222, nice and easy!
git clone git@code.<YOUR_DOMAIN>:ric/<YOUR_REPOSITORY>.gitConclusion
Once again this is another excellent piece of open source software that is simple to set up and works flawlessly out of the box. Every feature you would expect from a modern code repository/forge is here, baked in and working from the get go. The upgrade path between versions is also pretty smooth. My own repository runs on Forgejo and I’ve gone from version 8>9 and now to version 10 without issue. The only things I’m currently missing is a way to host static webpages like GitHub or GitLab Pages and I think there is room for a plugin ecosystem, so I hope to see that in the future, but for now this has everything I need!
It’s also worth saying this is an extremely lightweight platform and merely sips at system resources especially compared to some of the competing products, it’s perfect for running on a Raspberry Pi and you’ll find it fast and responsive!
I highly recommend this platform and I’m sure it will keep up and keep getting better and better.
If you’ve enjoyed this post, please subscribe and you’ll be notified when I update or add articles, such as how to setup Forgejo CI/CD runners!
Pro’s
- Incredibly fast and performant
- Fully featured with all the tools you’d expect
- Very professional looking and a great UI
Con’s
- No Static Web Page hosting (out of the box)
- No plugin system
PiSource Score
| Easy of Setup | Features | Ease of Use | Extendability | Total |
|---|---|---|---|---|
| 10 | 10 | 10 | 6 | 36/40 |