Penpot makes license fees a ‘figma’ of your imagination
If you design app, sites or media for clients and want an Open Source alternative to adobe express or figma look no further than PenPot and you can even run it on your Raspberry Pi, we'll teach you just how to do that!

So you’ve probably seen the waves figma has made in the design world, blowing away the competition from adobe who have been dominant in this space for years, in fact adobe tried to buy them but eventually pulled out, which is probably good for the licensing fees and lock in to creative cloud subscriptions that could have followed. This rise to prominence is well deserved, it's an awesome product and definitely sets the gold standard. All that said figma still costs money and whilst it’s amazing at what it does, what if you are budget conscious and want this for personal use or for a small business, where do you turn to to reduce those costs?
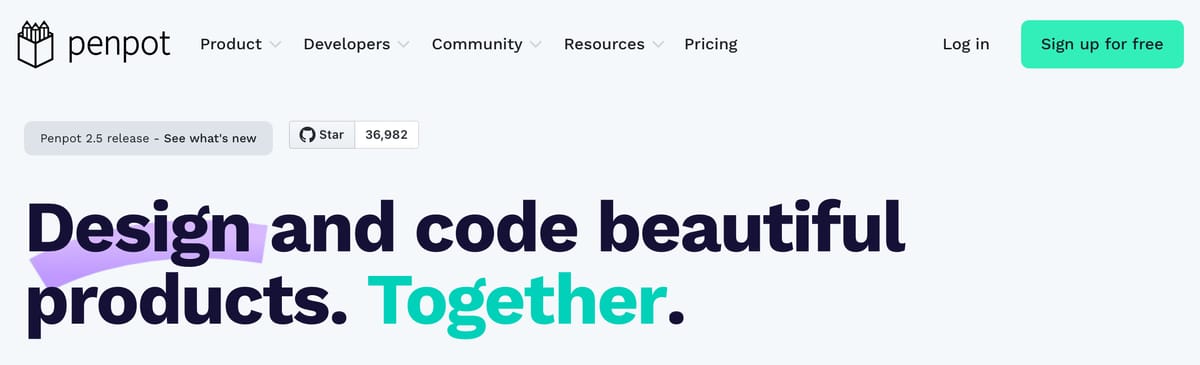
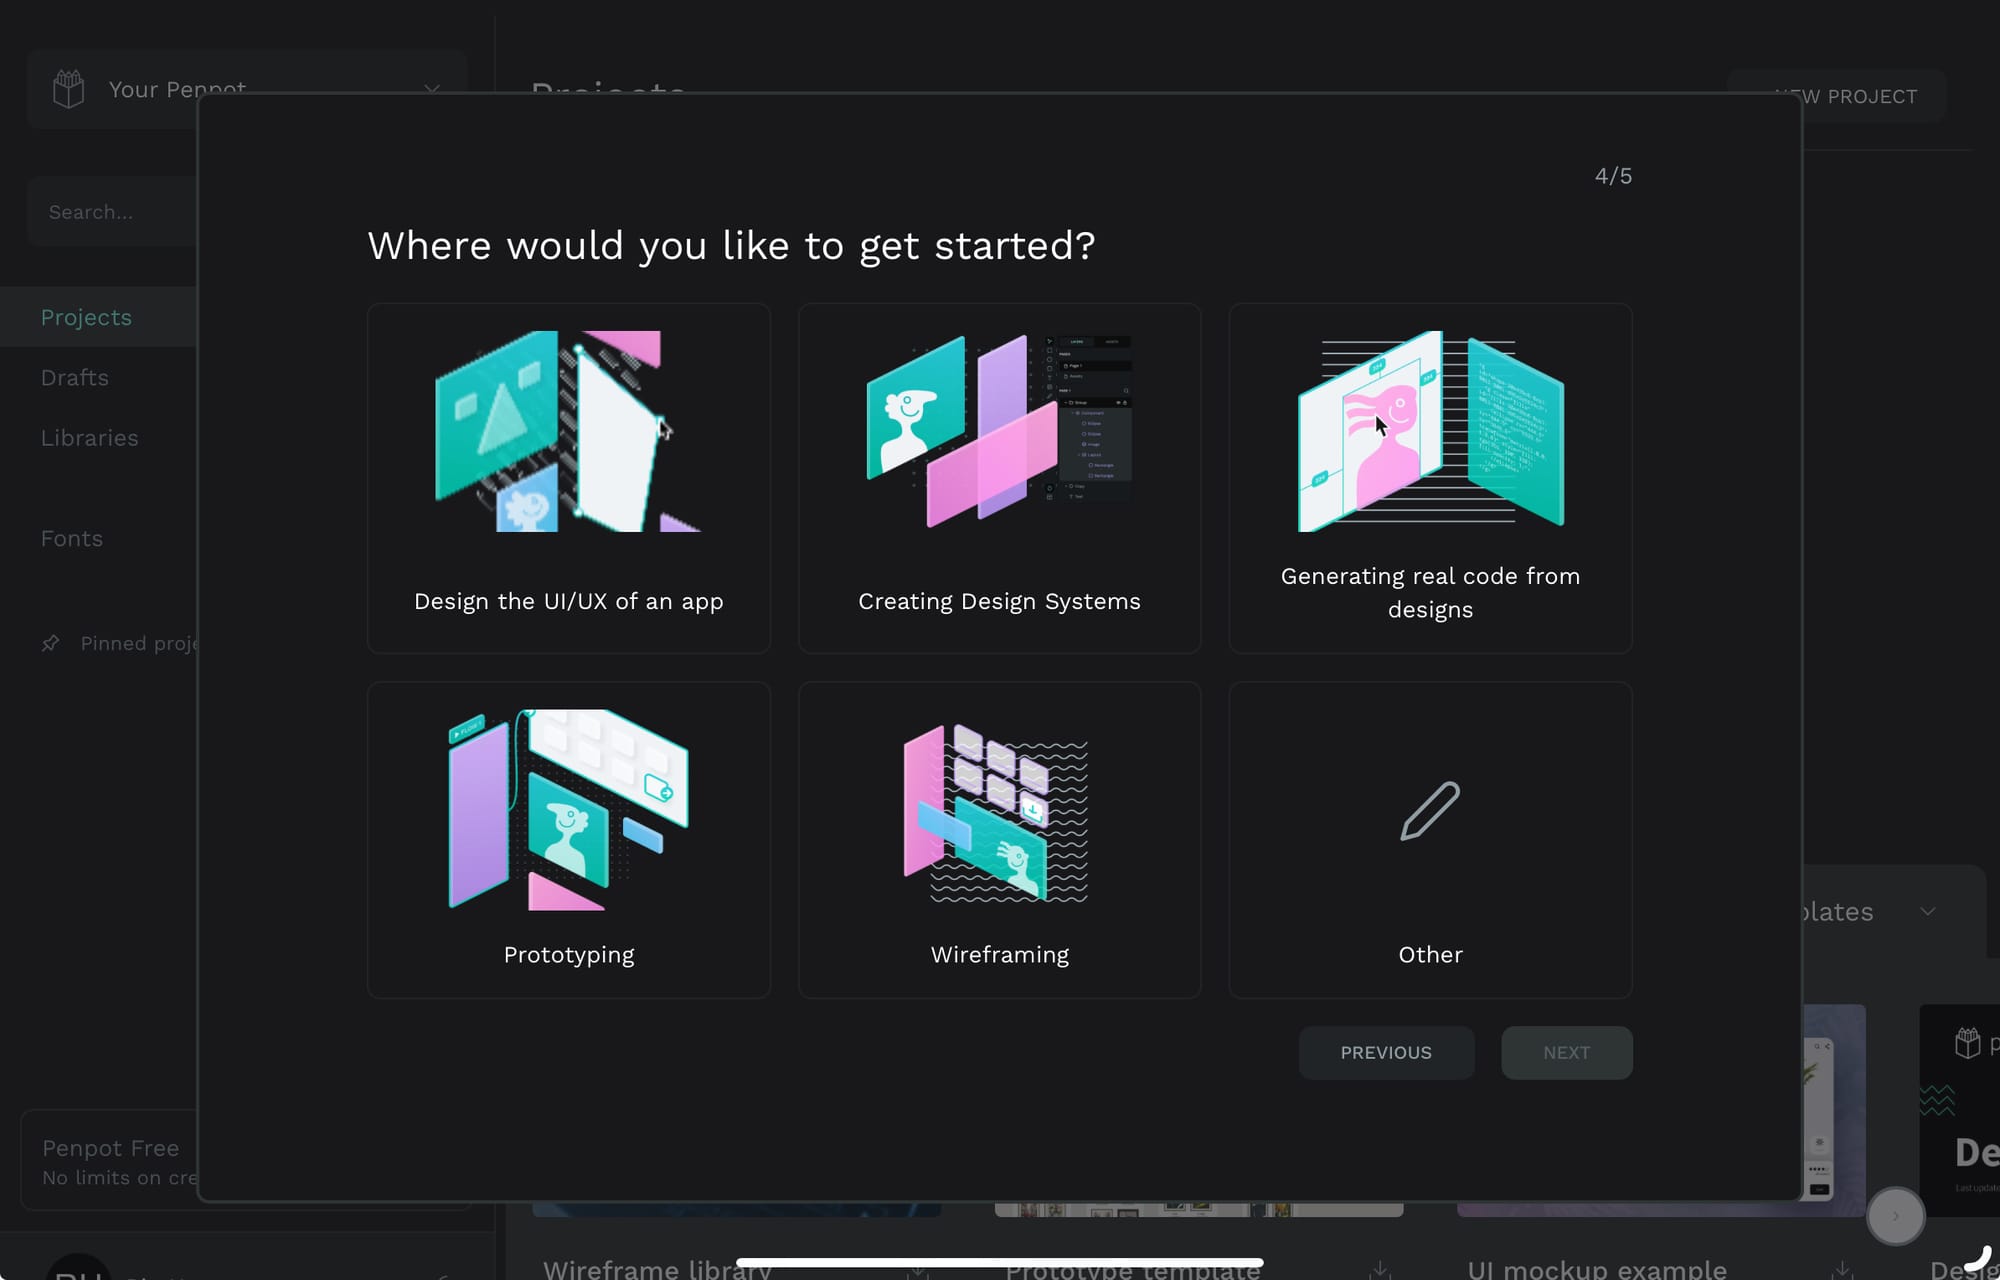
In this case you can turn to open source and Penpot which is a fully fledged application in the spirt of what figma and adobe express offers. You can design applications and websites and other media in the system and export the design assets, even as code (HTML and CSS) to use in your project. It allows you to wireframe designs and even build mockup application flows. In their own words,
Penpot is the web-based open-source design tool that bridges the gap between designers and developers.
Before we begin, let me caveat this post with the fact I’m not a designer, but even I got this software working locally on the Raspberry Pi and managed to use it. It runs really easily and if you just want to use your Pi for running a Penpot server they give you super easy instructions here.
But you know me by now, we don’t want to run it on some random port and not have SSL, nope. We are going to run it on our SSL setup and have it on proper HTTPS on port 443! Let’s look at how we do this. It's all browser based, which makes it really good when you're hoping devices and when out and about, you could even follow my guide on how to expose your Pi securely to the internet.
Setup
Let’s run through the normal requirements for getting your system ready. If you haven’t already installed these please check them out from the links below.
Requirements
Prepare the system
Log into your pi via SSH and first of all become root.
sudo su -pNow we are going to create some directories required for penpot to run and these also need to be set to certain permissions otherwise the containers cannot write their data to that space, and that means you can’t save your work.
cd /opt/containers
mkdir -p penpot/{data,penpot_assets}
cd penpot
chmod -Rf 999:root data
chmod -Rf 1001:1001 penpot_assests
Before we create the compose file to run the docker containers we need to generate a secret key. This will be used to encrypt your data and assets.
In the terminal run the following command:
python3 -c "import secrets; print(secrets.token_urlsafe(64))"This will generate a long string of characters for you which you need to save for later use.
Create the compose file
The next step is to create the compose.yml file in the /opt/containers/penpot directory. Penpot actually provides an official compose file which is what mine is based off, but I've slightly modified it to work with our standard Traefik setup. This not only gives us SSL on the site whilst running on the proper HTTPS port (443) but also allows you to run more than one project at a time on the Pi, and I show you lots of projects you can run on your Pi in this blog so please subscribe!
Go ahead and open a new file:
cd /opt/containers/penpot
vi compose.ymli to enter insert mode Now you are going to copy and paste the text from below into the file, you'll need to change the tags <YOUR_DOMAIN> to your actual dns name and there are three occurrences of this. You'll also find the one occurrence of the tag <SECRET_KEY>, change this for the value you just generated on the command line.
## Common flags:
# demo-users
# email-verification
# log-emails
# log-invitation-tokens
# login-with-github
# login-with-gitlab
# login-with-google
# login-with-ldap
# login-with-oidc
# login-with-password
# prepl-server
# registration
# secure-session-cookies
# smtp
# smtp-debug
# telemetry
# webhooks
##
## You can read more about all available flags and other
## environment variables here:
## https://help.penpot.app/technical-guide/configuration/#advanced-configuration
#
# WARNING: if you're exposing Penpot to the internet, you should remove the flags
# 'disable-secure-session-cookies' and 'disable-email-verification'
x-flags: &penpot-flags
  PENPOT_FLAGS: disable-email-verification enable-smtp enable-prepl-server disable-secure-session-cookies

x-uri: &penpot-public-uri
  PENPOT_PUBLIC_URI: https://penpot.<YOUR_DOMAIN>

x-body-size: &penpot-http-body-size
  # Max body size (30MiB); Used for plain requests, should never be
  # greater than multi-part size
  PENPOT_HTTP_SERVER_MAX_BODY_SIZE: 31457280

  # Max multipart body size (350MiB)
  PENPOT_HTTP_SERVER_MAX_MULTIPART_BODY_SIZE: 367001600


networks:
  traefik_proxy:
    external: true
  penpot:

services:

  penpot-frontend:
    image: "penpotapp/frontend:${PENPOT_VERSION:-latest}"
    restart: always

    volumes:
      - ./penpot_assets:/opt/data/assets

    depends_on:
      - penpot-backend
      - penpot-exporter

    networks:
      - penpot
      - traefik_proxy

    labels:
      - "traefik.enable=true"

      ## HTTPS: example of labels for the case where penpot will be exposed to the
      ## internet with HTTPS using traefik.

      - "traefik.http.middlewares.http-redirect.redirectscheme.scheme=https"
      - "traefik.http.middlewares.http-redirect.redirectscheme.permanent=true"
      - "traefik.http.routers.penpot-http.entrypoints=web"
      - "traefik.http.routers.penpot-http.rule=Host(`penpot.<YOUR_DOMAIN>`)"
      - "traefik.http.routers.penpot-http.middlewares=http-redirect"
      - "traefik.http.routers.penpot-https.entrypoints=websecure"
      - "traefik.http.routers.penpot-https.rule=Host(`penpot.<YOUR_DOMAIN>`)"
      - "traefik.http.services.penpot-https.loadbalancer.server.port=8080"
      - "traefik.http.routers.penpot-https.tls=true"
      - "traefik.http.routers.penpot-https.tls.certresolver=myresolver"
      - "traefik.docker.network=traefik_proxy"

    environment:
      << : [*penpot-flags, *penpot-http-body-size]

  penpot-backend:
    image: "penpotapp/backend:${PENPOT_VERSION:-latest}"
    restart: always

    volumes:
      - ./penpot_assets:/opt/data/assets

    depends_on:
      penpot-postgres:
        condition: service_healthy
      penpot-redis:
        condition: service_healthy

    networks:
      - penpot

    ## Configuration envronment variables for the backend
    ## container.

    environment:
      << : [*penpot-flags, *penpot-public-uri, *penpot-http-body-size]

      ## Penpot SECRET KEY. It serves as a master key from which other keys for subsystems
      ## (eg http sessions, or invitations) are derived.
      ##
      ## If you leave it commented, all created sessions and invitations will
      ## become invalid on container restart.
      ##
      ## If you going to uncomment this, we recommend to use a trully randomly generated
      ## 512 bits base64 encoded string here.  You can generate one with:
      ##
      ## python3 -c "import secrets; print(secrets.token_urlsafe(64))"

      PENPOT_SECRET_KEY: <SECRET_KEY>

      ## The PREPL host. Mainly used for external programatic access to penpot backend
      ## (example: admin). By default it will listen on `localhost` but if you are going to use
      ## the `admin`, you will need to uncomment this and set the host to `0.0.0.0`.

      # PENPOT_PREPL_HOST: 0.0.0.0

      ## Database connection parameters. Don't touch them unless you are using custom
      ## postgresql connection parameters.

      PENPOT_DATABASE_URI: postgresql://penpot-postgres/penpot
      PENPOT_DATABASE_USERNAME: penpot
      PENPOT_DATABASE_PASSWORD: penpot

      ## Redis is used for the websockets notifications. Don't touch unless the redis
      ## container has different parameters or different name.

      PENPOT_REDIS_URI: redis://penpot-redis/0

      ## Default configuration for assets storage: using filesystem based with all files
      ## stored in a docker volume.

      PENPOT_ASSETS_STORAGE_BACKEND: assets-fs
      PENPOT_STORAGE_ASSETS_FS_DIRECTORY: /opt/data/assets

      ## Also can be configured to to use a S3 compatible storage
      ## service like MiniIO. Look below for minio service setup.

      # AWS_ACCESS_KEY_ID: <KEY_ID>
      # AWS_SECRET_ACCESS_KEY: <ACCESS_KEY>
      # PENPOT_ASSETS_STORAGE_BACKEND: assets-s3
      # PENPOT_STORAGE_ASSETS_S3_ENDPOINT: http://penpot-minio:9000
      # PENPOT_STORAGE_ASSETS_S3_BUCKET: <BUKET_NAME>

      ## Telemetry. When enabled, a periodical process will send anonymous data about this
      ## instance. Telemetry data will enable us to learn how the application is used,
      ## based on real scenarios. If you want to help us, please leave it enabled. You can
      ## audit what data we send with the code available on github.

      PENPOT_TELEMETRY_ENABLED: false
      PENPOT_TELEMETRY_REFERER: compose

      ## Example SMTP/Email configuration. By default, emails are sent to the mailcatch
      ## service, but for production usage it is recommended to setup a real SMTP
      ## provider. Emails are used to confirm user registrations & invitations. Look below
      ## how the mailcatch service is configured.

      PENPOT_SMTP_DEFAULT_FROM: no-reply@example.com
      PENPOT_SMTP_DEFAULT_REPLY_TO: no-reply@example.com
      PENPOT_SMTP_HOST: penpot-mailcatch
      PENPOT_SMTP_PORT: 1025
      PENPOT_SMTP_USERNAME:
      PENPOT_SMTP_PASSWORD:
      PENPOT_SMTP_TLS: false
      PENPOT_SMTP_SSL: false

  penpot-exporter:
    image: "penpotapp/exporter:${PENPOT_VERSION:-latest}"
    restart: always

    depends_on:
      penpot-redis:
        condition: service_healthy

    networks:
      - penpot

    environment:
      # Don't touch it; this uses an internal docker network to
      # communicate with the frontend.
      PENPOT_PUBLIC_URI: http://penpot-frontend:8080

      ## Redis is used for the websockets notifications.
      PENPOT_REDIS_URI: redis://penpot-redis/0

  penpot-postgres:
    image: "postgres:15"
    restart: always
    stop_signal: SIGINT

    healthcheck:
      test: ["CMD-SHELL", "pg_isready -U penpot"]
      interval: 2s
      timeout: 10s
      retries: 5
      start_period: 2s

    volumes:
      - ./data:/var/lib/postgresql/data

    networks:
      - penpot

    environment:
      - POSTGRES_INITDB_ARGS=--data-checksums
      - POSTGRES_DB=penpot
      - POSTGRES_USER=penpot
      - POSTGRES_PASSWORD=penpot

  penpot-redis:
    image: redis:7.2
    restart: always

    healthcheck:
      test: ["CMD-SHELL", "redis-cli ping | grep PONG"]
      interval: 1s
      timeout: 3s
      retries: 5
      start_period: 3s

    networks:
      - penpot

  ## A mailcatch service, used as temporal SMTP server. You can access via HTTP to the
  ## port 1080 for read all emails the penpot platform has sent. Should be only used as a
  ## temporal solution while no real SMTP provider is configured.

  penpot-mailcatch:
    image: sj26/mailcatcher:latest
    restart: always
    expose:
      - '1025'
    ports:
      - "1080:1080"
    networks:
      - penpot
Save and exit the file.
Esc then type :wq and then press EnterNow there are MANY extra options for you to tinker with here to productionise your setup. For example change all the values for PENPOT_SMTP_* to a proper e-mail server to send professional looking emails and allow sign ups, currently the system is just set to capture them using penpot_mailcatch. If you do use a real SMTP server you can drop this out of your compose file. I would also personally change the DB passwords in the config also. Finally right at the top you can see lots of options that you can enable for different types of auth etc. and you may want to add these. Also take note of the warning to disable certain flags if you are going to expose this to the internet.
# WARNING: if you're exposing Penpot to the internet, you should remove the flags
# 'disable-secure-session-cookies' and 'disable-email-verification'
Let's set up your DNS
Now this is going to depend on how you decided to setup your DNS for traefik here. I personally use pihole for this, but how ever you do it you'll need to create a CNAME entry for penpot.<YOUR_DOMAIN> and point it to traefik.<YOUR_DOMAIN> assuming you followed the guide for setting up traefik. If this is only available internally you can use something like penpot.internal.pisoucre.org but if you want to expose it to the internet it needs to be a valid TLD (top level domain) and point to a publicly addressable IP/CNAME.
Time to get creative
Now you can go ahead and run your docker containers. It'll take time to pull down a few images and expand them, on my Pi 5 (8GB) it then takes a further ~30 seconds or so to do the initial DB setup after it all appears to have started, so be patient. To start just run:
docker compose up -dNow you need to switch your focus to the web browser, head over to https://penpot.<YOUR_DOMAIN> and you'll be faced with the initial setup where you create a user, set some defaults and can even create a team.
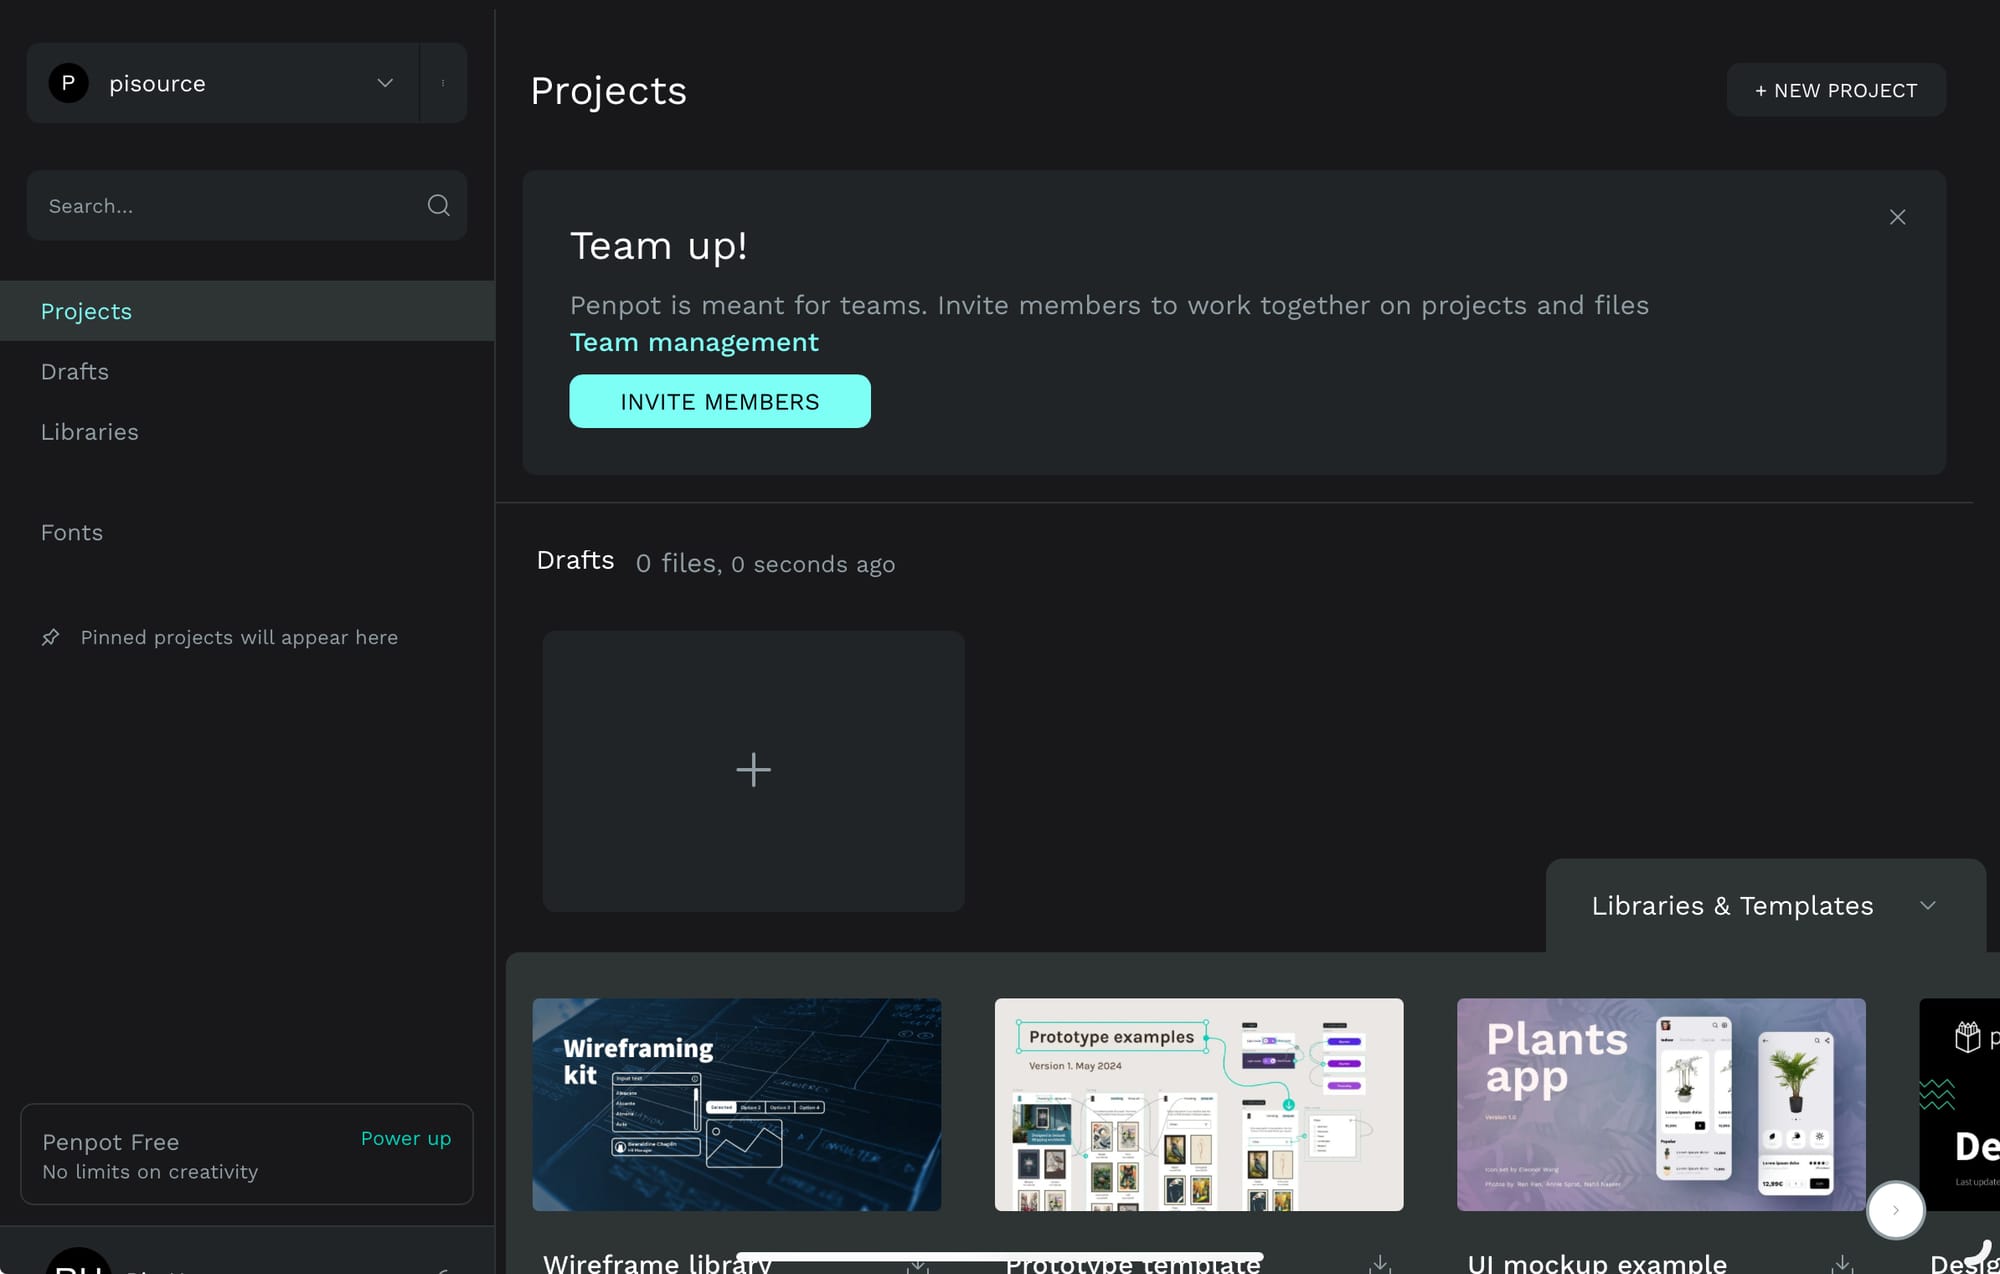
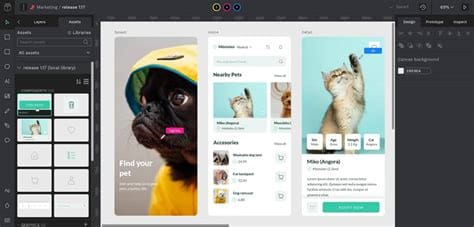
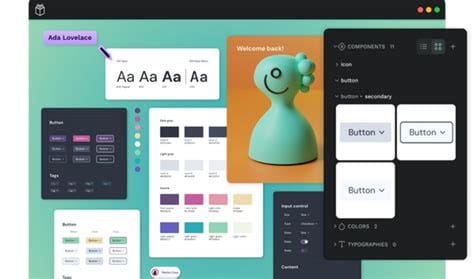
The next thing you will probably want to do is install some design components which you can drag and drop onto your canvas to add elements to the page. These come in the form of libraries and can add font-awesome icons, grid layouts, gnome desktop components and much much more. Once you add some of these and start a new workspace you'll be able to drag them from the side menu into the canvas and edit them.

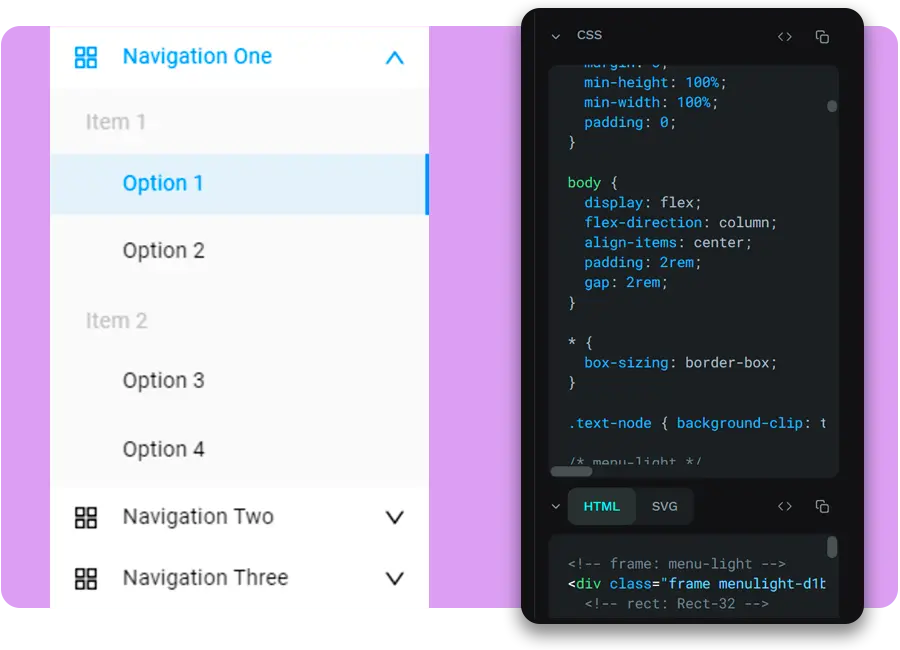
Another feature which is relatively new in penpot is the plugins section. These extend the functionality of the platform, for example allowing you to use the correct syntax for tailwind css and html if you're designing for a website and this leads me on to one of the other cool features. Not only can you export the designs from penpot as images or share them via a URL but you can also export HTML and CSS as working code because open standards are supported. You can even export SVG’s (scalable vector graphics) as code! This means you can go straight from design to a working website easily.
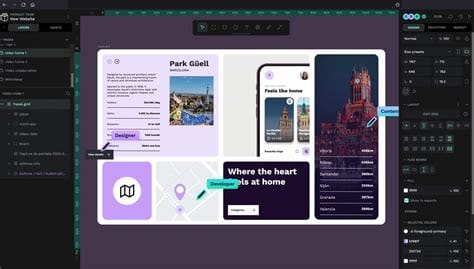
Have a play around in the interface and try and create some things, I caveat once again I'm not a design expert but even I managed to do some basic things here. It's now time to get creative for FREE!
If you've enjoyed this post please consider subscribing at no cost to help support the site, even if you follow us on social media or via RSS a subscription is most welcome. Also let us know about your experience with penpot we'd love to hear from the designers out there.
Learn more
If you want to learn more about using penpot they have a host learning guides and tutorials on their YouTube channel, such as how to install plugins, with some very funky music to boot!
Conclusion
Penpot really seems to be picking up pace in terms of development and from what I can tell it's a very polished and feature packed product. Now I don't believe there's as many integrations and export options when compared to other services such as figma and adobe express but if you don't need those features it's pretty awesome and it's free, open source and it supports open standards (these are all big wins for me). You can still use this tool to get client comments, notes and sign off's so your workflow with your clients doesn’t have to change and in some cases gets easier. Please try it out and let us know your thoughts below in the comments, if you are following @index@pisource.org on the fediverse, we are trying out the new ghost beta service that will let you comment directly from there also, so please give it a go!
Pro's
- No monthly license fee
- Good selection of libraries and components
- New plugin architecture should accelerate integrations
- Export to open standards
Con's
- Not as many features as the competition
- Not a huge amount of plugins (yet)
- For non designers like me it's a steep learning curve
PiSource Score
| Ease of Setup | Features | Ease of Use | Extendability | Total |
|---|---|---|---|---|
| 8 | 8 | 7 | 8 | 31/40 |