How to get Valid SSL on your Pi home lab
Having a home lab is great but do you want to get rid of those self signed ssl certificate errors? Well here’s how to do it by running traefik as a reverse proxy on your Raspberry Pi.

A home lab is a great place to learn, but do you get those pesky SSL errors or have to trust a self signed cert when you stand up a new service? If you do, I have good news for you, because by using a registered domain you can actually have valid SSL certs on your internal traefik proxy and thus all your sites without the need to open up any ports on your firewall. Traefik is a reverse proxy that’s super lightweight and written in Go. You’ll be able to use it to run multiple containers/sites and services on your Pi and have them all work on the standard HTTP/HTTPs ports of 80 and 443, and it makes for a very neat setup and gets rid of those warnings. The SSL certs will be issued by LetsEncrypt via the DNS challenge method.
Requirements
- Raspberry Pi 5 setup as a server
- Docker installed on your Pi 5
- A valid Domain name (you can’t use .local)
- This tutorial uses CloudFlare DNS for the registered domain so we can use an API key to validate ourselves
Setting up traefik
To access your site and ensure you have a valid SSL certificate we are going to run traefik as a reverse proxy, this means we can also force all traffic to be HTTPS which is great for security, so even if someone tries the non-encrypted version of your site they’ll get automatically redirected. Traefik will automatically take care of getting a cert from LetsEncrypt and rotating it when it is due to expire. All you have to do is provide an email address for registration and an API key to validate that you own the DNS.
Let’s start by creating some directories that Traefik will use:
mkdir -p /opt/containers/traefik/data
mkdir -p /opt/containers/traefik/logs
Ensure your in the /opt/containers/traefik directory and create a new file call compose.yml
cd /opt/containers/traefik
vi compose.yml
now add the following to the new file:
To enter insert mode in vim press i
services:
  traefik:
    image: "traefik:latest"
    labels:
      - "traefik.enable=true"
      - "traefik.docker.network=proxy"
      - "traefik.http.routers.traefik.entrypoints=web"
      - "traefik.http.routers.traefik.rule=Host(`${HOSTNAME}`)"
      - "traefik.http.middlewares.traefik-auth.basicauth.users=${TRAEFIK_PASSWORD}"
      - "traefik.http.middlewares.traefik-https-redirect.redirectscheme.scheme=https"
      - "traefik.http.middlewares.sslheader.headers.customrequestheaders.X-Forwarded-Proto=https"
      - "traefik.http.routers.traefik.middlewares=traefik-https-redirect"
      - "traefik.http.routers.traefik-secure.entrypoints=websecure"
      - "traefik.http.routers.traefik-secure.rule=Host(`${HOSTNAME}`)"
      - "traefik.http.routers.traefik-secure.middlewares=traefik-auth"
      - "traefik.http.routers.traefik-secure.tls=true"
      - "traefik.http.routers.traefik-secure.tls.certresolver=myresolver"
      - "traefik.http.routers.traefik-secure.service=api@internal"
      # Define the port inside of the Docker service to use
      - "traefik.http.services.traefik-secure.loadbalancer.server.port=8080"
    env_file: .env
    ports:
      - "80:80"
      - "443:443"
    volumes:
      - /etc/localtime:/etc/localtime:ro
      - /var/run/docker.sock:/var/run/docker.sock:ro
      - /opt/containers/traefik/logs:/logs:rw
      - /opt/containers/traefik/data/acme.json:/acme.json:rw
      - /opt/containers/traefik/data/traefik.yml:/traefik.yml:rw
      - /opt/containers/traefik/data/config.yml:/config.yml:rw
    networks:
      - proxy

networks:
  proxy:
    external: false
Save and exit the file.
To get out of vim just press escape then type
:wq!You're also going to need to set up some environment variables for this to work so once you've saved the file above you'll need to create a new file called .env
vi .env
Populate it with these details, and remember to update the domain (I used traefik.internal.pisource.org) and your password for the web interface:
HOSTNAME=traefik.example.com
TRAEFIK_PASSWORD=admin:<GENERATED_PASSWORD>
CLOUDFLARE_DNS_API_TOKEN=<YOUR_CLOUDFLARE_API_TOKEN>You'll need to generate a password for traefik basic_auth to be able to login to the dashboard API. You can do that with the following command (just remember to change the user and password values):
echo $(htpasswd -nb user password) | sed -e s/\\$/\\$\\$/g
Paste the output user:password keypair into your .env file and save and exit.
There are a few other files (five, actually) we now need to prep. Four are going to be empty files that the container will need and one will be the initial config startup for traefik.
cd /ot/containers/traefik/data
touch dynamic-config.yml
touch config.yml
touch acme.json
chmod 600 acme.json
cd /opt/containers/traefik/logs
touch traefik.log
Now for the important file to pull all this together and get traefik working.
cd /opt/containers/traefik/data
vi traefik.yml
Enter the following information and update your email address:
api:
  dashboard: true
  debug: true

entryPoints:
  web:
    address: ":80"
  websecure:
    address: ":443"

log:
  level: ERROR
  filePath: "/logs/traefik.log"
  format: common

serversTransport:
  insecureSkipVerify: true

providers:
  docker:
    endpoint: "unix:///var/run/docker.sock"
    exposedbydefault: false
  file:
    filename: dynamic-config.yml

certificatesResolvers:
  myresolver:
    acme:
      email: <YOUR_EMAIL_ADDRESS>
      storage: acme.json
      dnsChallenge:
        provider: cloudflare
        resolvers:
          - "1.1.1.1:53"
          - "1.0.0.1:53"
        delayBeforeCheck: 0
      caServer: https://acme-v02.api.letsencrypt.org/directory
      KeyType: EC256
Now traefik is ready to run and accept HTTP and HTTPS connections. To get started is pretty simple with docker compose, run the following command:
cd /opt/containers/traefik
docker compose up -d
Test Traefik
Now first of all make sure you create a DNS entry for whatever hostname you choose (remember I used traefik.internal.pisource.org) and make it an A record with the value of the IP address of your Pi Server.
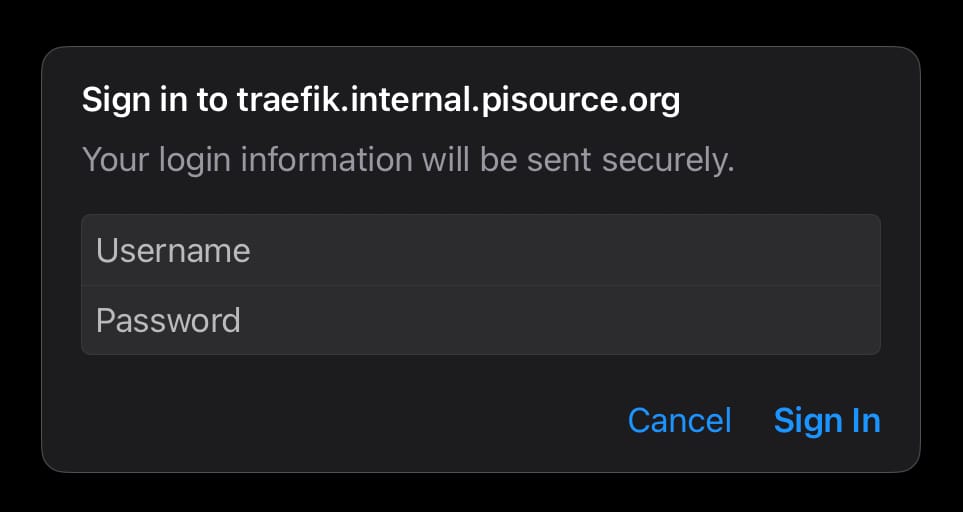
To test traefik you can browse direction to https://traefik.example.com where you will be prompted to enter your basic_auth details in your browser (That’s the user and password you generated earlier)

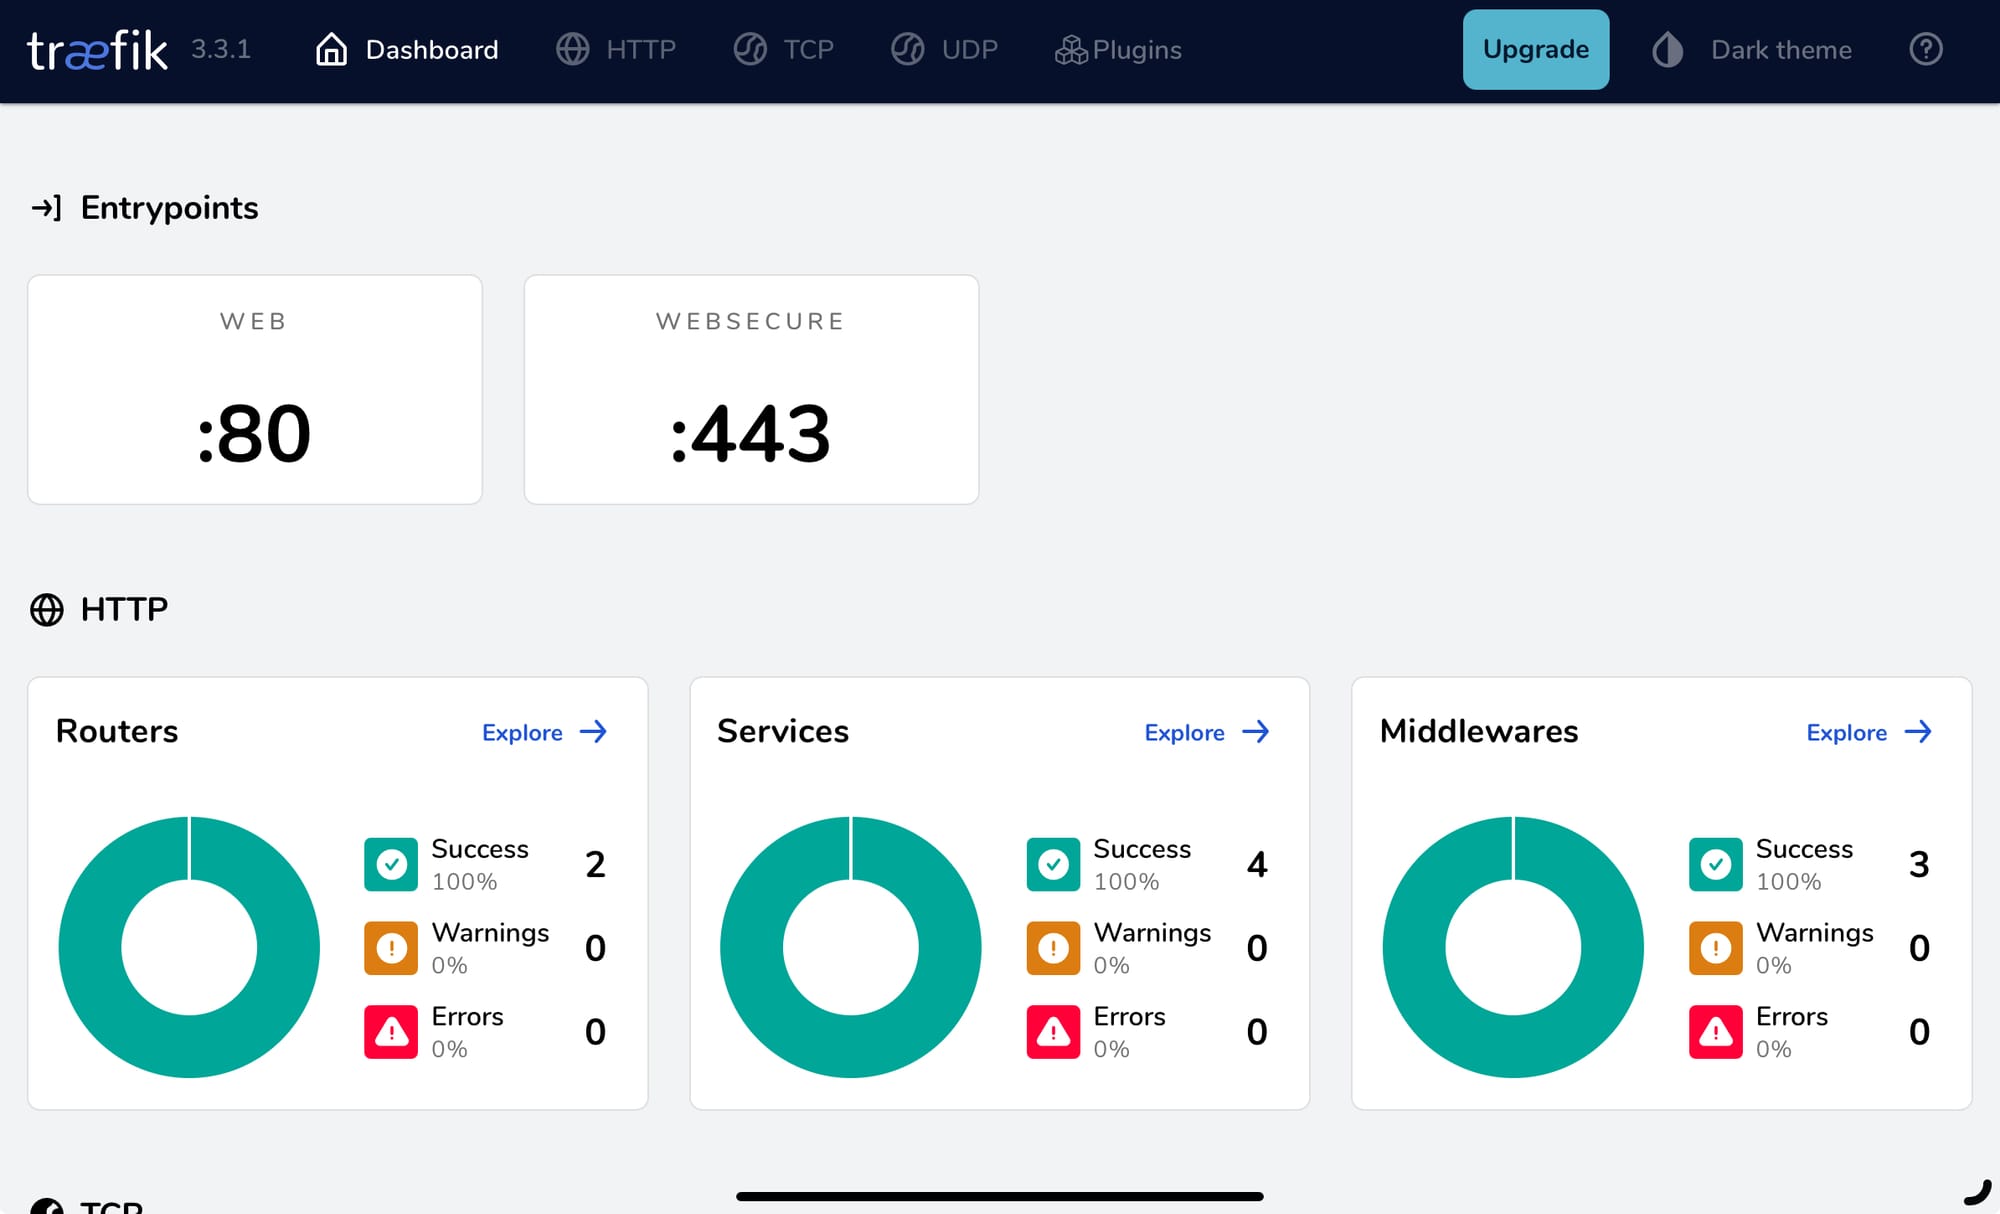
Once logged in you will see the traefik dashboard like the one below.

You’ll also notice that the SSL cert is valid 😄

Protecting your sites
Let’s now run a test service and see traefik dynamically assign a SSL cert on the fly. We are going to use a compose file for the “whoami” service and by adding some labels to the compose file. Let's create a new compose file.
cd /opt/containers/
vi compose.yml
And add the following content:
networks:
  traefik_proxy:
    external: true
  whoami:
    internal: true

services:

  whoami:
    image: traefik/whoami:latest

    labels:
      - traefik.enable=true
      # Use the traefik-public network (declared below)
      - traefik.docker.network=traefik_proxy
      - traefik.http.routers.whoami.entrypoints=web
      - traefik.http.routers.whoami.rule=Host(`whoami.internal.pisource.org`)
      - traefik.http.middlewares.whoami-https-redirect.redirectscheme.scheme=https
      - traefik.http.routers.whoami.middlewares=whoami-https-redirect
      - traefik.http.routers.whoami-secure.entrypoints=websecure
      - traefik.http.routers.whoami-secure.rule=Host(`whoami.internal.pisource.org`)
      - traefik.http.routers.whoami-secure.tls=true
      - traefik.http.routers.whoami-secure.service=whoami-secure
      - traefik.http.routers.whoami-secure.tls.certresolver=myresolver
      # Define the port inside of the Docker service to use
      - traefik.http.services.whoami-secure.loadbalancer.server.port=4000
    networks:
      - traefik_proxy
      - whoami
    ports:
      - 4000
    environment:
      - WHOAMI_PORT_NUMBER=4000

    restart: unless-stopped
Now run:
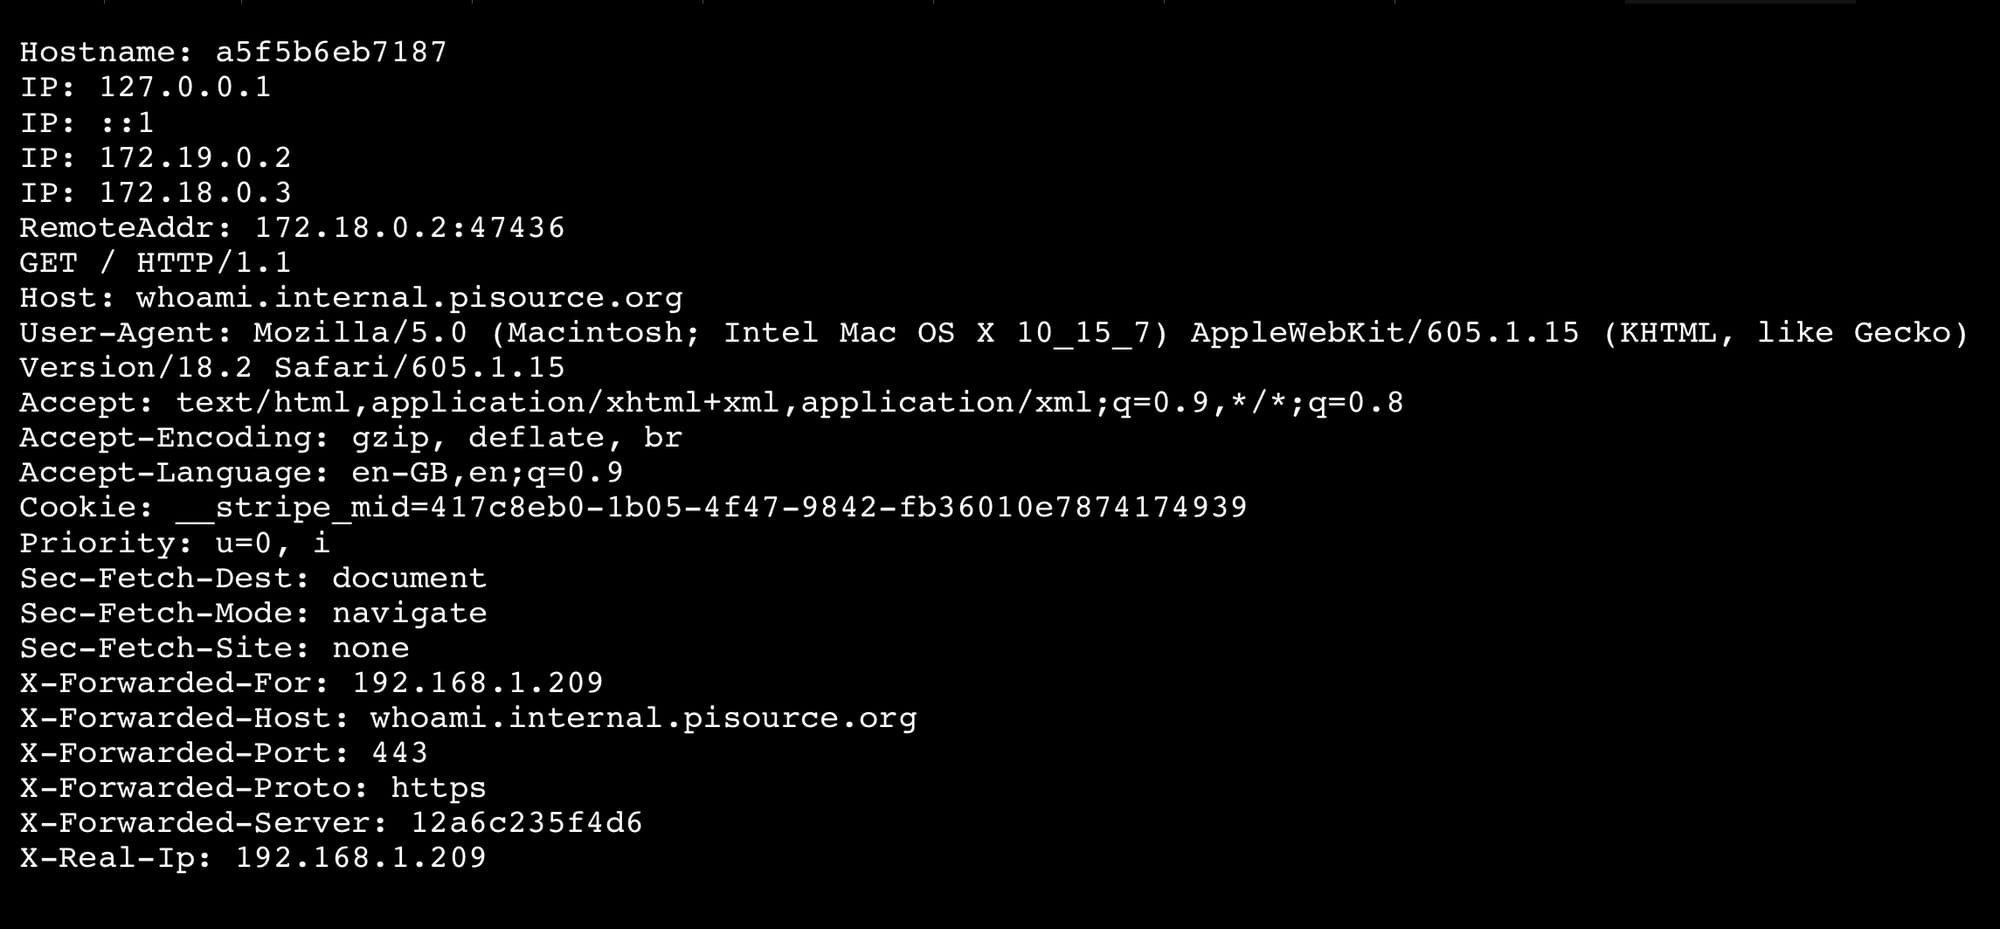
docker compose up -dNow set up a DNS record for whoami.YOUR_DNS and use a CNAME to point it at the DNS you set up for traefik. Once this is set up you can browse to https://whoami.<YOUR_DNS> you’ll get something like the following screenshot

So that's it, the end of invalid SSL certs for your home lab. By using those labels and networks in the example compose.yml above you should be able to add any site you want to your proxy. Just take note to change the network name, the DNS entries, and load balancer.service.port (which should match the port your container service runs on). Then, when you run docker compose up -d your new service will register itself with traefik. Go have fun!


