Bye Bye Google/Apple Photos, Hello Immich
There are lots of reasons for wanting to run your own photo storage site, it might be the monthly fees or the invasive AI policies, whatever it is Immich has you covered and I’m seriously impressed by this open source tool, and yes it runs on the Pi perfectly!
There are lots of reasons for wanting to run your own photo storage site, it might be the monthly fees or the invasive AI policies of the BigTech providers, but whatever it is, Immich has you covered and I’m seriously impressed by this open source photo hosting application, and yes it runs on the Pi perfectly! Let’s take a look at how easy this is to get up and running. We are going to build on the previous article about getting SSL running on your home lab using Traefik as a proxy, so make sure you follow that to get ready!
Requirements
- Raspberry Pi (5 recommended)
- A large capacity microSD or even better nvme storage or even a NAS
- Have docker and traefik installed as per these articles
Setup
Let’s start off by creating the required directories, these are going to store the persistent data from the containers for the database and the photos you’ll upload. Go ahead and open a terminal session.
sudo mkdir -p /opt/containers/immich/library
sudo mkdir /opt/containers/immich/postgresDocker Compose
Just like with traefik we are going to use docker compose to launch this stack so go ahead and change directory to /opt/containers/immich and create a new file called compose.yml in your terminal.
cd /opt/containers/immich
touch compose.yml
Now with your favourite editor such as vim or nano open up compose.yml and put the follow contents in there:
# Original by immich Modded by https://pisource.org to run behind traefik

name: immich

services:
  immich-server:
    container_name: immich_server
    image: ghcr.io/immich-app/immich-server:${IMMICH_VERSION:-release}
    volumes:
      # Do not edit the next line. If you want to change the media storage location on your system, edit the value of UPLOAD_LOCATION in the .env file
      - ${UPLOAD_LOCATION}:/usr/src/app/upload
      - /etc/localtime:/etc/localtime:ro
    env_file:
      - .env
    depends_on:
      - redis
      - database
    restart: always
    healthcheck:
      disable: false
    labels:
      - traefik.enable=true
      - traefik.http.routers.immich.entrypoints=web
      - traefik.http.routers.immich.rule=Host(`immich.<YOUR_DNS>`)
      - traefik.http.middlewares.immich-https-redirect.redirectscheme.scheme=https
      - traefik.http.routers.immich.middlewares=immich-https-redirect
      - traefik.http.routers.immich-secure.entrypoints=websecure
      - traefik.http.routers.immich-secure.rule=Host(`immich.<YOUR_DNS>`)
      - traefik.http.routers.immich-secure.tls=true
      - traefik.http.routers.immich-secure.tls.certresolver=myresolver
      - traefik.http.routers.immich-secure.service=immich
      - traefik.http.services.immich.loadbalancer.server.port=2283
      - traefik.docker.network=traefik_proxy
    networks:
      - immich
      - traefik_proxy

  immich-machine-learning:
    container_name: immich_machine_learning
    image: ghcr.io/immich-app/immich-machine-learning:${IMMICH_VERSION:-release}
    volumes:
      - model-cache:/cache
    env_file:
      - .env
    restart: always
    healthcheck:
      disable: false
    networks:
      - immich

  redis:
    container_name: immich_redis
    image: docker.io/redis:6.2-alpine@sha256:eaba718fecd1196d88533de7ba49bf903ad33664a92debb24660a922ecd9cac8
    healthcheck:
      test: redis-cli ping || exit 1
    restart: always
    networks:
      - immich

  database:
    container_name: immich_postgres
    image: docker.io/tensorchord/pgvecto-rs:pg14-v0.2.0@sha256:90724186f0a3517cf6914295b5ab410db9ce23190a2d9d0b9dd6463e3fa298f0
    environment:
      POSTGRES_PASSWORD: ${DB_PASSWORD}
      POSTGRES_USER: ${DB_USERNAME}
      POSTGRES_DB: ${DB_DATABASE_NAME}
      POSTGRES_INITDB_ARGS: '--data-checksums'
    volumes:
      # Do not edit the next line. If you want to change the database storage location on your system, edit the value of DB_DATA_LOCATION in the .env file
      - ${DB_DATA_LOCATION}:/var/lib/postgresql/data
    healthcheck:
      test: >-
        pg_isready --dbname="$${POSTGRES_DB}" --username="$${POSTGRES_USER}" || exit 1;
        Chksum="$$(psql --dbname="$${POSTGRES_DB}" --username="$${POSTGRES_USER}" --tuples-only --no-align
        --command='SELECT COALESCE(SUM(checksum_failures), 0) FROM pg_stat_database')";
        echo "checksum failure count is $$Chksum";
        [ "$$Chksum" = '0' ] || exit 1
      interval: 5m
      start_interval: 30s
      start_period: 5m
    command: >-
      postgres
      -c shared_preload_libraries=vectors.so
      -c 'search_path="$$user", public, vectors'
      -c logging_collector=on
      -c max_wal_size=2GB
      -c shared_buffers=512MB
      -c wal_compression=on
    restart: always
    networks:
      - immich

volumes:
  model-cache:

networks:
  traefik_proxy:
    external: true
  immich:
    internal: true
You’ll need to update that file and alter the <YOUR_DNS> parts to match your internal domain (mine for example is immich.internal.pisource.org). Once done, save and exit the file. We are now going to create a new file called .env
vi .env
# Or use nano
Copy and paste the following text into this file and edit the line with the DB_PASSWORD and set a new password. You can make this complex using more than 8 chars and mix the case and add numbers.
# You can find documentation for all the supported env variables at https://immich.app/docs/install/environment-variables

# The location where your uploaded files are stored
UPLOAD_LOCATION=./library
# The location where your database files are stored
DB_DATA_LOCATION=./postgres

# To set a timezone, uncomment the next line and change Etc/UTC to a TZ identifier from this list: https://en.wikipedia.org/wiki/List_of_tz_database_time_zones#List
# TZ=Etc/UTC

# The Immich version to use. You can pin this to a specific version like "v1.71.0"
IMMICH_VERSION=release

# Connection secret for postgres. You should change it to a random password
# Please use only the characters `A-Za-z0-9`, without special characters or spaces
DB_PASSWORD=<set_your_password_here>

# The values below this line do not need to be changed
###################################################################################
DB_USERNAME=postgres
DB_DATABASE_NAME=immich
Save and exit the file and lets set up the DNS.
DNS
Using your DNS system of choice (router, Pi-hole, or cloudflare) create a new record of type CNAME and point immich.<YOUR_DNS> to traefik which, if you’ve followed the previous instructions in setting up, will have a record such as traefik.internal.pisource.org (obviously this will be your DNS instead of mine).
Run Immich
Now we are ready to fire up Immich using docker compose. Open your terminal and run the following command.
cd /opt/containers/immich
docker compose up -d
This will fire up the containers needed for the application to run, it takes a while first time to spin up as the database needs to be set up and populated so if it doesn’t appear in the browser immediately, don’t worry.
Time to login!
Now you’re ready to run the setup for Immich which is powered by a really simple wysiwyg process in the browser. Go ahead and open your browser up and go to the address:

Click Getting Started and you’ll now get a series of screens where you can enter your name, email address and password, etc.
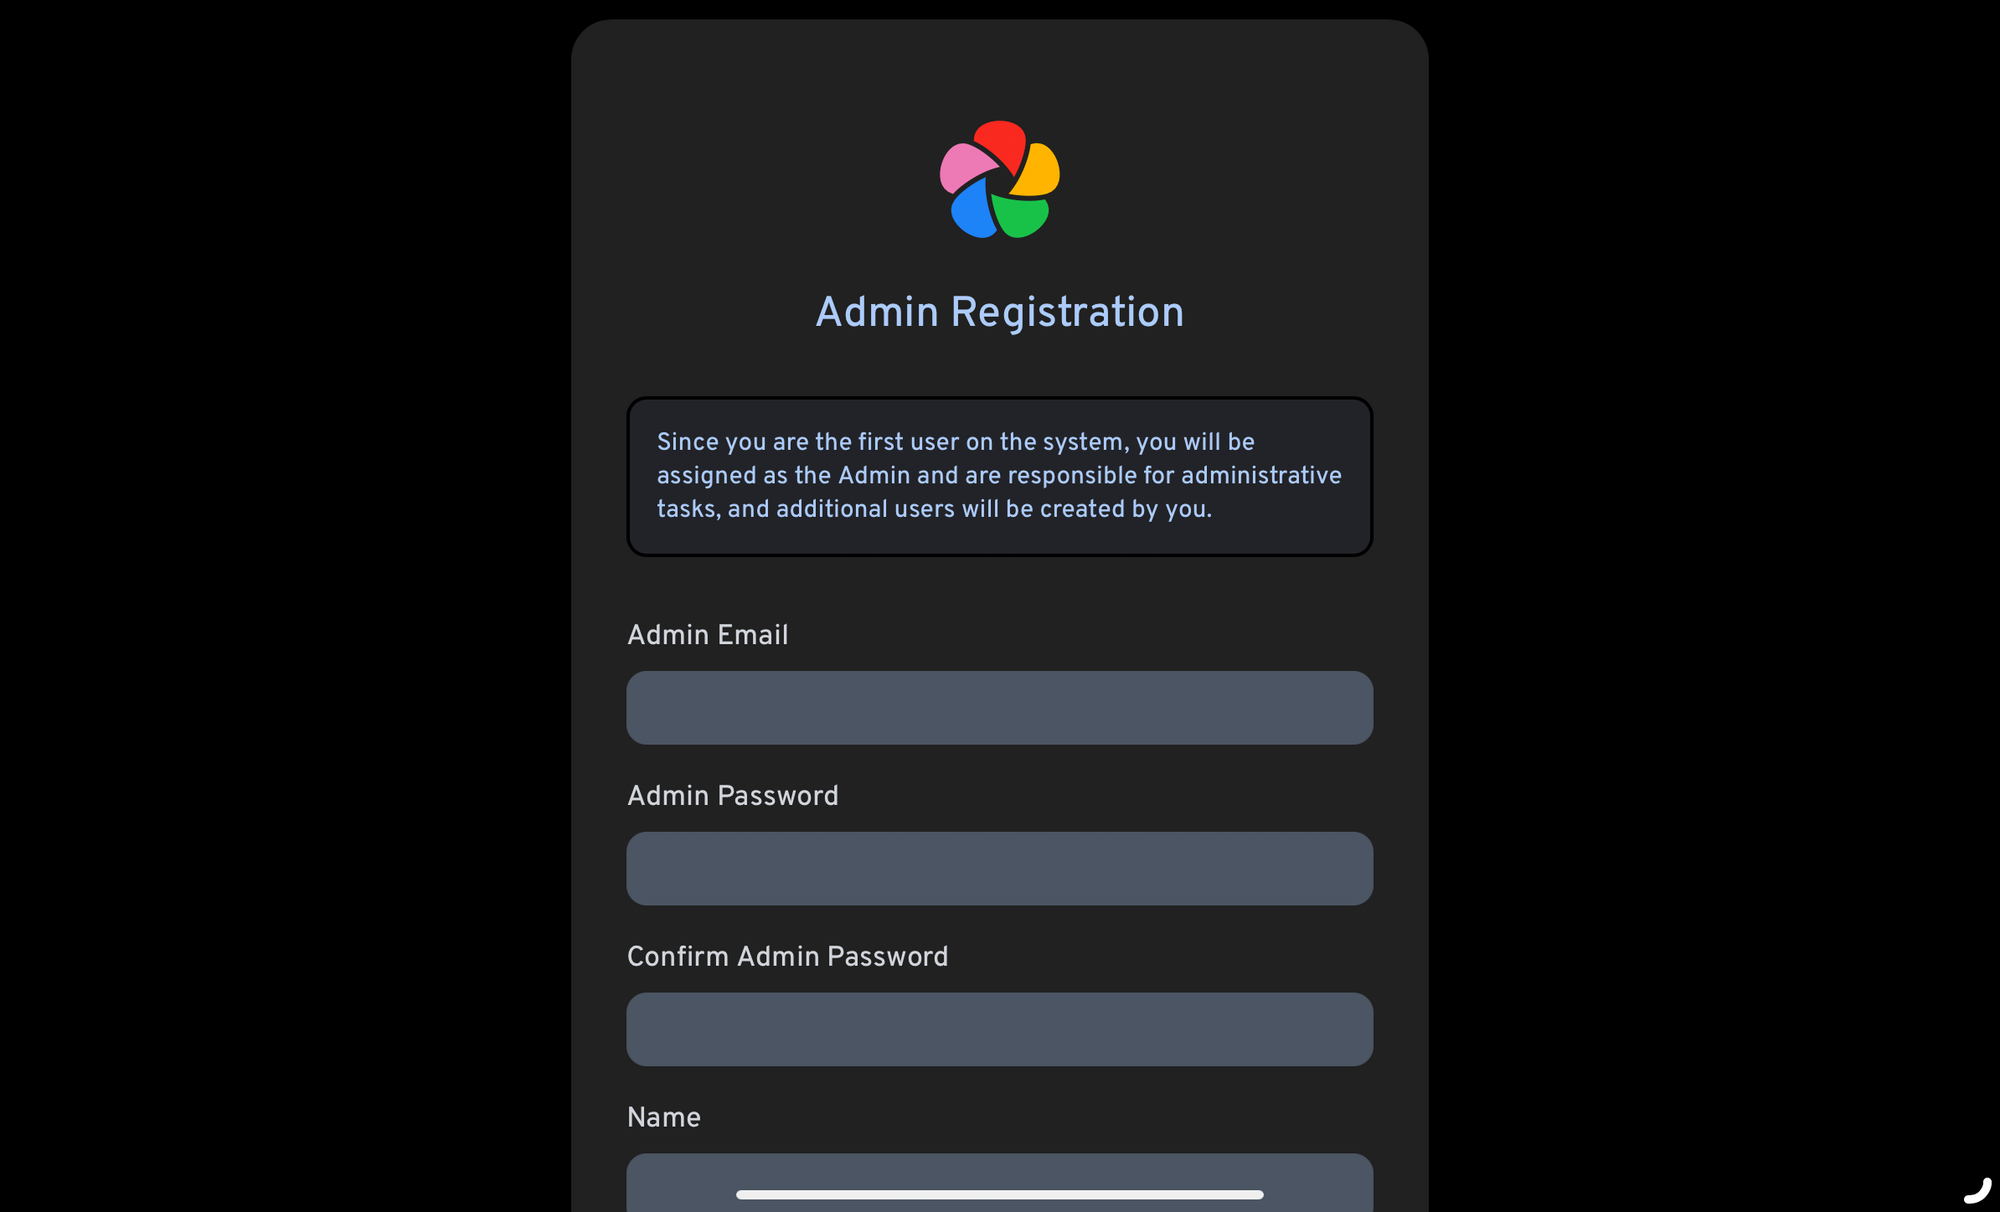
Now you’ll get a few more screens welcoming you and then you’ll land in your library which will currently be empty.
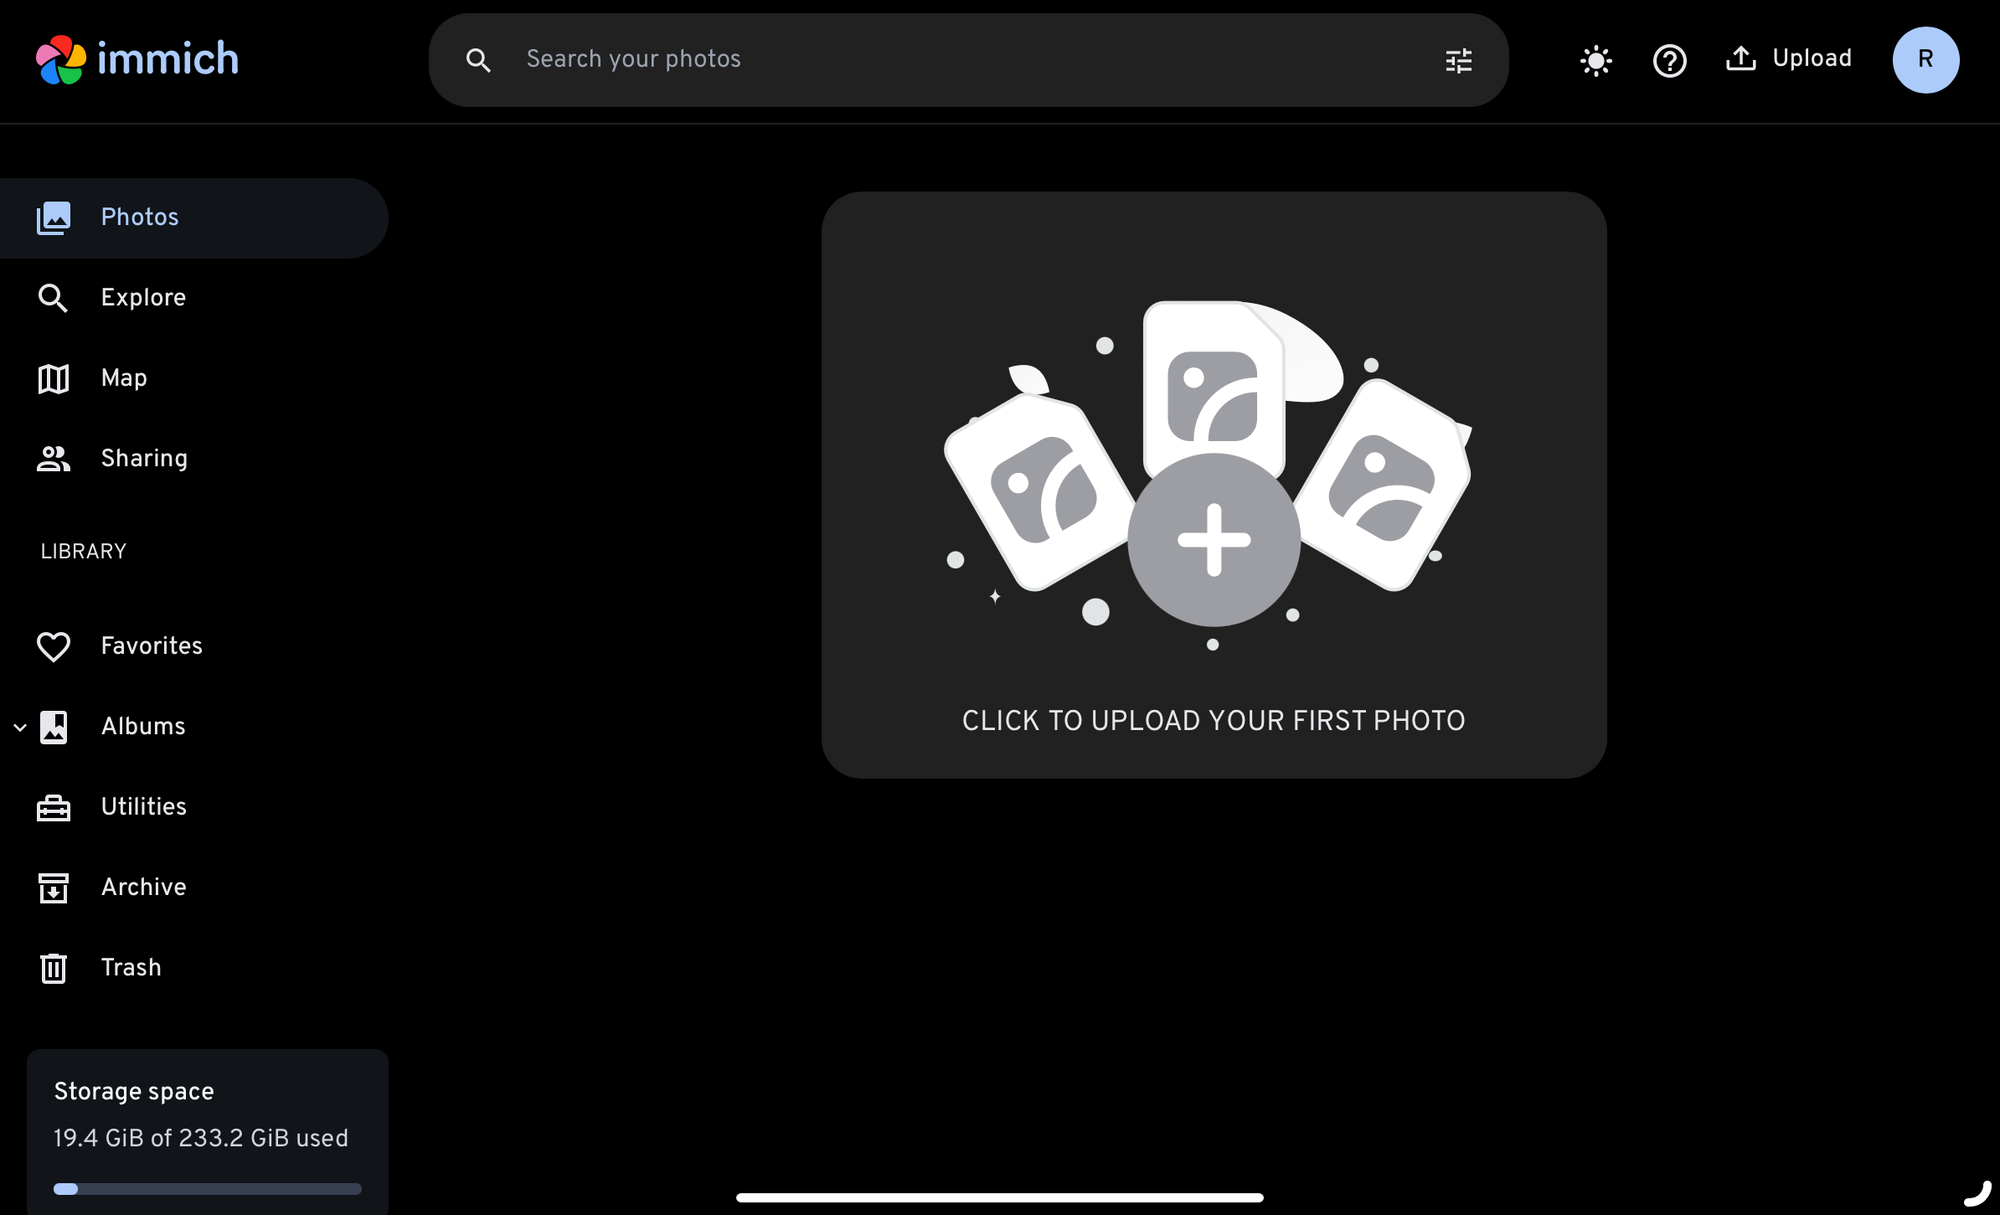
Go ahead and upload some sample images by clicking the upload button in the top right hand corner to get going.
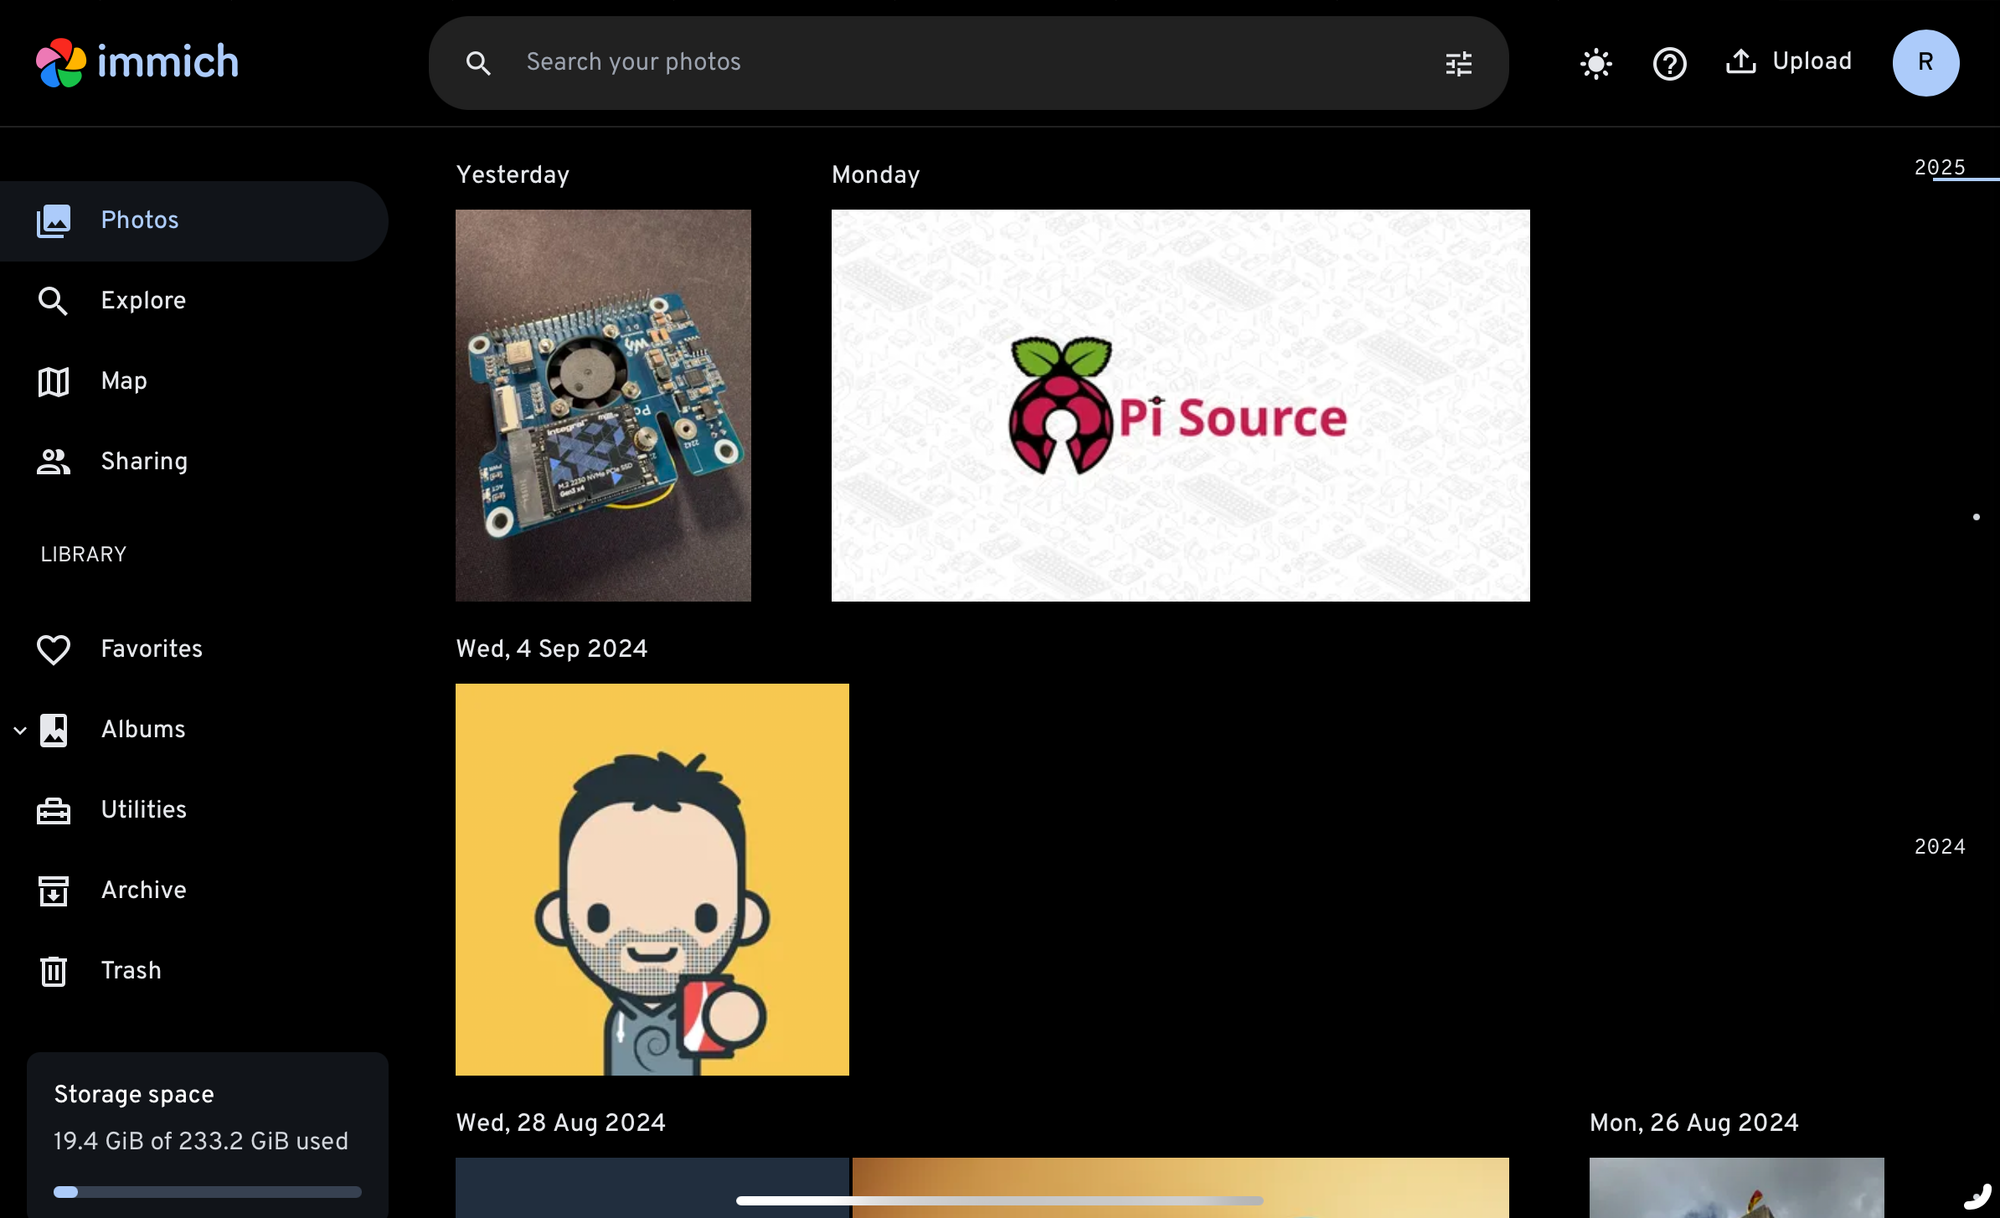
Now it’s time to have a play around in the interface, there are some really nice features, like the map which shows you the geolocation of where the photos were taken, and the ability to share albums and and even group photos together. There is even AI to help you find people or objects in photos with a simple search. If you’ve done something crazy like Jeff Geerling and added a GPU to your Pi setup, you could even use this to speed up the interface by adding a few more commands to the compose file (let me know in the comments if you’re interested in that).
Uploading from your phone
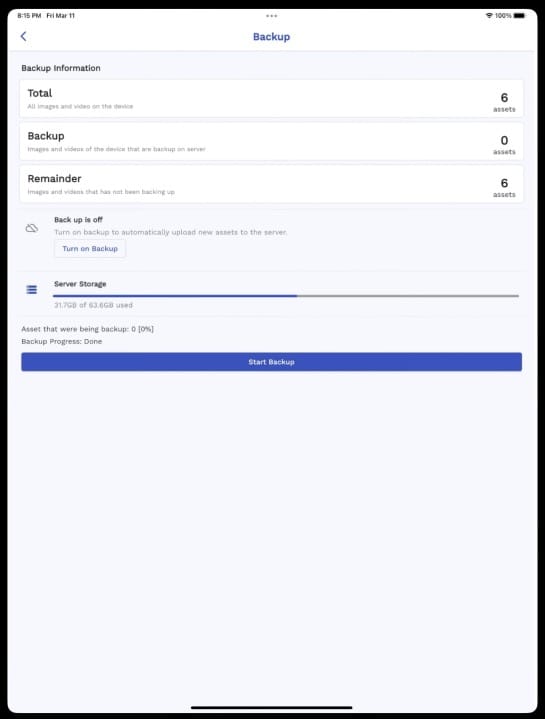
Now you are up and running you’ll want to get your phone automatically backing up your photos and videos to your server. You can do this from Android or iOS and I’ve provided the links below for the apps:


Log in with your credentials and set up your backups to happen automatically. If you have a lot of photos and videos like me, it will take a decent amount of time to sync, but now you can stop paying those cloud storage costs and backup locally!
Backup your backups!
One final thing, you need to backup your files for this regularly. I’ll be writing some articles on that soon or better still you could store your library files on a NAS and backup from there. I always use the 3-2-1 Backup rule:
- 3 copies of data
- On 2 different media
- With 1 copy being off-site
Conclusion
This is a solid system which offers you all the features you’d expect from the BigTech companies, with the added value that it’s private and you are in control. I’ve tested many solutions for photo backup and this in my opinion is by far the best. I hope by using the traefik tutorial and the compose files here it was super easy to set up and run. Let me know in the comments how you find it and if you are using any plugins or other tools to enhance your experience, and if you liked this post please SUBSCRIBE to get notified when there’s a new post.
Pro’s
- Great Features
- Super easy and familiar interface
- No monthly fees or invasive AI
Con’s
- You’ll need a lot of storage connected to your Pi
- You’ll need a good backup strategy to protect those memories
- Getting your internal proxy running can be a challenge
PiSource Score
| Easy of Setup | Features | Ease of Use | Extendability | Total |
|---|---|---|---|---|
| 9 | 10 | 10 | 9 | 38/40 |


