Build your own Google Docs + Drive with your Raspberry Pi
Learn how to degoogle your documents and free them from the tech giants by hosting the open source cryptpad on your raspberry pi.


Well folks, to help you de-Google, de-Microsoft or de-Apple even more, I thought I’d show you how to host your own office suite that you can use in the browser - just like Google Docs or Office 365. It even runs really nicely from the modest hardware of a Raspberry Pi. I do recommend though that if you’re going to use this, make sure you have an SSD installed or put the files on a NAS (network attached storage) to keep your files safe, I tend to find even the best microSD cards flakey at times and I’d hate for anyone to lose all their work.
We are going to look at a software suite called cryptpad which has a bunch of tools built in for:
- rich text editing
- spreadsheets
- code/markdown editing
- whiteboards
- forms
- diagrams
- markdown slides
- kanban
- support for MS Office files (.xlsx .docx .pptx) via onlyoffice
Even better is that its end-to-end encrypted and you are in control of all the data. You could even make this service accessible to you outside of your homelab using my Cloudflare Tunnel tutorial. Like any FOSS (free and open source software) it’s also free to run!
Setup
Let’s take a look at how to get this up and running. We are going to use docker compose for this and the cryptpad project supplies a starter for this, but we’ll need to tweak it to work with our common setup that uses traefik. Hosting this way allows us to run multiple services on a single Raspberry Pi.
Requirements
- A Pi with Docker installed
- Traefik installed
- Two sub domains for the software to function properly
- An SSD upgrade (not actually required but highly recommended for speed
Setup DNS
You'll need two internal domain names to make this work - both need to point to your traefik setup. I use Pihole for my internal DNS and point the following domains as CNAMES to traefik.internal.pisource.org (swap this for your own domain)
docs.internal.pisource.org
sandbox.internal.pisource.org
You'll need these domain names later on to get things working in the docker compose file so don't forget them!
Before we get going here's a friendly reminder to subscribe for free if you haven't already!
Install cryptpad
First we are going to use git pull command to get the cryptpad code onto your machine. You'll need to connect to the terminal via SSH so go ahead and login then run the following commands.
cd /opt/containers
git clone https://github.com/cryptpad/cryptpad.git cryptpad
cd cryptpad
git checkout 2024.12.0
We now have the code that's needed to run things and if you want to be super secure, you could even build your own local copy of the docker image, but for this tutorial we are going to use the publicly available one from docker hub.
Now let's create the directories you are going to need to store the data. We also need to set sensible values to secure those folders from other users on your system, otherwise the container is going to complain at start up and refuse to run. I'm also creating the folders you need to host onlyoffice, which will give you full support for editing .docx .pptx and .xlsx files from MS office.
mkdir -p data/logs customize onlyoffice-dist onlyoffice-conf
cp config/config.example.js config/config.js
touch data/logs/log.js
sudo chown -R 4001:4001 data config customize onlyoffice-dist onlyoffice-conf
Let's modify the compose file further to make sure this container works behind traefik, and we also need to set those DNS names you created earlier so replace the SIX instances of this. I'm also setting the CPAD_INSTALL_ONLYOFFICE=yes environment variable so we get that office support installed also. This makes the docker image pull the latest version of only office and offer it hosted via the web browser.
Open up the file docker-compose.yml in your favourite editor:
vi docker-compose.yml# SPDX-FileCopyrightText: 2023 XWiki CryptPad Team <contact@cryptpad.org> and contributors
#
# SPDX-License-Identifier: AGPL-3.0-or-later
---
services:
cryptpad:
image: "cryptpad/cryptpad:version-2024.12.0"
hostname: cryptpad
environment:
- CPAD_MAIN_DOMAIN=https://docs.<YOUR_DOMAIN>
- CPAD_SANDBOX_DOMAIN=https://sandbox.<YOUR_DOMAIN>
- CPAD_CONF=/cryptpad/config/config.js
# Read and accept the license before uncommenting the following line:
# https://github.com/ONLYOFFICE/web-apps/blob/master/LICENSE.txt
- CPAD_INSTALL_ONLYOFFICE=yes
volumes:
- ./data/blob:/cryptpad/blob
- ./data/block:/cryptpad/block
- ./customize:/cryptpad/customize
- ./data/data:/cryptpad/data
- ./data/files:/cryptpad/datastore
- ./onlyoffice-dist:/cryptpad/www/common/onlyoffice/dist
- ./onlyoffice-conf:/cryptpad/onlyoffice-conf
- ./config/config.js:/cryptpad/config/config.js
labels:
- traefik.enable=true
- traefik.http.routers.docs.entrypoints=web
- traefik.http.routers.docs.rule=Host(`docs.<YOUR_DOMAIN>`) || Host(`sandbox.<YOUR_DOMAIN>`)
- traefik.http.middlewares.docs-https-redirect.redirectscheme.scheme=https
- traefik.http.routers.docs.middlewares=docs-https-redirect
- traefik.http.routers.docs-secure.entrypoints=websecure
- traefik.http.routers.docs-secure.rule=Host(`docs.<YOUR_DOMAIN>`) || Host(`sandbox.<YOUR_DOMAIN>`)
- traefik.http.routers.docs-secure.tls=true
- traefik.http.routers.docs-secure.tls.certresolver=myresolver
- traefik.http.routers.docs-secure.service=docs
- traefik.http.services.docs.loadbalancer.server.port=3000
- traefik.docker.network=traefik_proxy
# adding HSTS headers as required by cryptpad
- traefik.http.middlewares.security-headers.headers.stsseconds=63072000
- traefik.http.middlewares.security-headers.headers.stsincludesubdomains=true
- traefik.http.middlewares.security-headers.headers.stspreload=true
- traefik.http.middlewares.security-headers.headers.forcestsheader=true
- traefik.http.routers.docs-secure.middlewares=security-headers
ulimits:
nofile:
soft: 1000000
hard: 1000000
networks:
- cryptpad
- traefik_proxy
networks:
traefik_proxy:
external: true
cryptpad:
internal: trueEdit the local config
We'll also need to tweak some settings in the config directory on the file config.js. This will setup some of the url redirects so the software functions correctly. Open the file config/config.js
vi config/config.jsNow you need to find the following values, if you don't set the https address you'll get a bad gateway error from traefik as cryptpad will only be listening on localhost and is not available on the network (I lost a few mins here trying to figure this out).
httpUnsafeOrigin: 'https://docs.<YOUR_DOMAIN>',
httpSafeOrigin: "https://sandbox.<YOUR_DOMAIN>",
httpAddress: '::',
httpPort: 3000,
Save the file and we are mostly ready to run the container, mostly.
One final tweak
It took me far, far too long to figure these two tweaks out. First, I wanted to disable guest usage of the platform which allows people who are not logged in to create and edit their own docs. Secondly, although the spreadsheet application from onlyoffice was available, it appeared I couldn't create word docs or presentations! After a lot of reading the forums it turns out that those apps are considered early access applications and need to be enabled in the application config, which is a separate file to the one we just edited. This lives in your customize folder. Create the following file customize/application_config.js
cp customize.dist/application_config.js customize/application_config.js
vi customize/application_config.js
and add the following content to it
AppConfig.registeredOnlyTypes = AppConfig.availablePadTypes;
AppConfig.enableEarlyAccess = true;
I added these under the line //AppConfig.supportLanguages = [ 'en', 'fr' ];
Right, you’ve made it through the tough bit of the setup, so let’s get this running.
Run the container
The good news is this is super simple as it's using docker compose - so just run the following:
docker compose up -dCopy your setup code
Now that you are up and running, the logs from the cryptpad container will give you a special setup URL that you need to visit in order to validate that you are the admin. If you run the following command in your terminal, you can then copy the URL at the end and visit that in your browser once your DNS is setup.
docker logs -f cryptpad-cryptpad-1This is the sort of text you are looking for:
=============================
Create your first admin account and customize your instance by visiting
https://docs.<YOUR_DOMAIN>/install/#33ab8fc8fe69e3aa17121c63a4ce549bd76108b9401bfd8c9b984e93eda41380
=============================
Continue in the browser
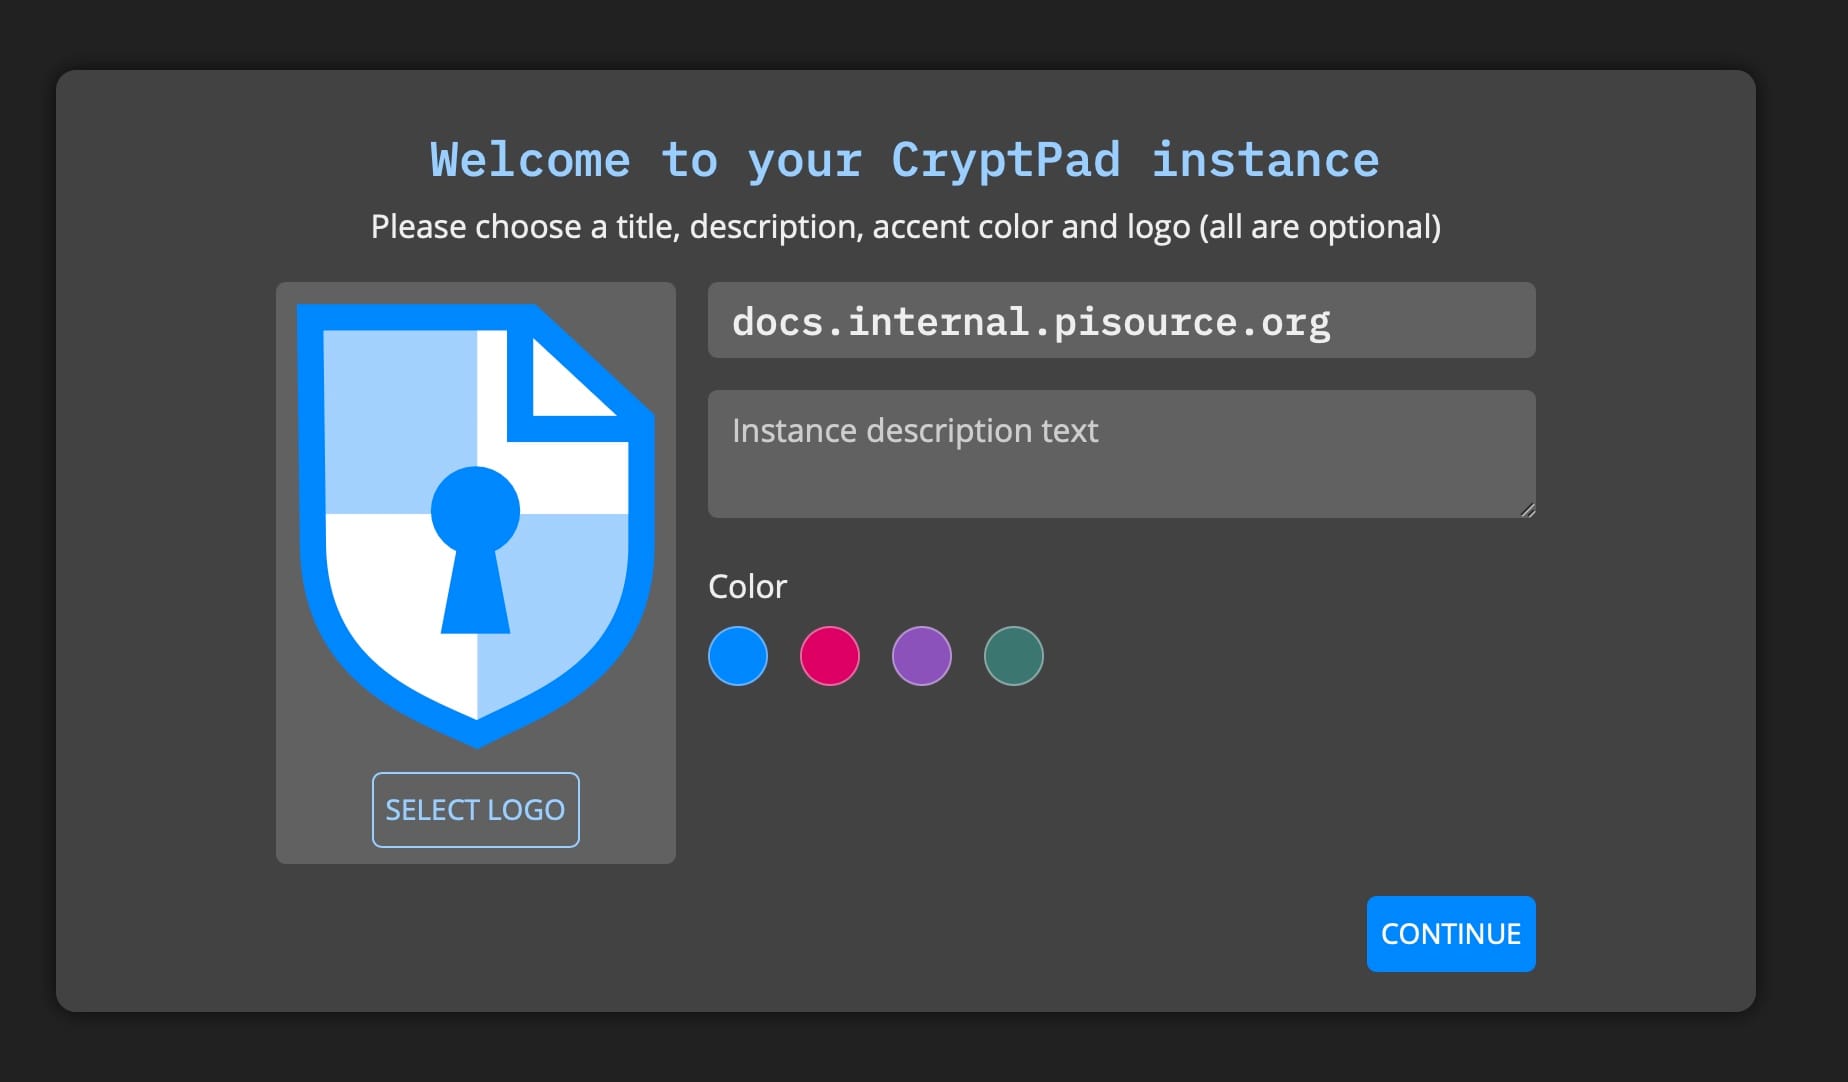
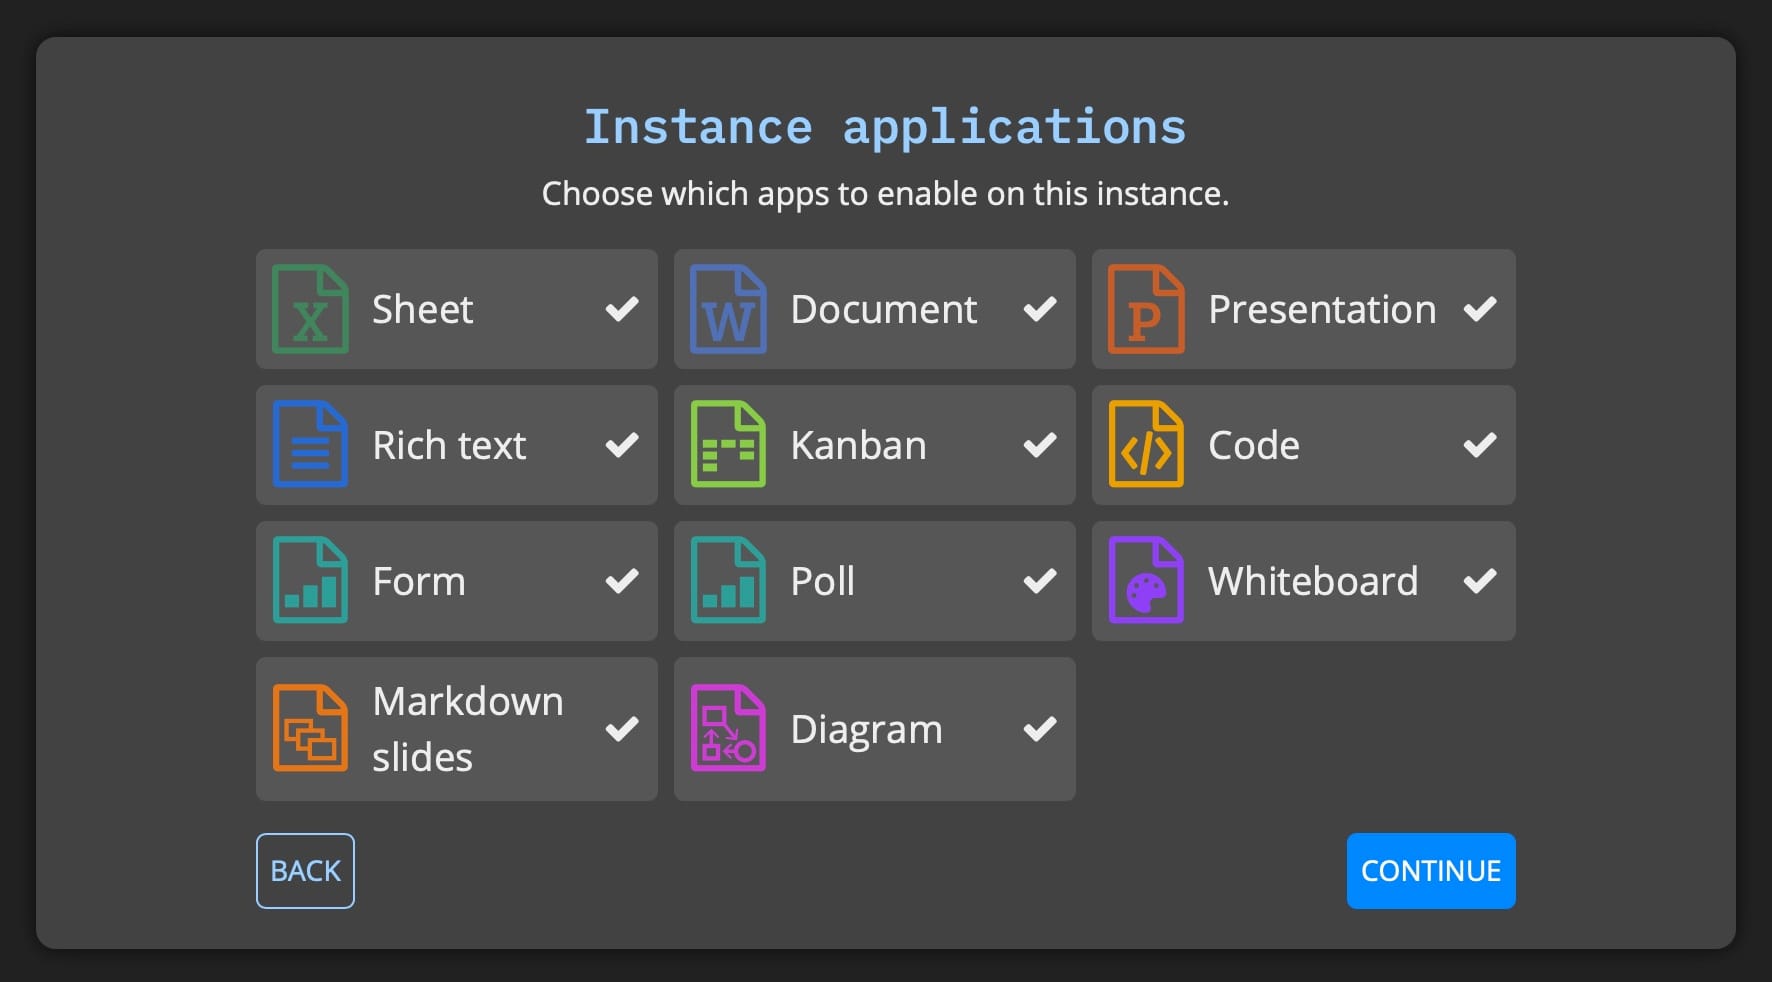
Head to that big long URL and you'll be asked a series of questions here for the initial setup, such as the name and colour scheme, and what applications you’d like to support (I chose them all), and of course you need to set up your admin account.
Once completed you are good to go - you’ll arrive at your drive view and from here you can click through and add new files, even upload files and complete folders to the encrypted drive.
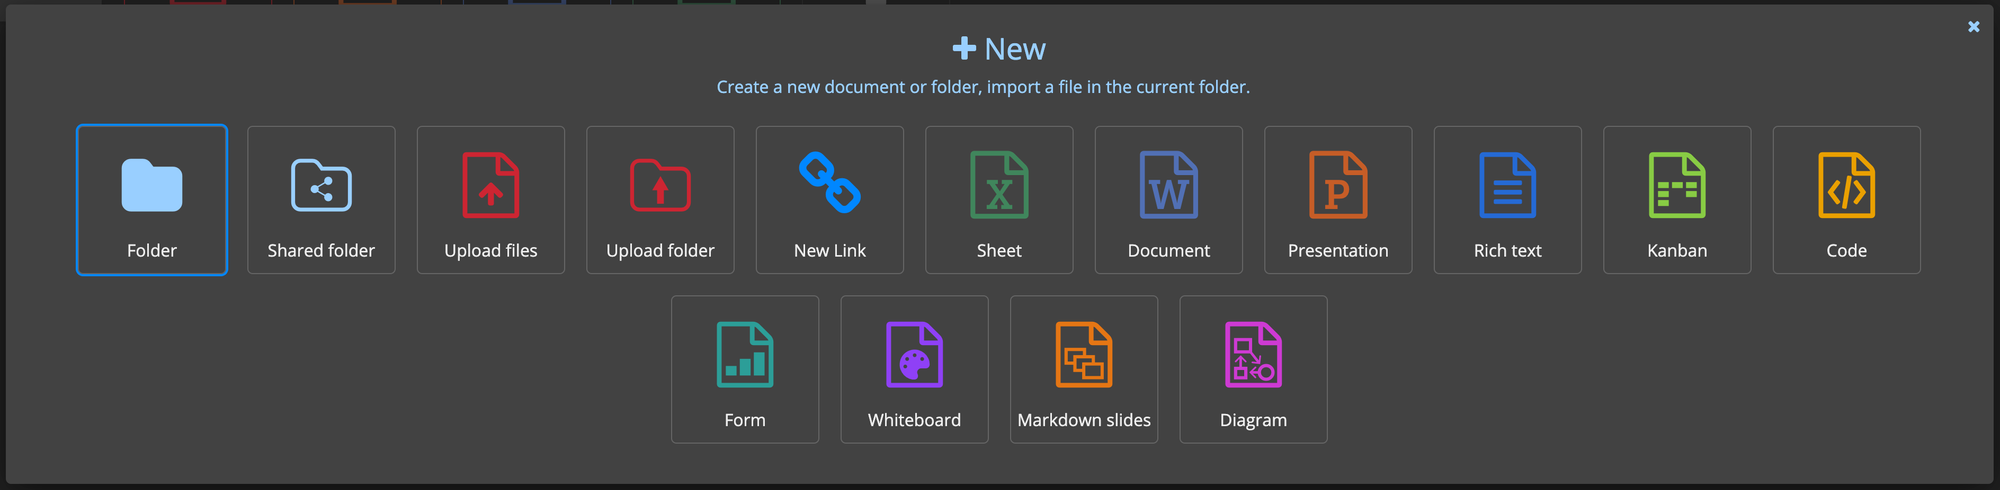
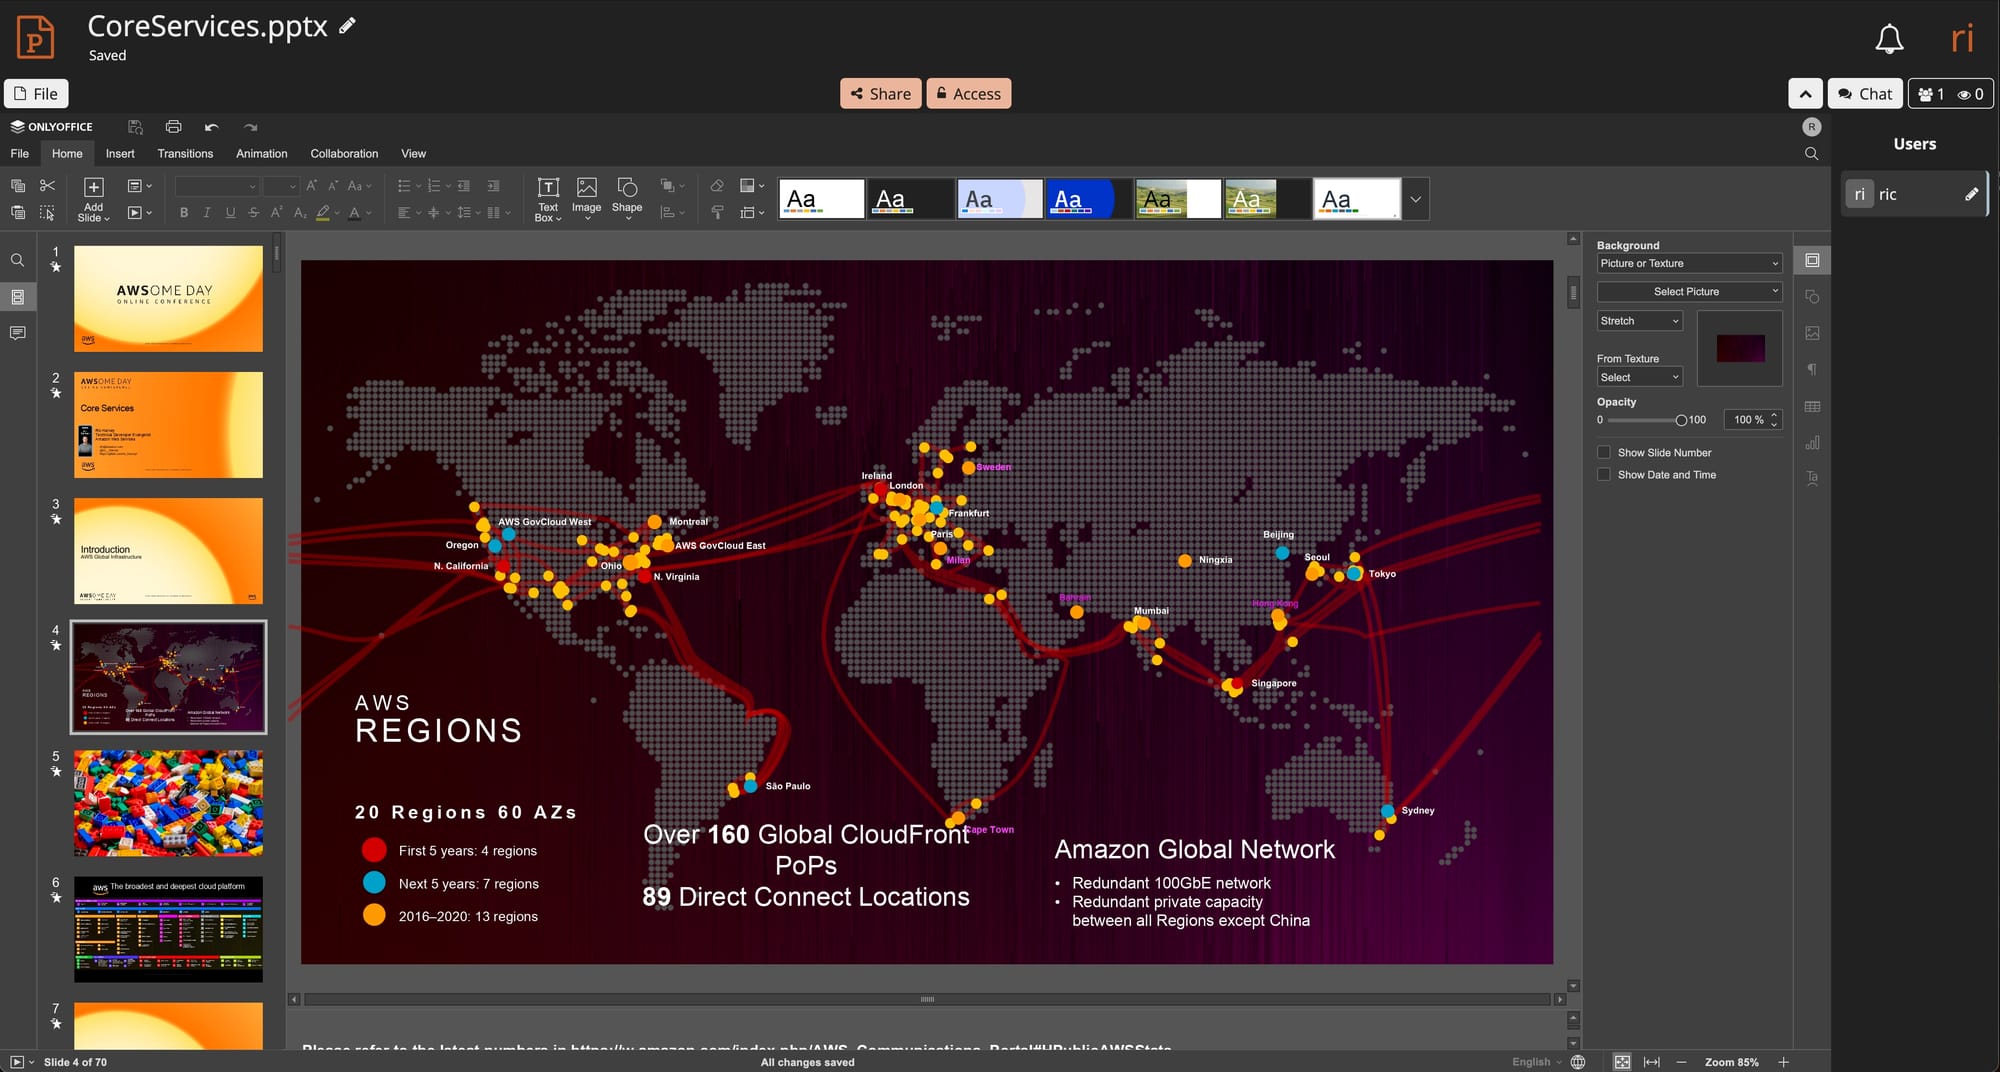
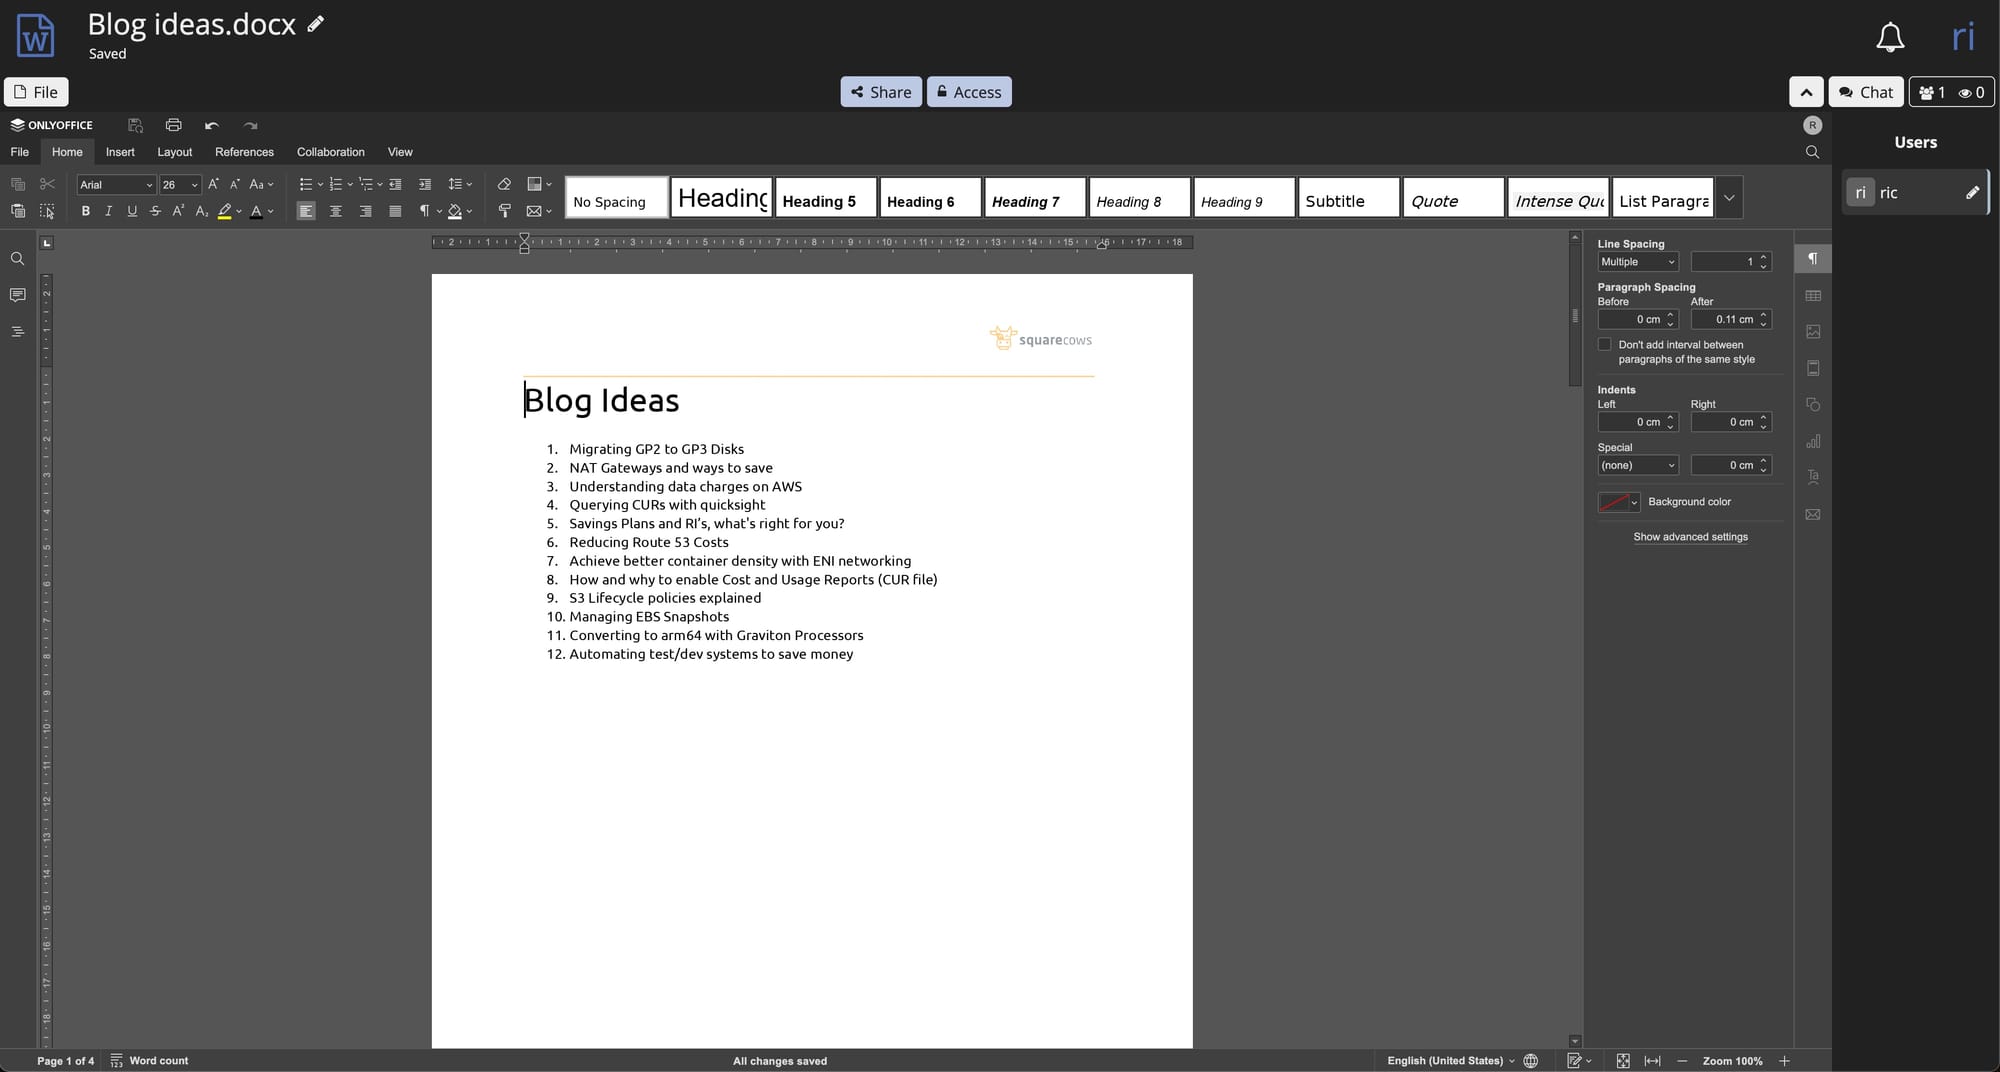
I tested out all the apps and they work really well and even uploaded some existing .docx and .pptx files.
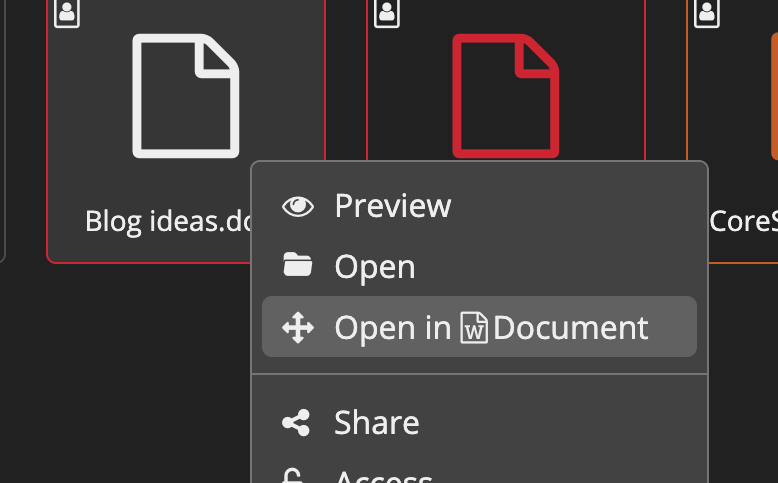
Now here’s the strange thing, once you’ve uploaded that file, you need to not just click to open, but also to say “open with open office”, otherwise you’ll get a document preview that doesn’t appear to have content; hopefully you’ll be able to tweak that default behaviour in the future.
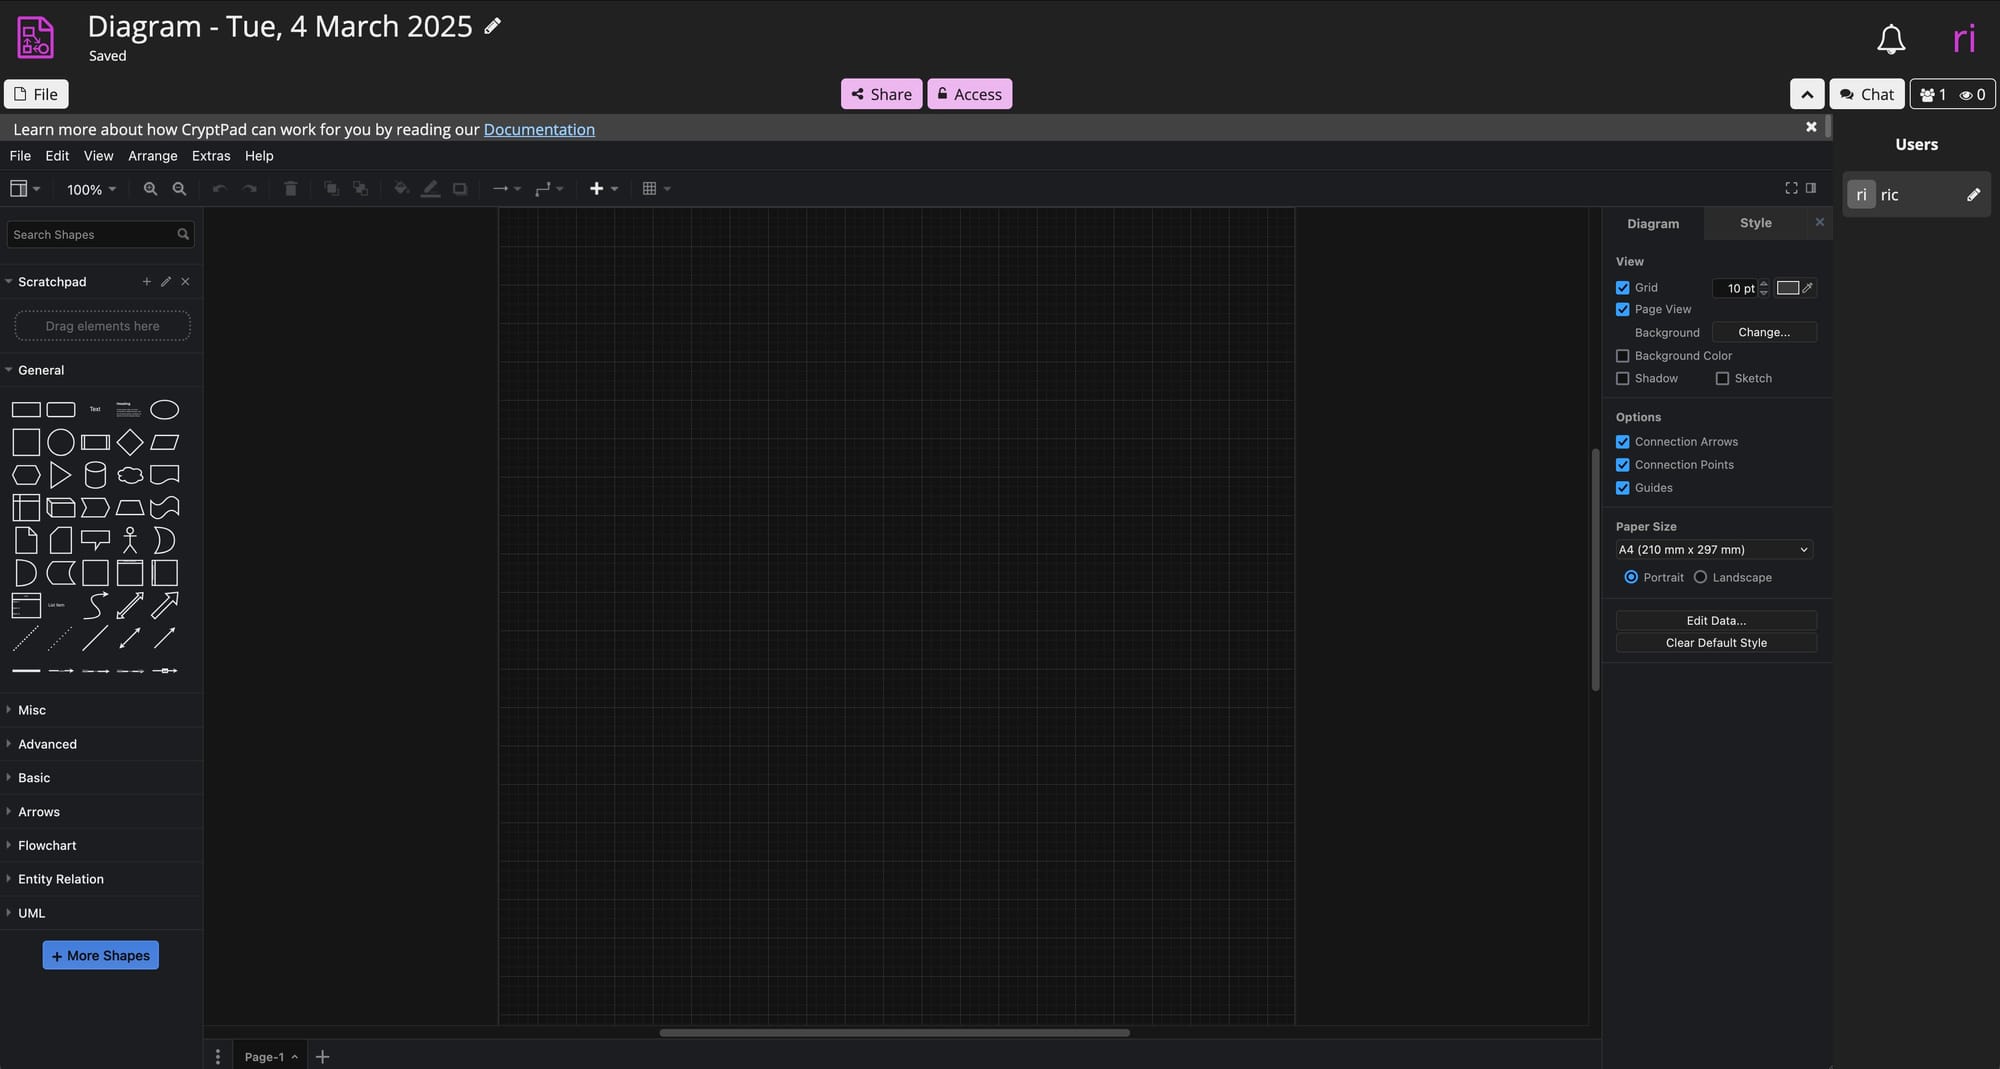
Another thing to note is if you upload a large file (in my case it was a graphic heavy .pptx), it can take a while to convert, but once it does the system handles it fine and is super responsive in the browser. There is also a gem of an app included in the suite of tools which is draw.io, this is a technical diagram editor and is pretty nice if you do that kind of work. Having your own instance of it is just the icing on the cake.
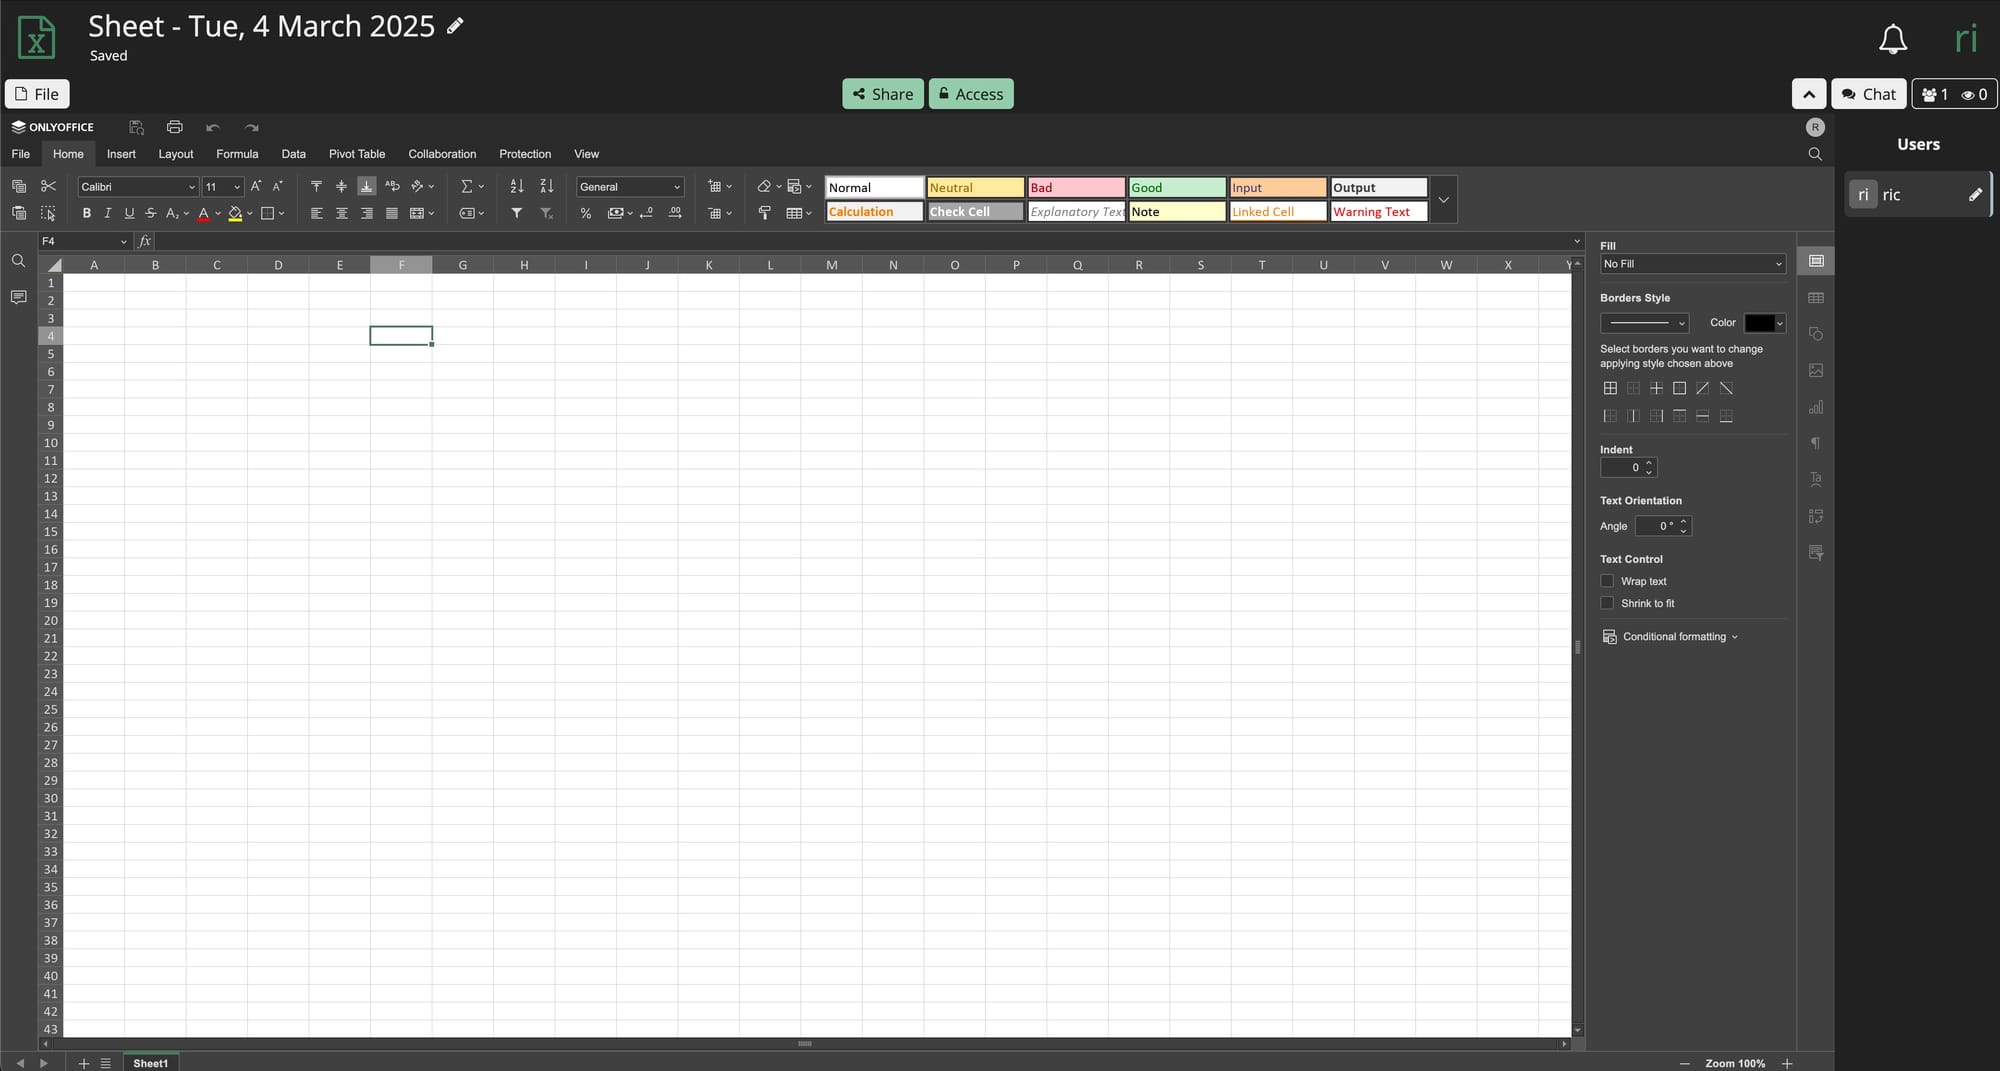
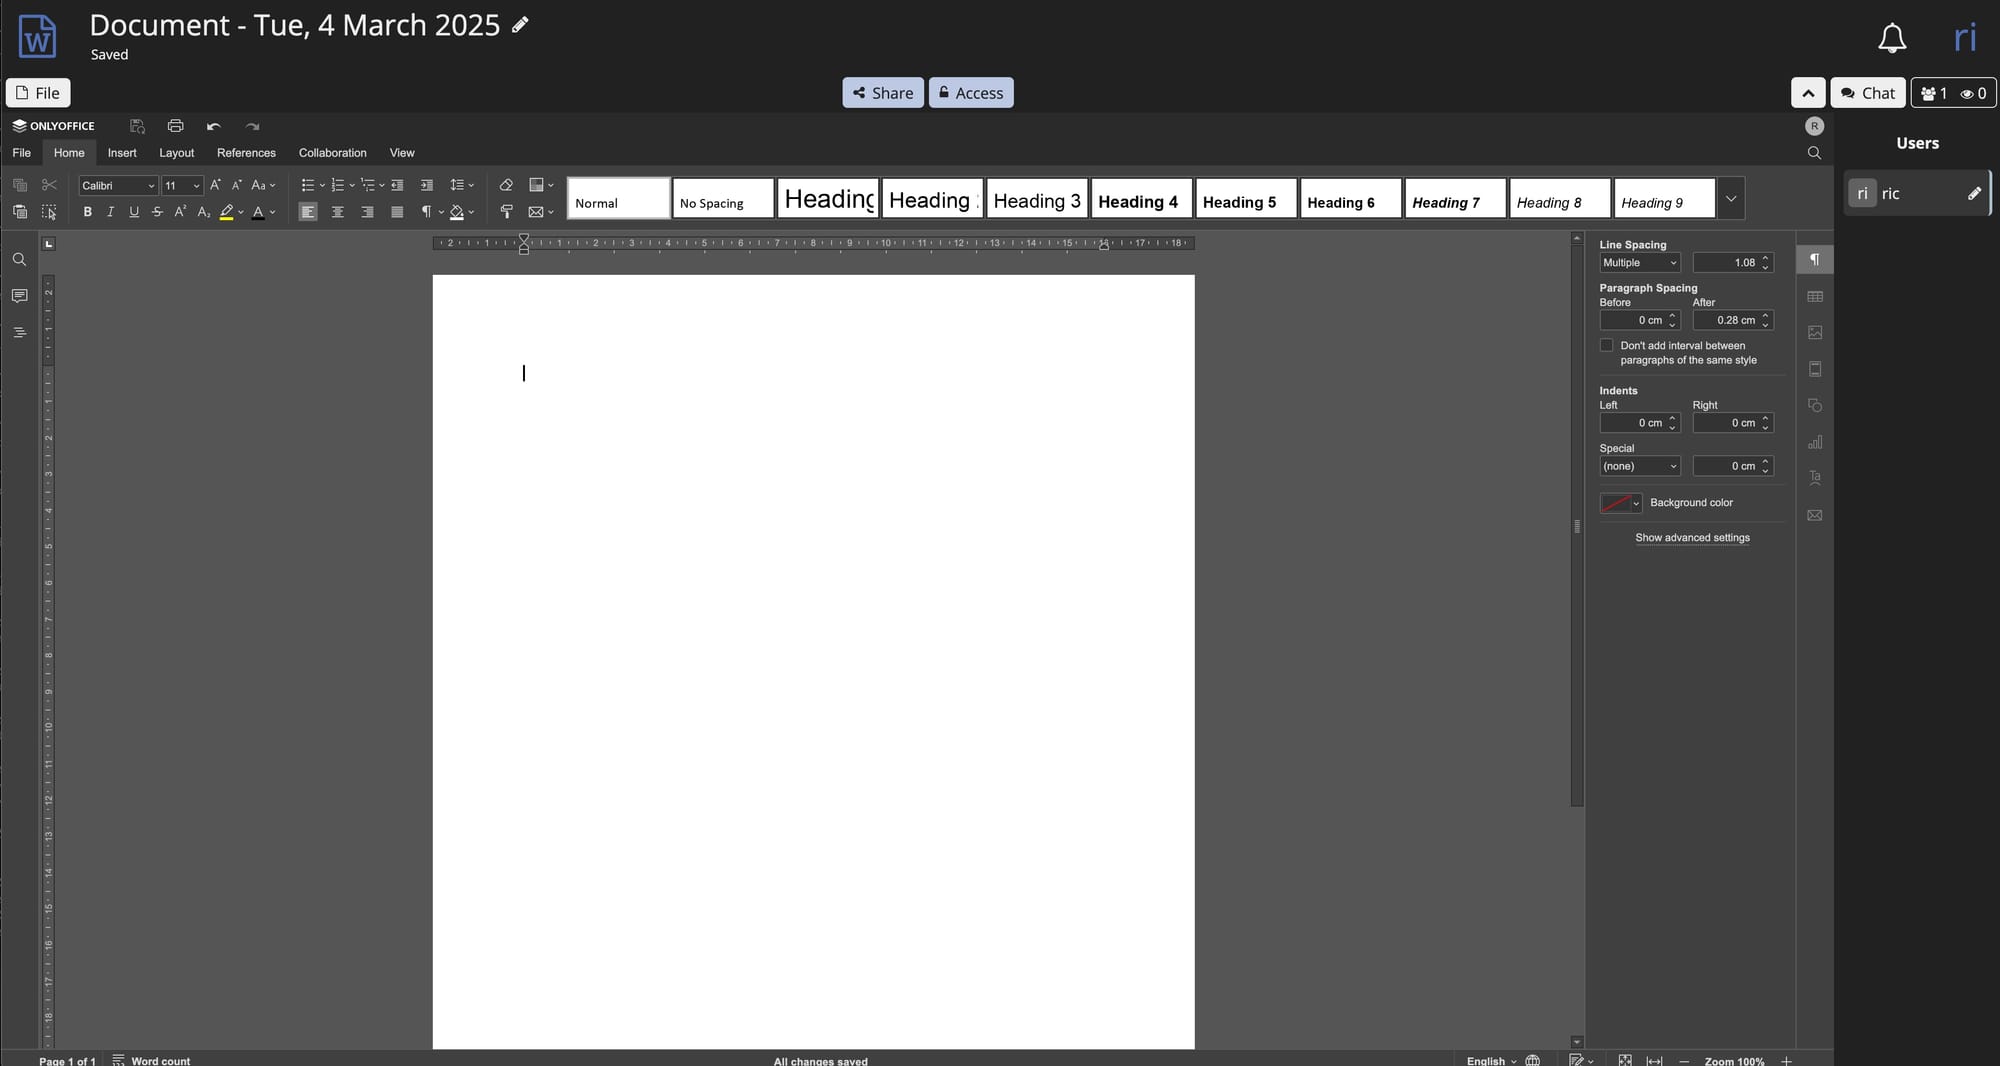
I’ve included a few screen shots of the applications so check them out, but really I encourage you to have a click around and play.
Conclusion
If you are keen on moving your data away from the tech giants, this is definitely a good alternative, especially if you want to make this available in your web browser. If you don’t need that kind of functionality, I’d say stick with the local desktop applications like libreoffice which runs on Linux, Windows and macOS). The software is clearly focused on encryption and security so this makes it a really good solution for the privacy and security focused among us. The support for standard office documents is also really handy - you are always going to have to open files from those locked in propriety formats.
If you are going to run this, please, please at the very least use an SSD card to run your Pi. I’d highly recommend using a NAS and making backups of your data. I’d hate for you to lose work because of a flakey microSD card.
Pro’s
- Secure and private with end-to-end encryption
- Accessible via the browser which brings support to tablets you are using, etc.
- Supports standard office documents so you can interchange documents easily
Con’s
- the documentation was a bit challenging to find the tweaks to make everything work
- guest access enabled by default (for me this is just waiting to be exploited)
- I’m not sure how well spreadsheets handles really complex excel imports (if someone wants to test let me know)
PiSource Score
| Ease of Setup | Features | Ease of Use | Extendability | Total |
|---|---|---|---|---|
| 5 | 9 | 6 | 10 | 30/40 |